

Each user has to install and configure integration.
Users see signatures when composing emails.
Cloud-based installation. Emails don’t go through Scribe servers.
Installation guide
Prerequisites
- A Scribe account
- At least one signature created in Scribe
- macOS with Outlook installed
1
Download Scribe desktop app
Download the Scribe desktop app from the integrations page.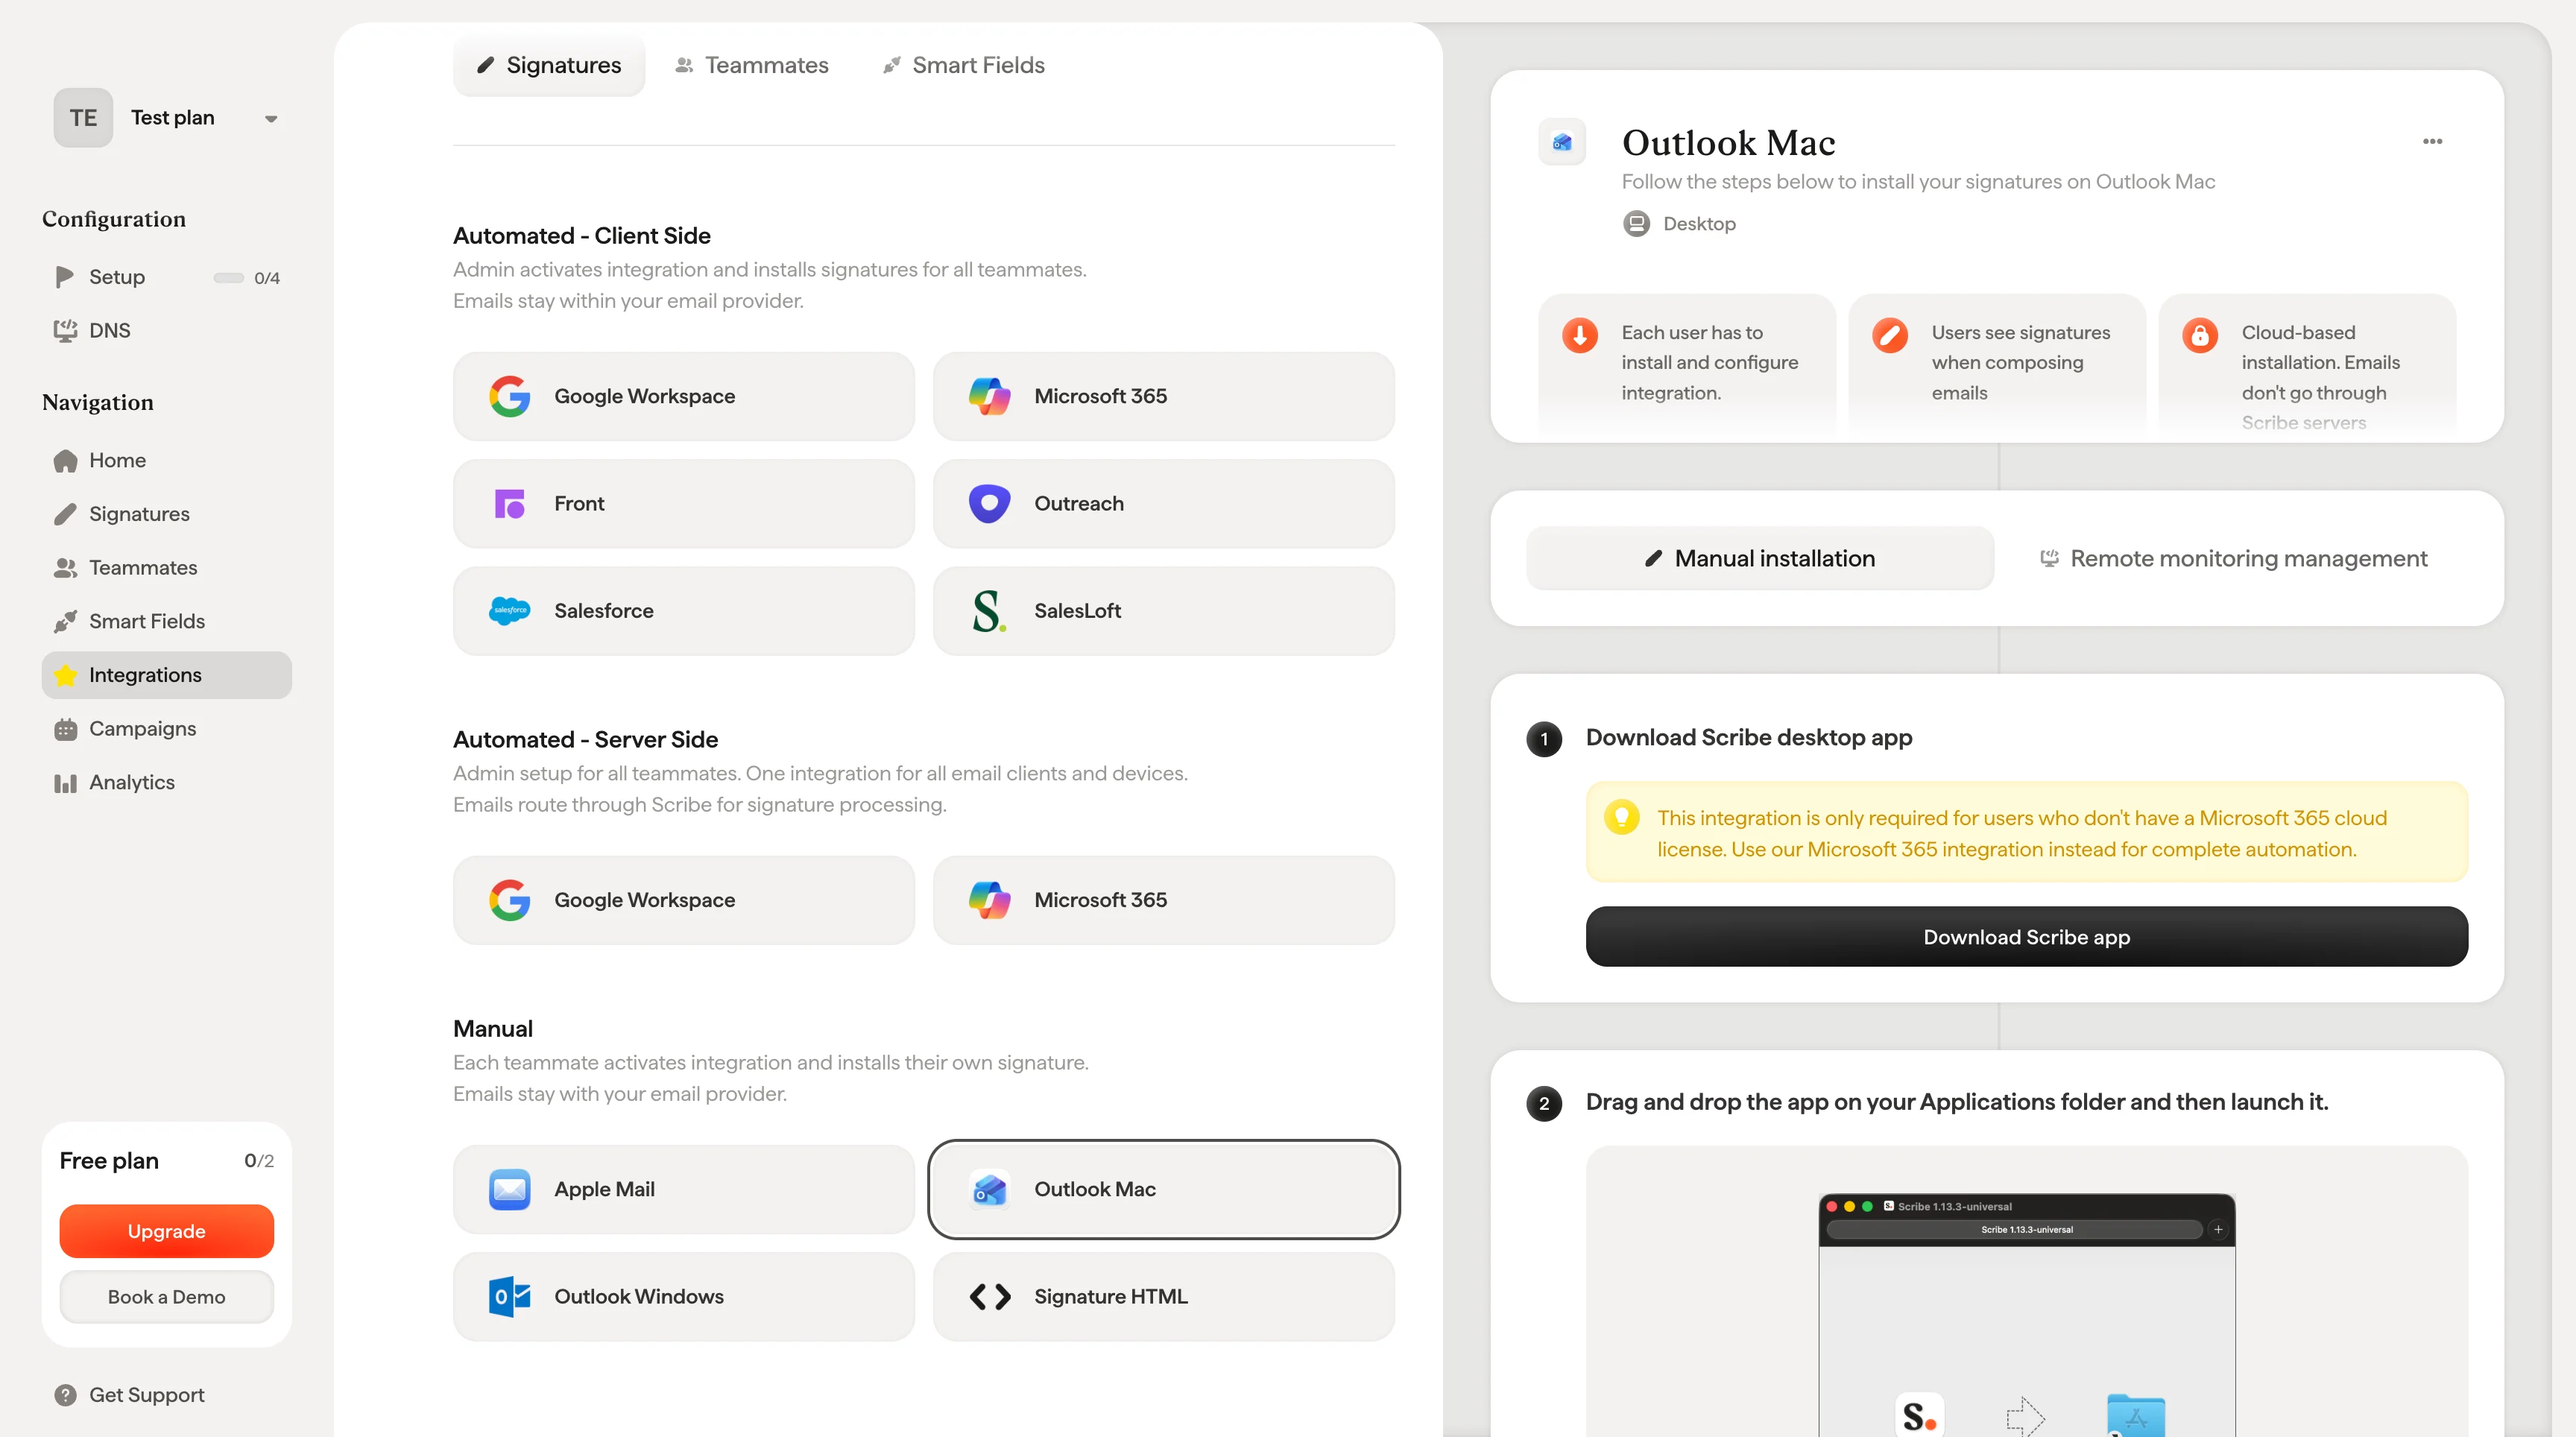
2
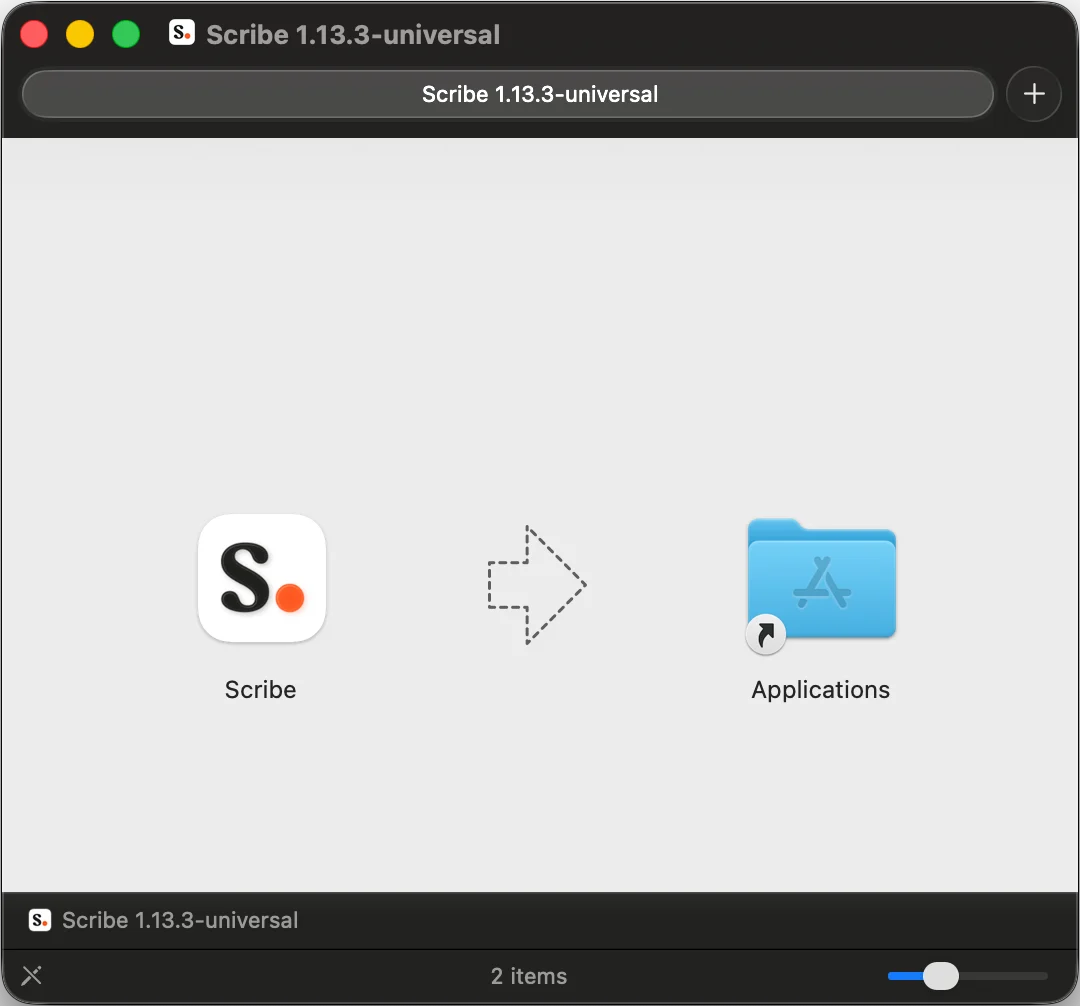
Drag and drop the app on your Applications folder and then launch it
3
Log in with your Scribe credentials
Log in to the Scribe app just as you do on Scribe’s website.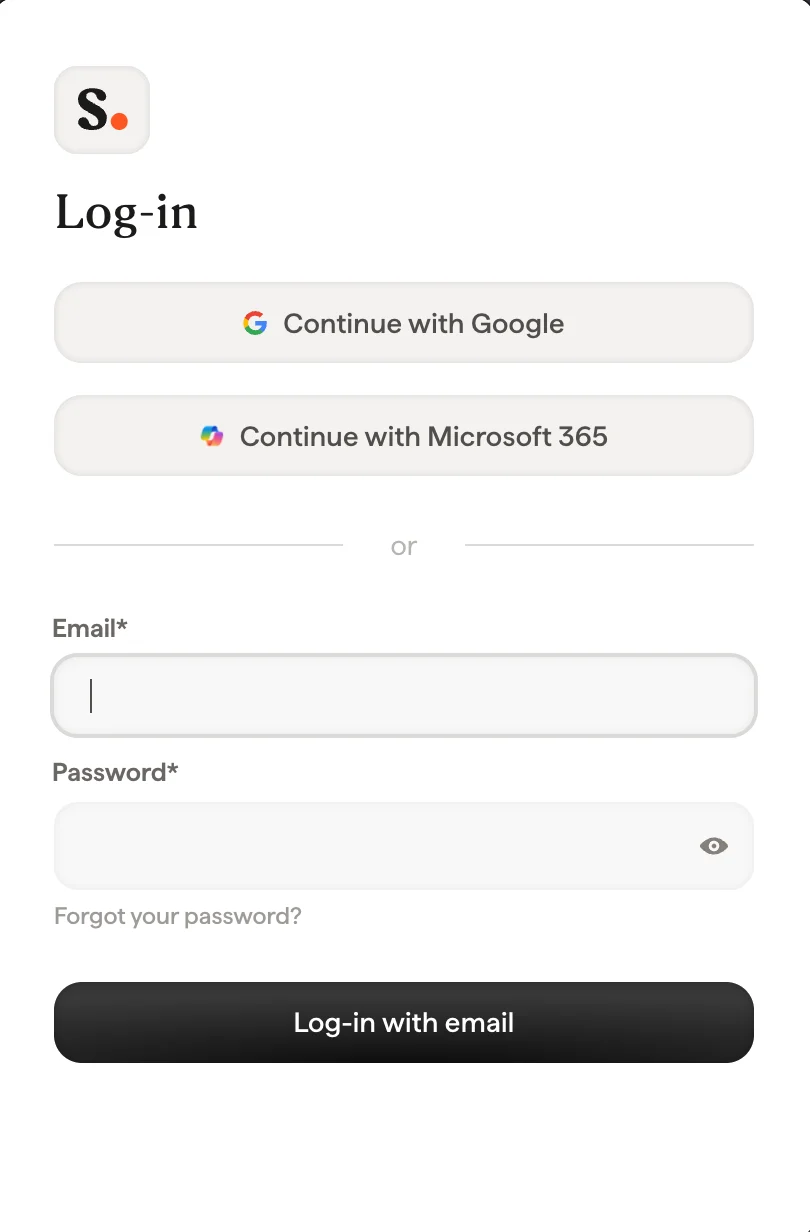
4
Turn on Outlook installation
Click the settings wheel and activate Outlook.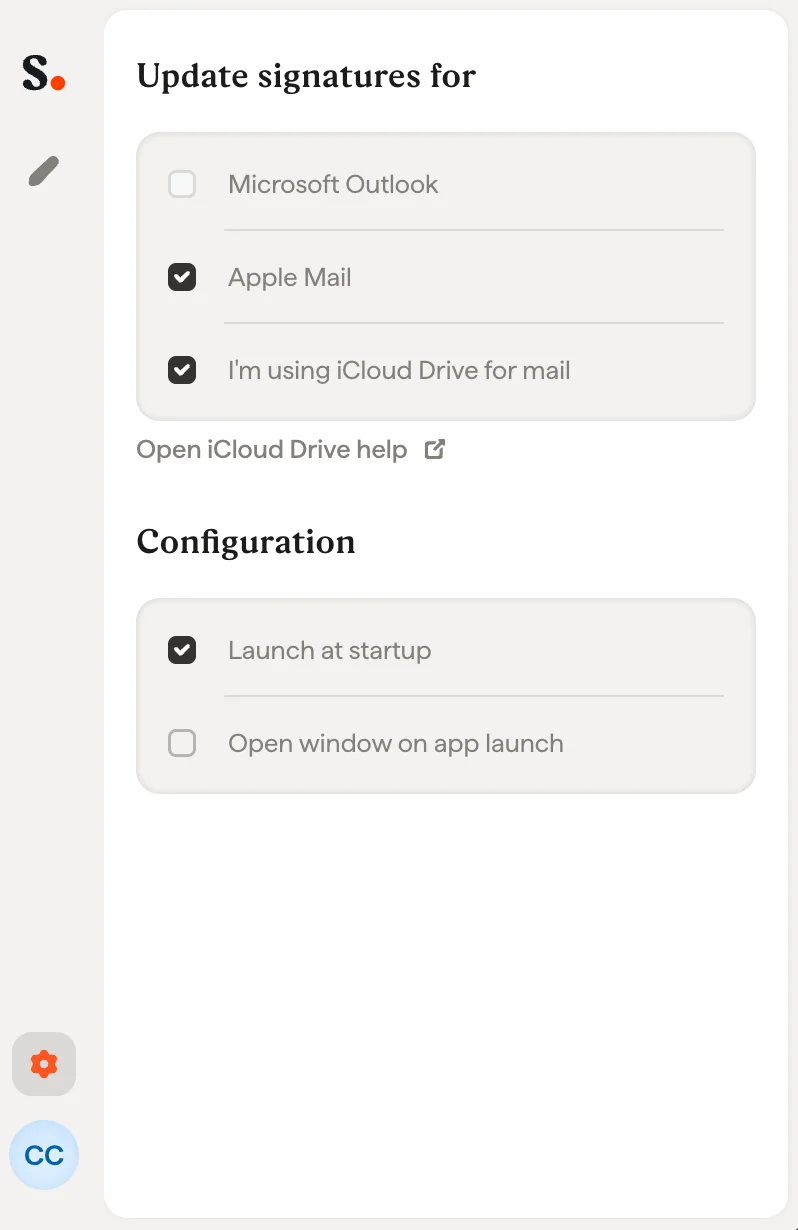
5
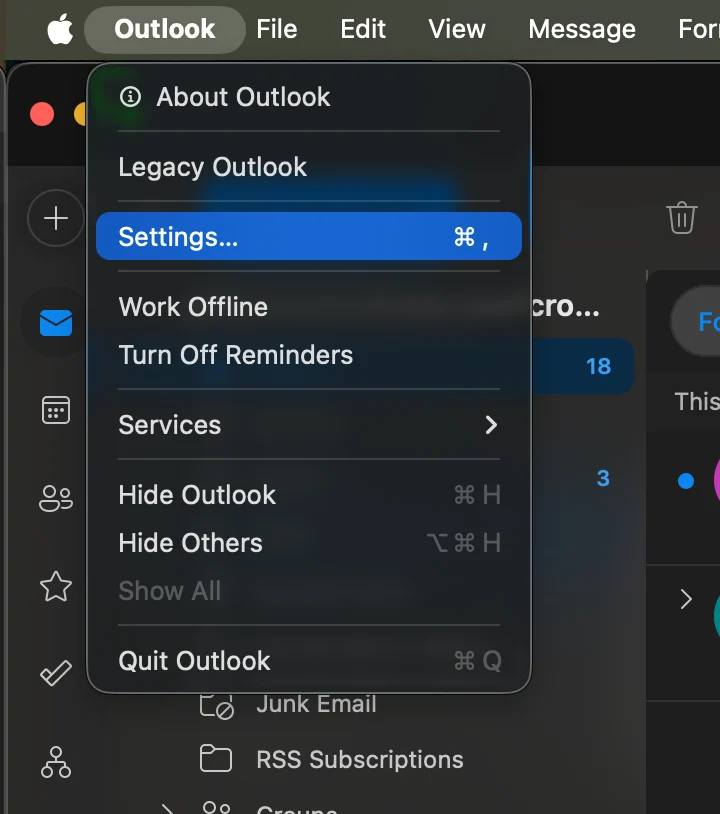
Start Outlook Mac and go to settings
6
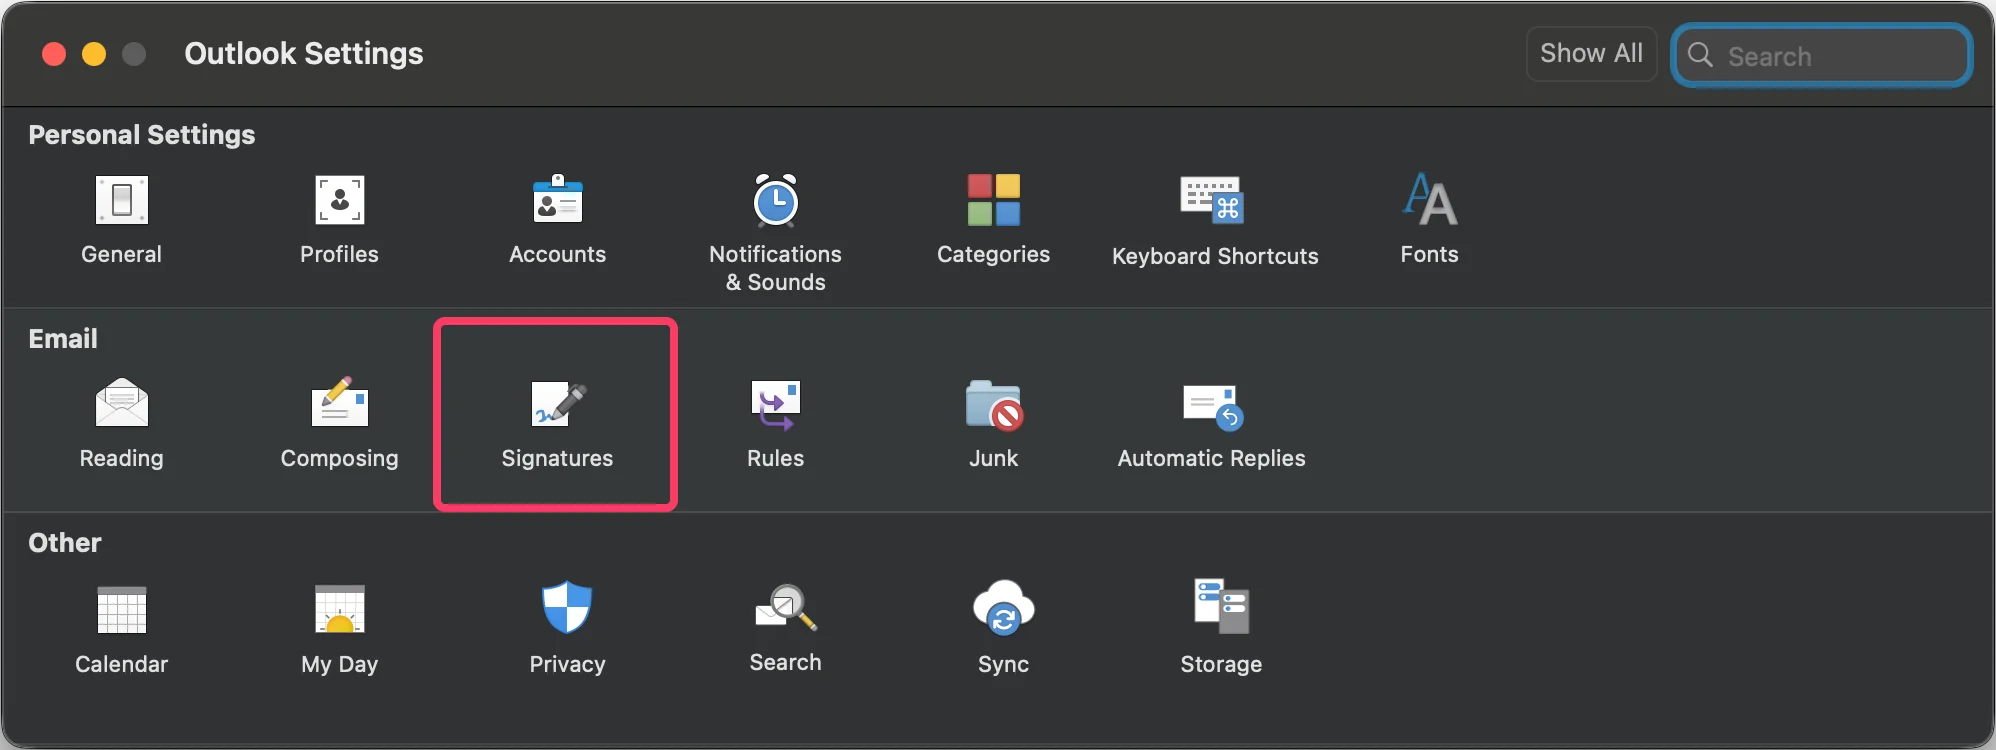
Go to signatures settings
7
Configure default signature
Set the Scribe signature as default for new messages and replies/forwards.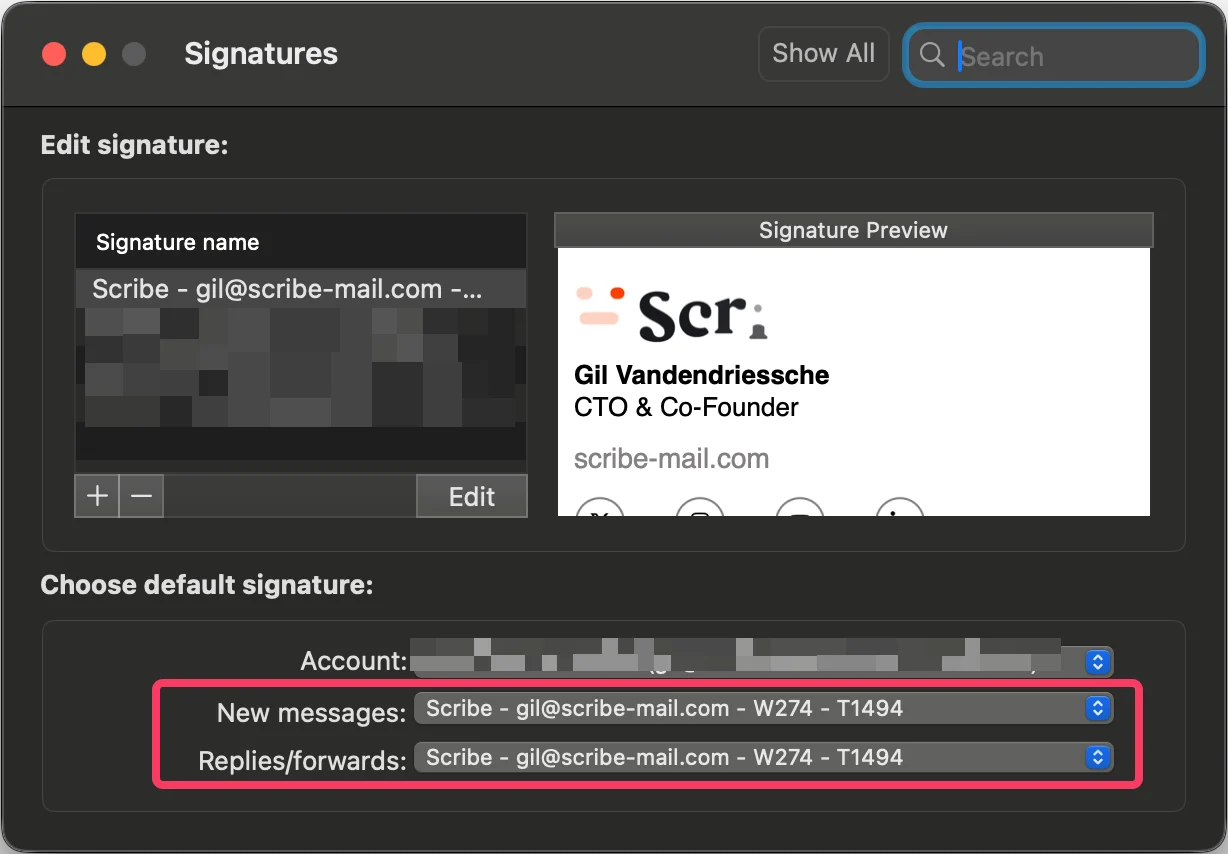
8
Install team signatures
From your signatures list, install all signatures at once for your teammates or install them one by one for a progressive rollout.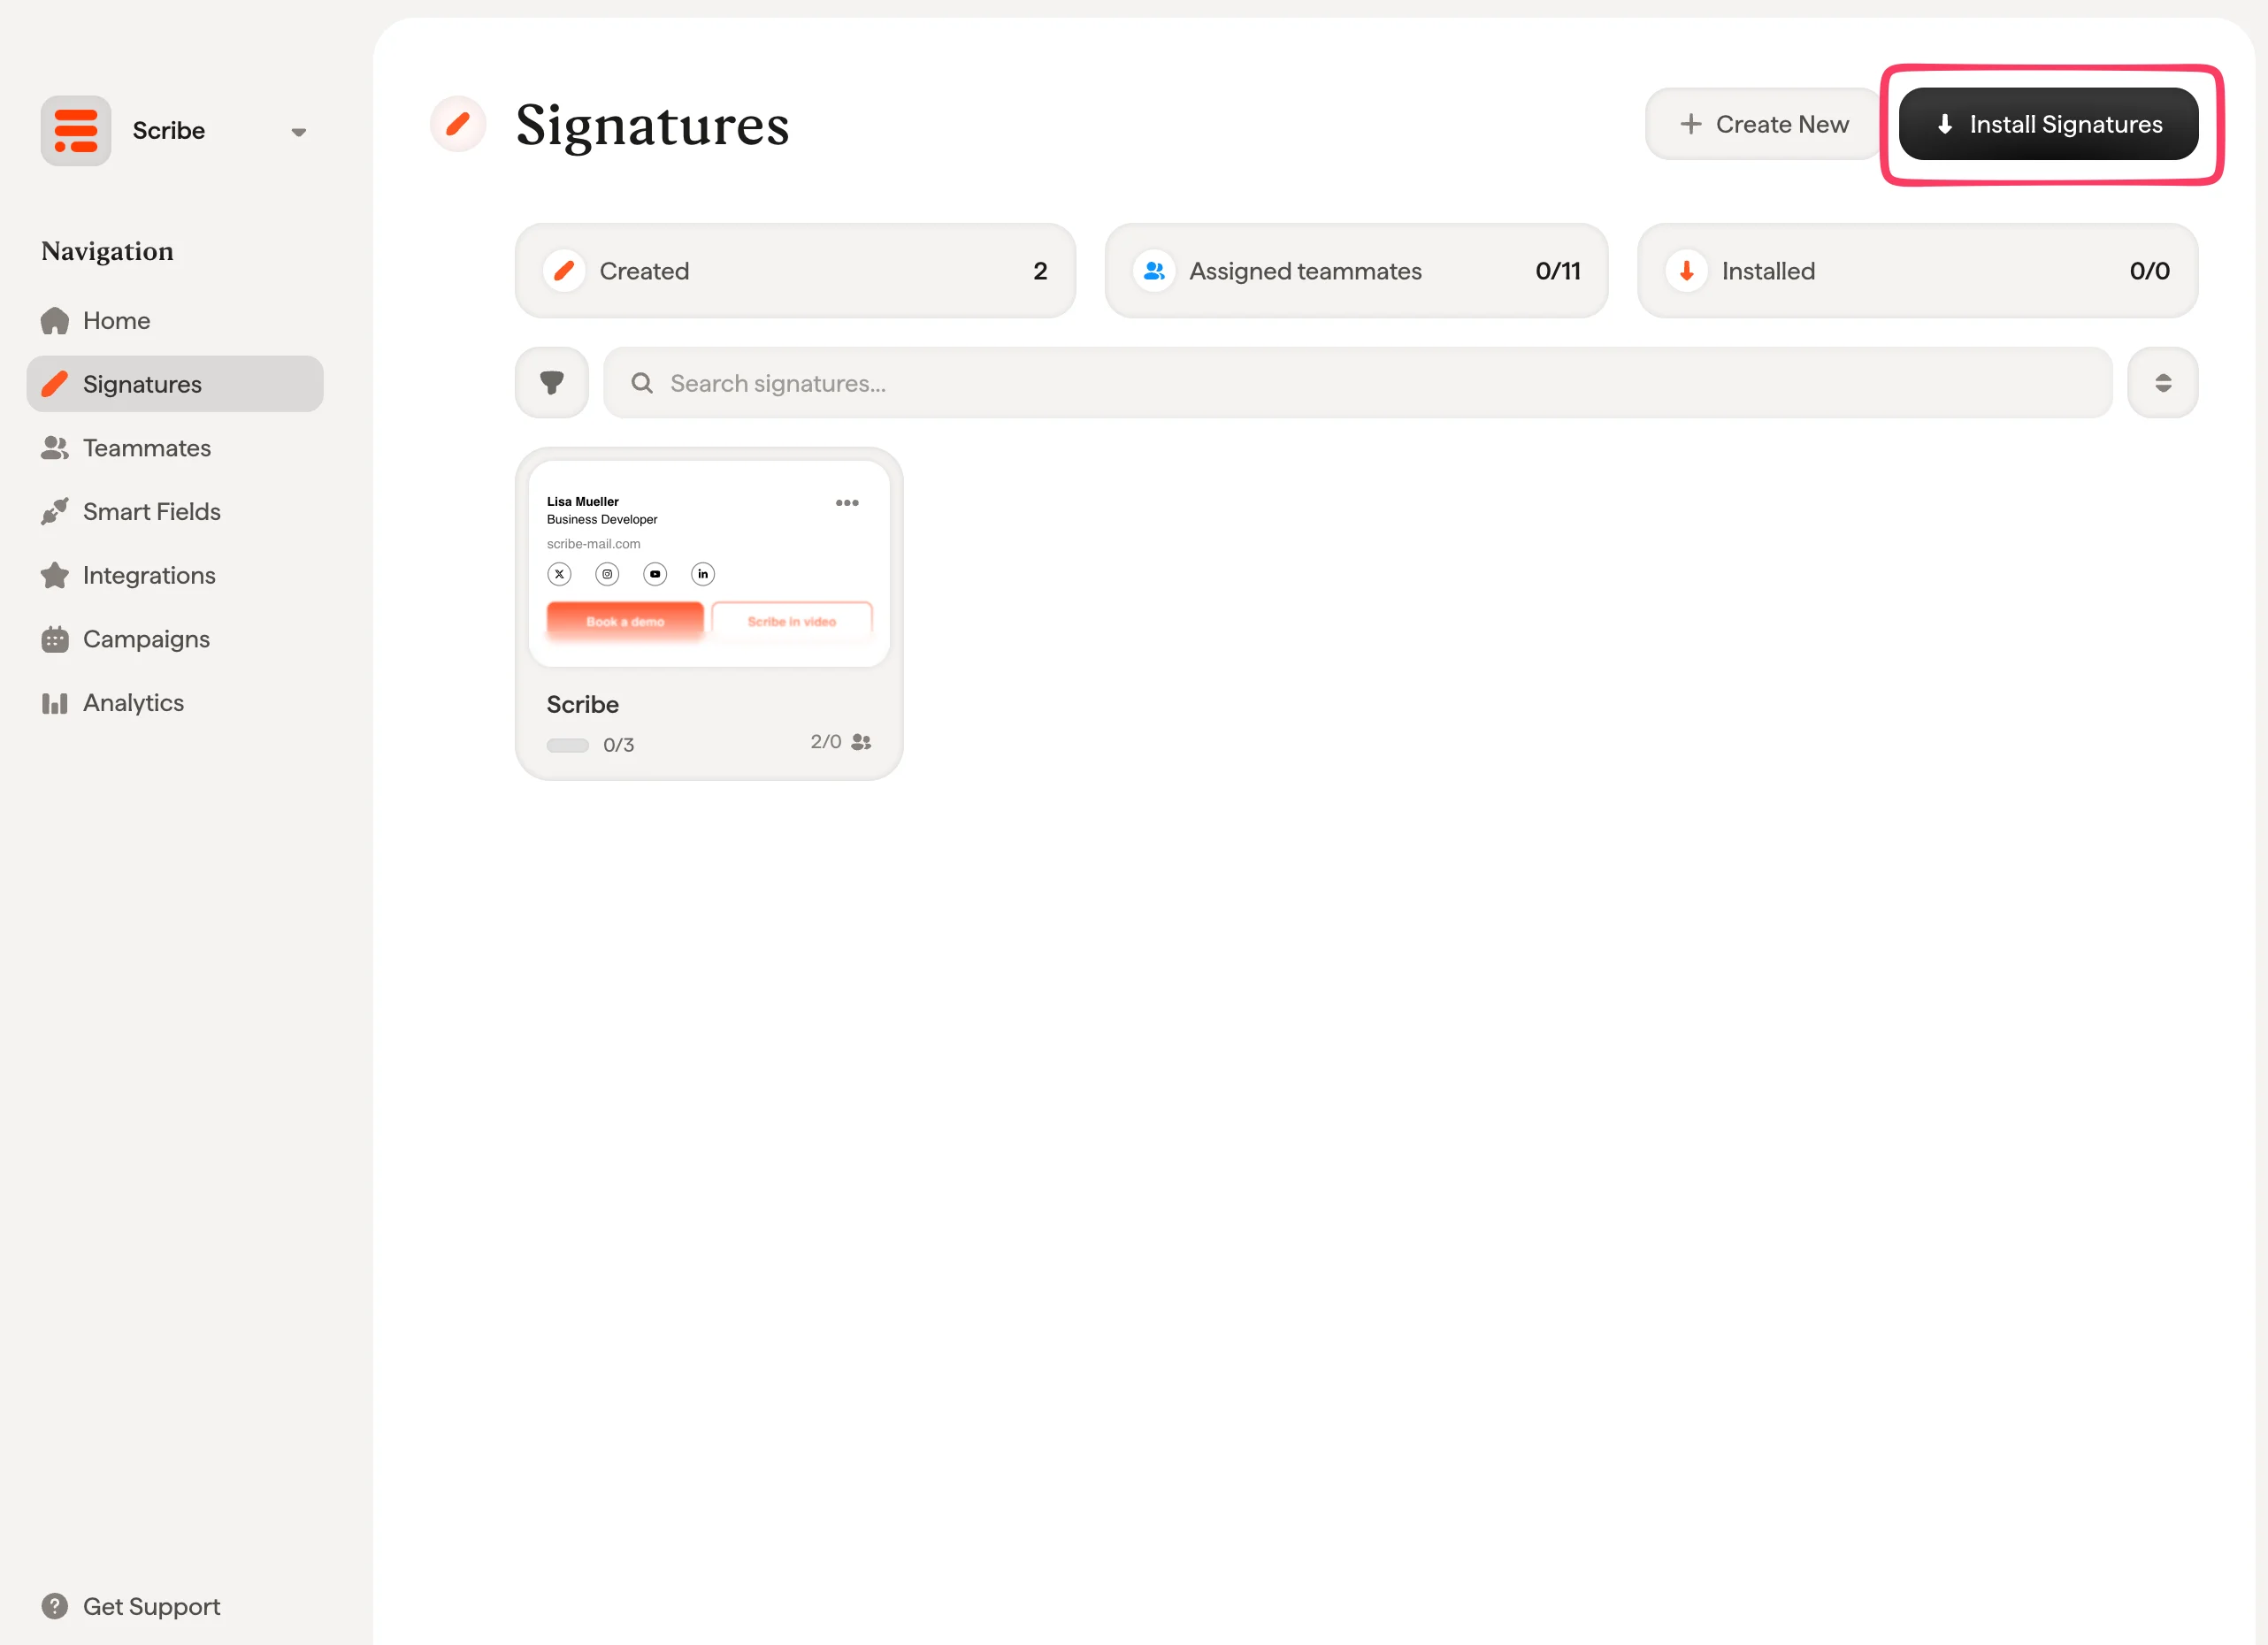
Related articles
- Integrations overview: all the ways to deploy Scribe signatures, cloud or server side.
- Outlook Mac (Remote Monitoring): push the Outlook Mac install through your RMM tool.
- Switch to the new Outlook: move signatures to the new Outlook.