> ## Documentation Index
> Fetch the complete documentation index at: https://help.scribe-mail.com/llms.txt
> Use this file to discover all available pages before exploring further.
# Connect your AI assistant to Scribe
> Connect Claude, ChatGPT, Cursor, and more to the Scribe MCP server with OAuth. Step-by-step setup for chat and coding assistants.
Connect any MCP-capable assistant to Scribe in a couple of minutes. The endpoint is the same everywhere, and you sign in with your Scribe account (OAuth), so no API key is pasted in.
```text theme={null}
https://mcp.scribe-mail.com/mcp
```
Read actions run automatically once connected. Write actions ask you to confirm first. For what the connection can access, see the [FAQ](/en/ai-agents/faq).
## Chat assistants
### Connect Claude to Scribe
Works on all Claude plans.
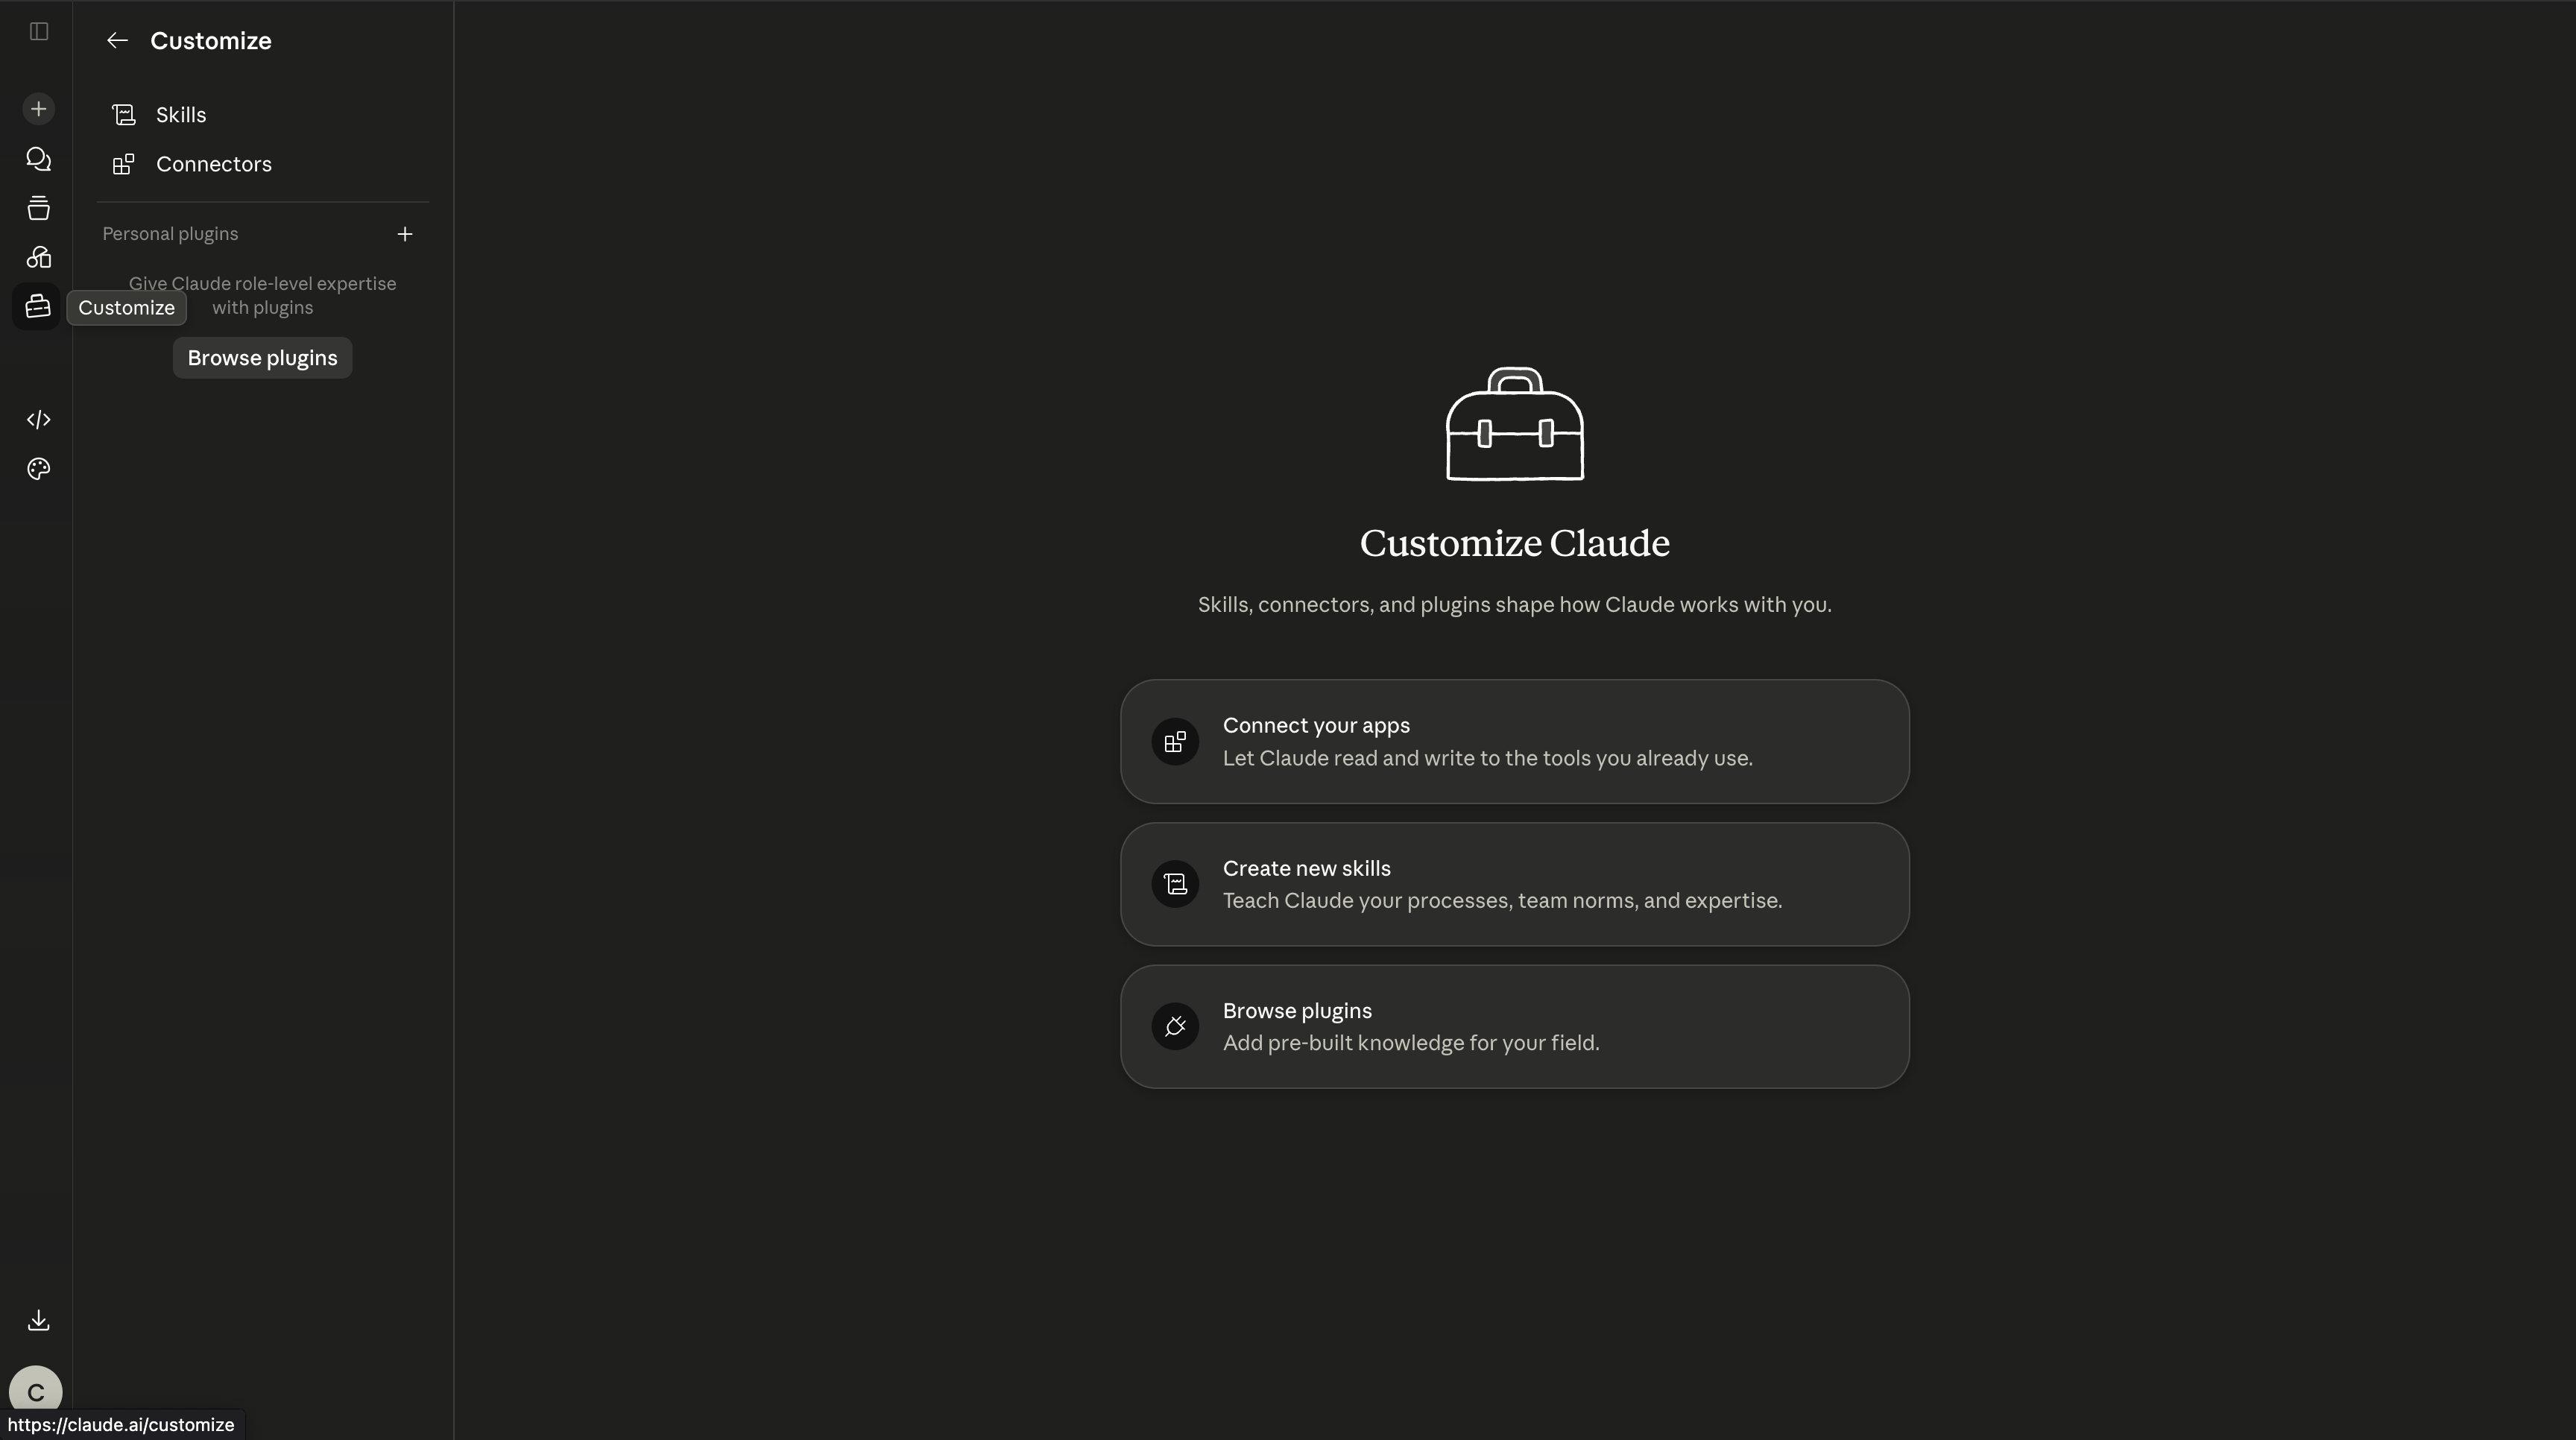
1. On Claude web or desktop, open **Customize** from the left menu.
 2. Go to **Connectors**, click the plus icon, then choose **Add custom connector**.
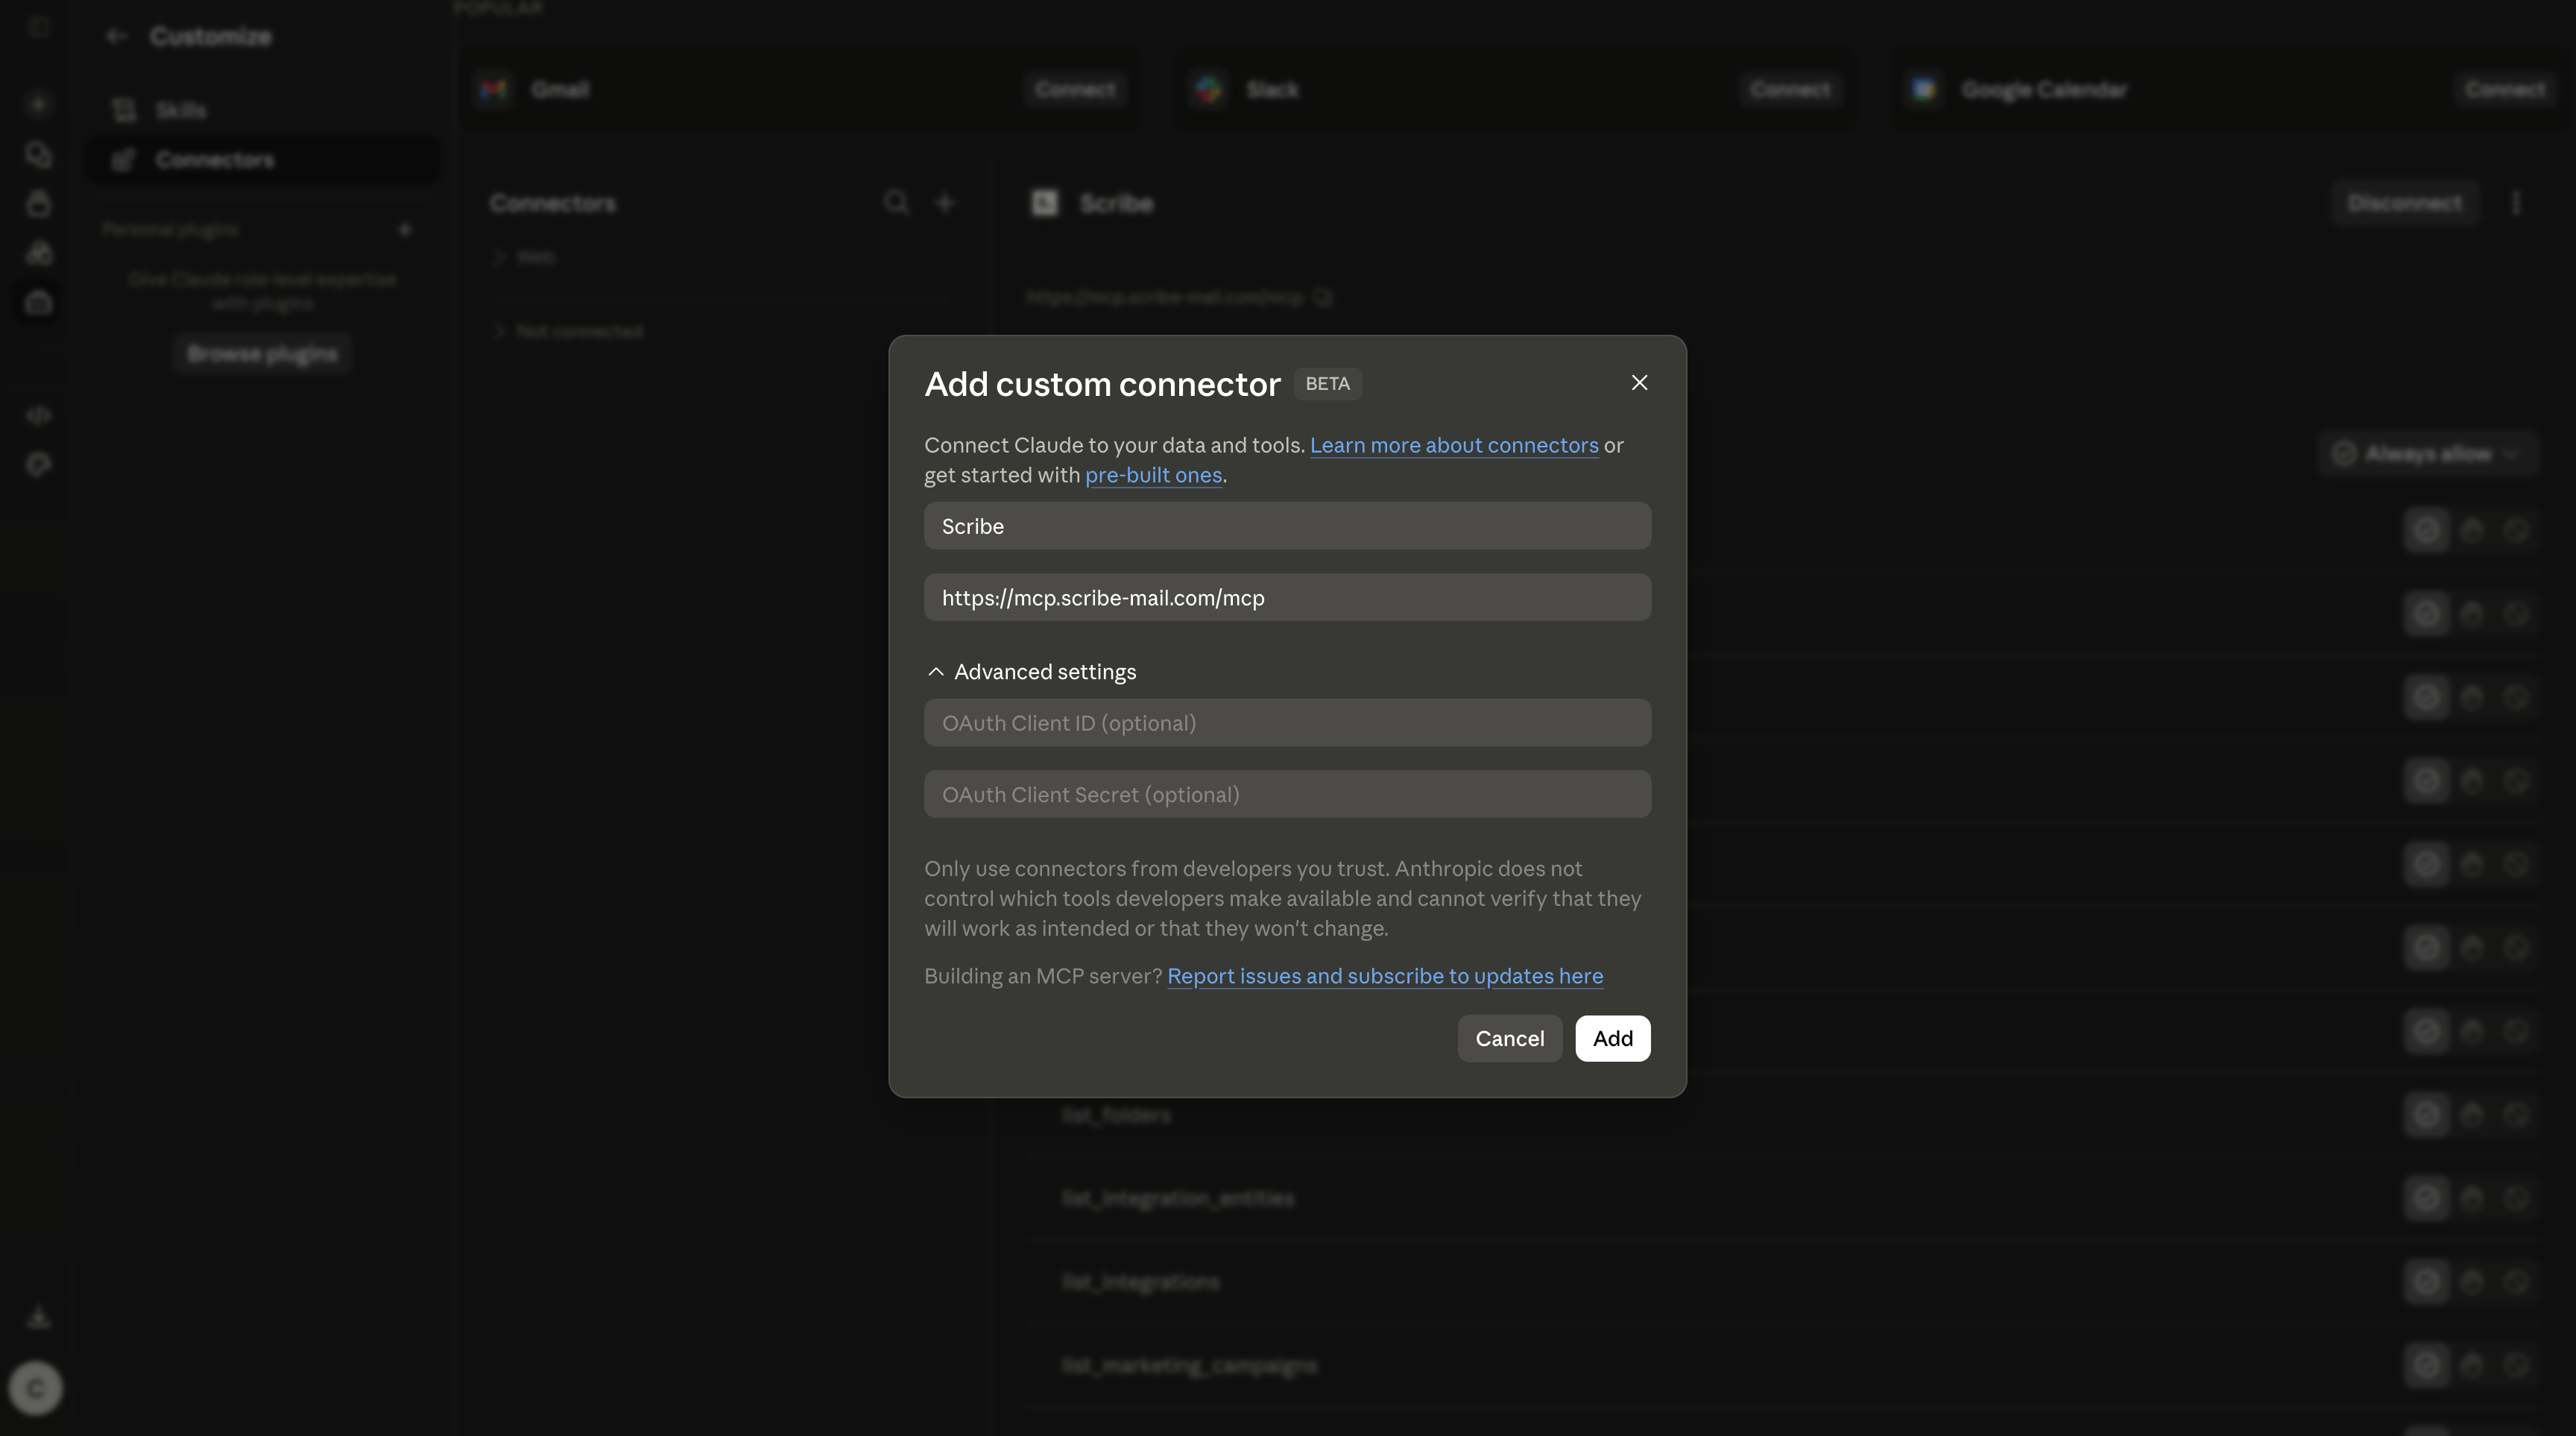
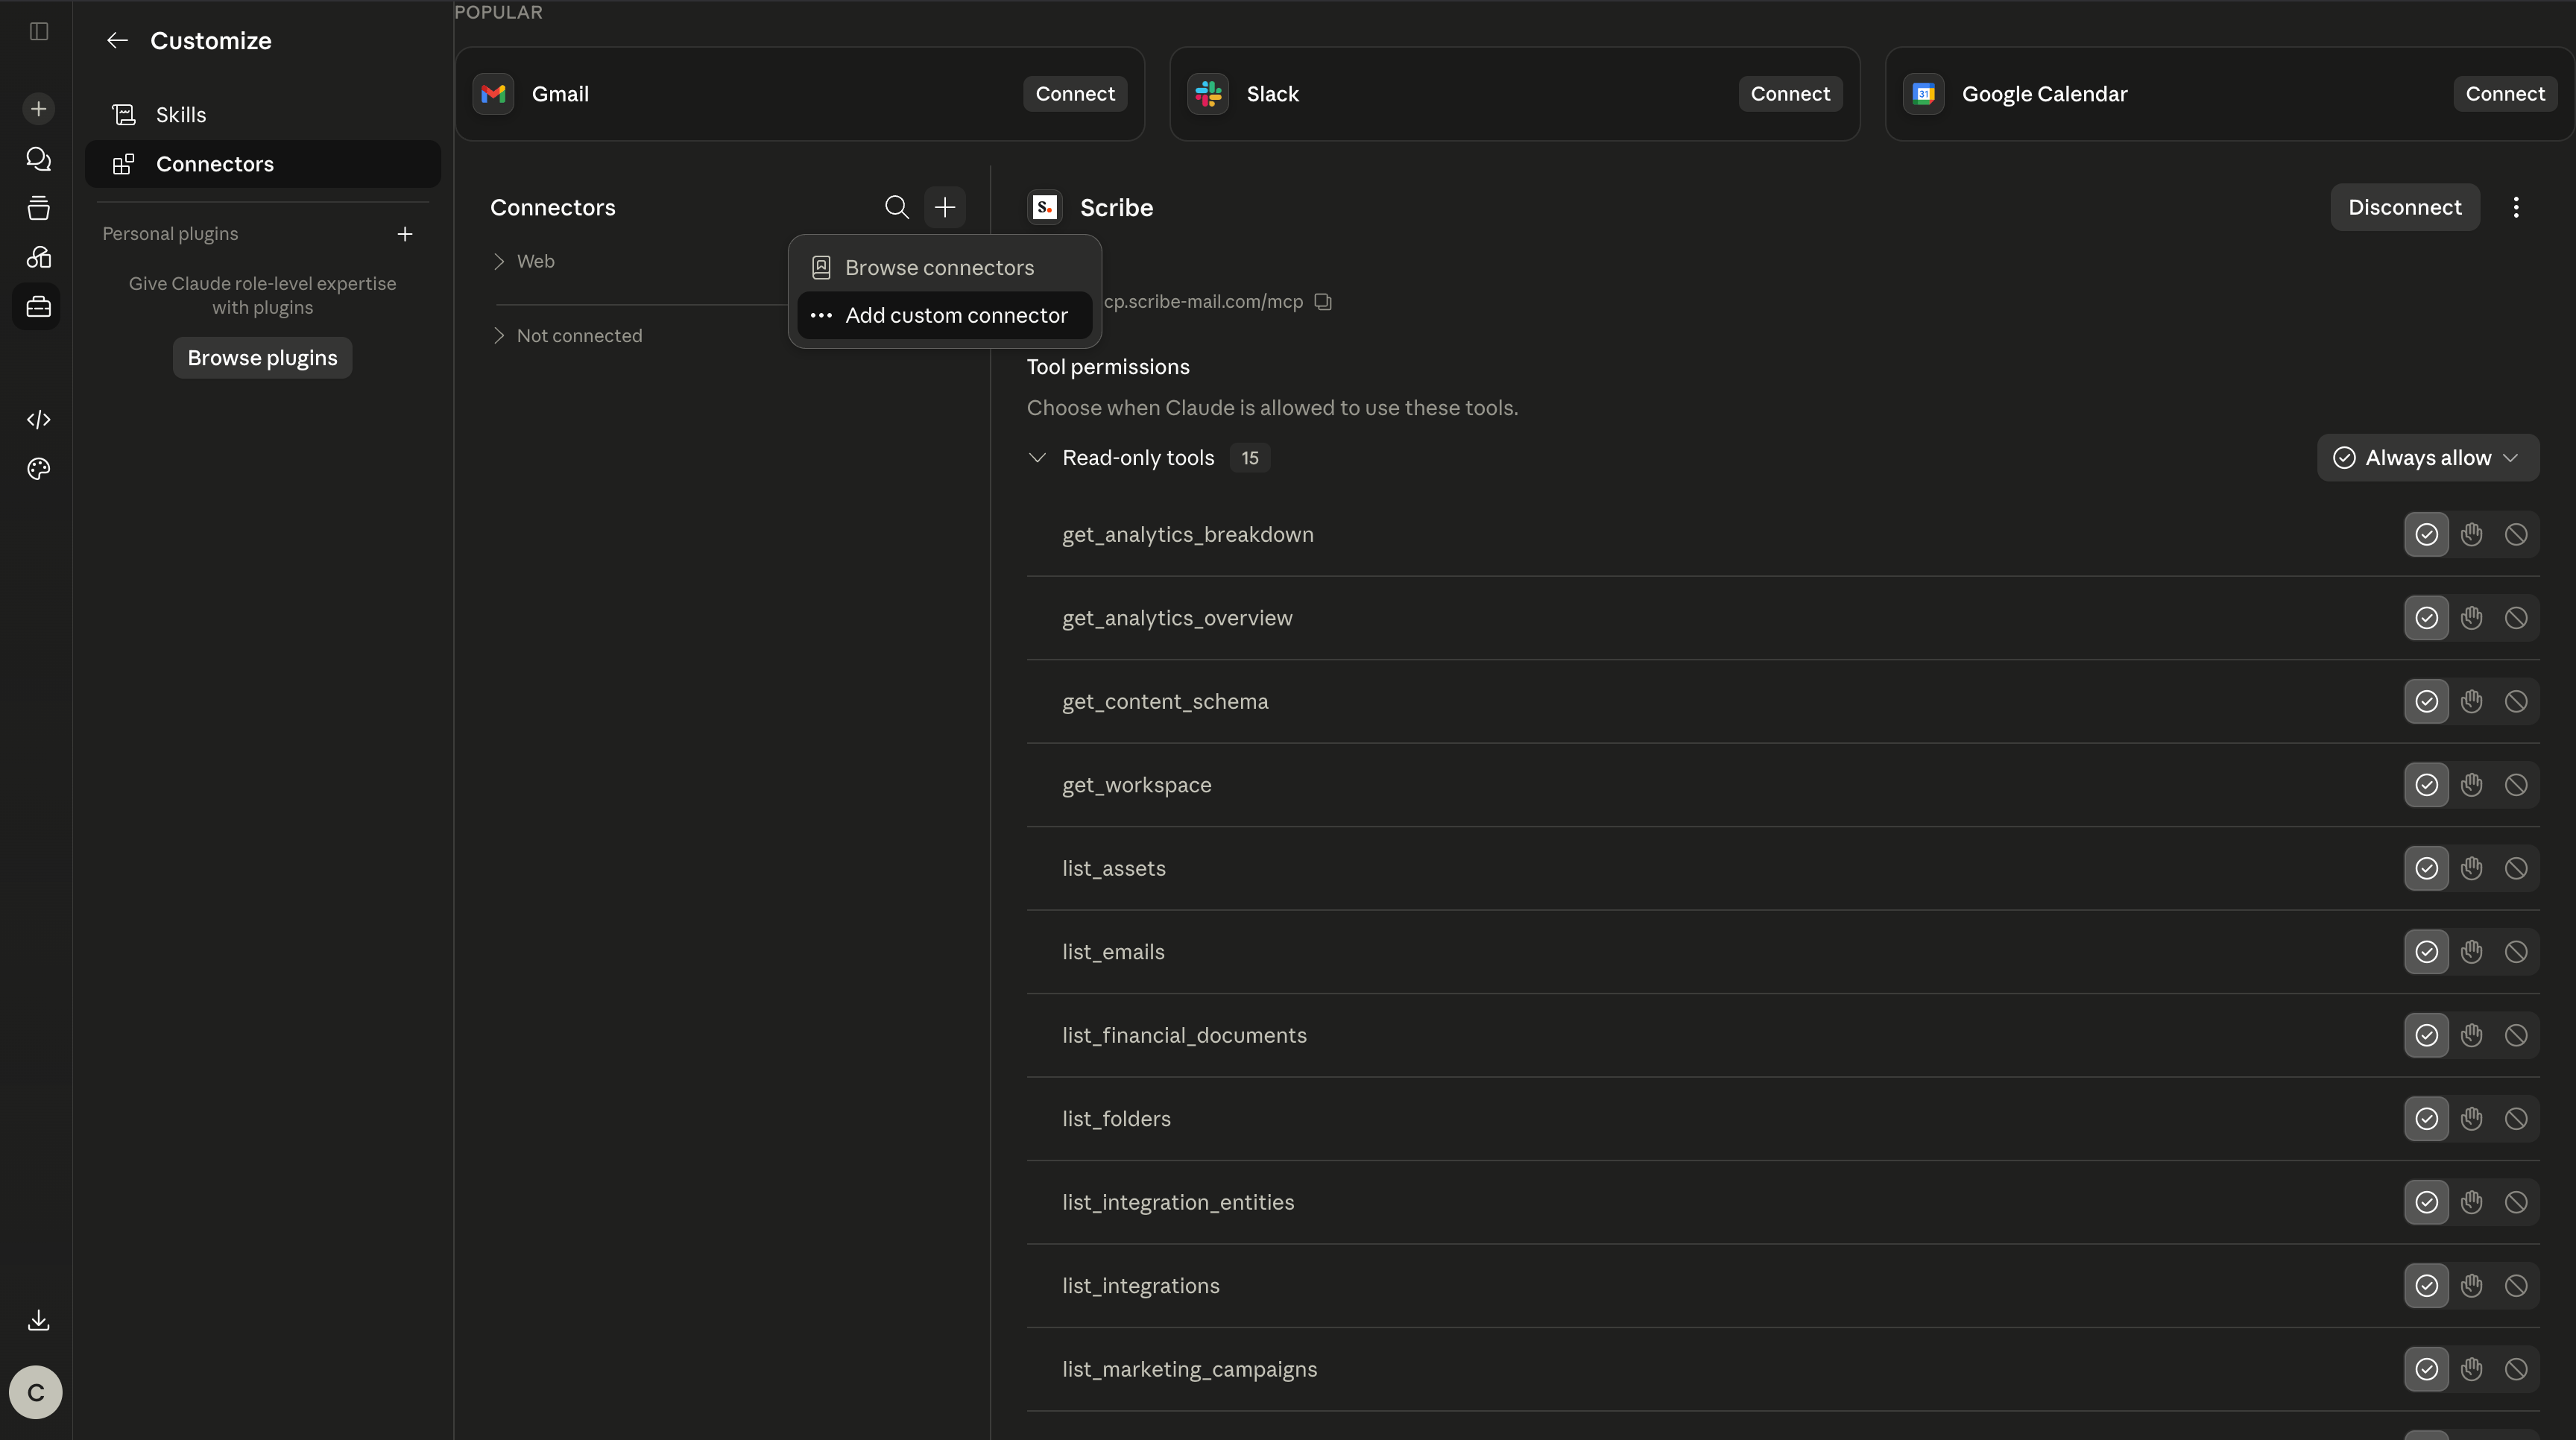 3. Name it `Scribe`, paste the URL below, then click **Add**:
```text theme={null}
https://mcp.scribe-mail.com/mcp
```
3. Name it `Scribe`, paste the URL below, then click **Add**:
```text theme={null}
https://mcp.scribe-mail.com/mcp
```
 4. Scribe now appears in your connectors. Click **Connect**.
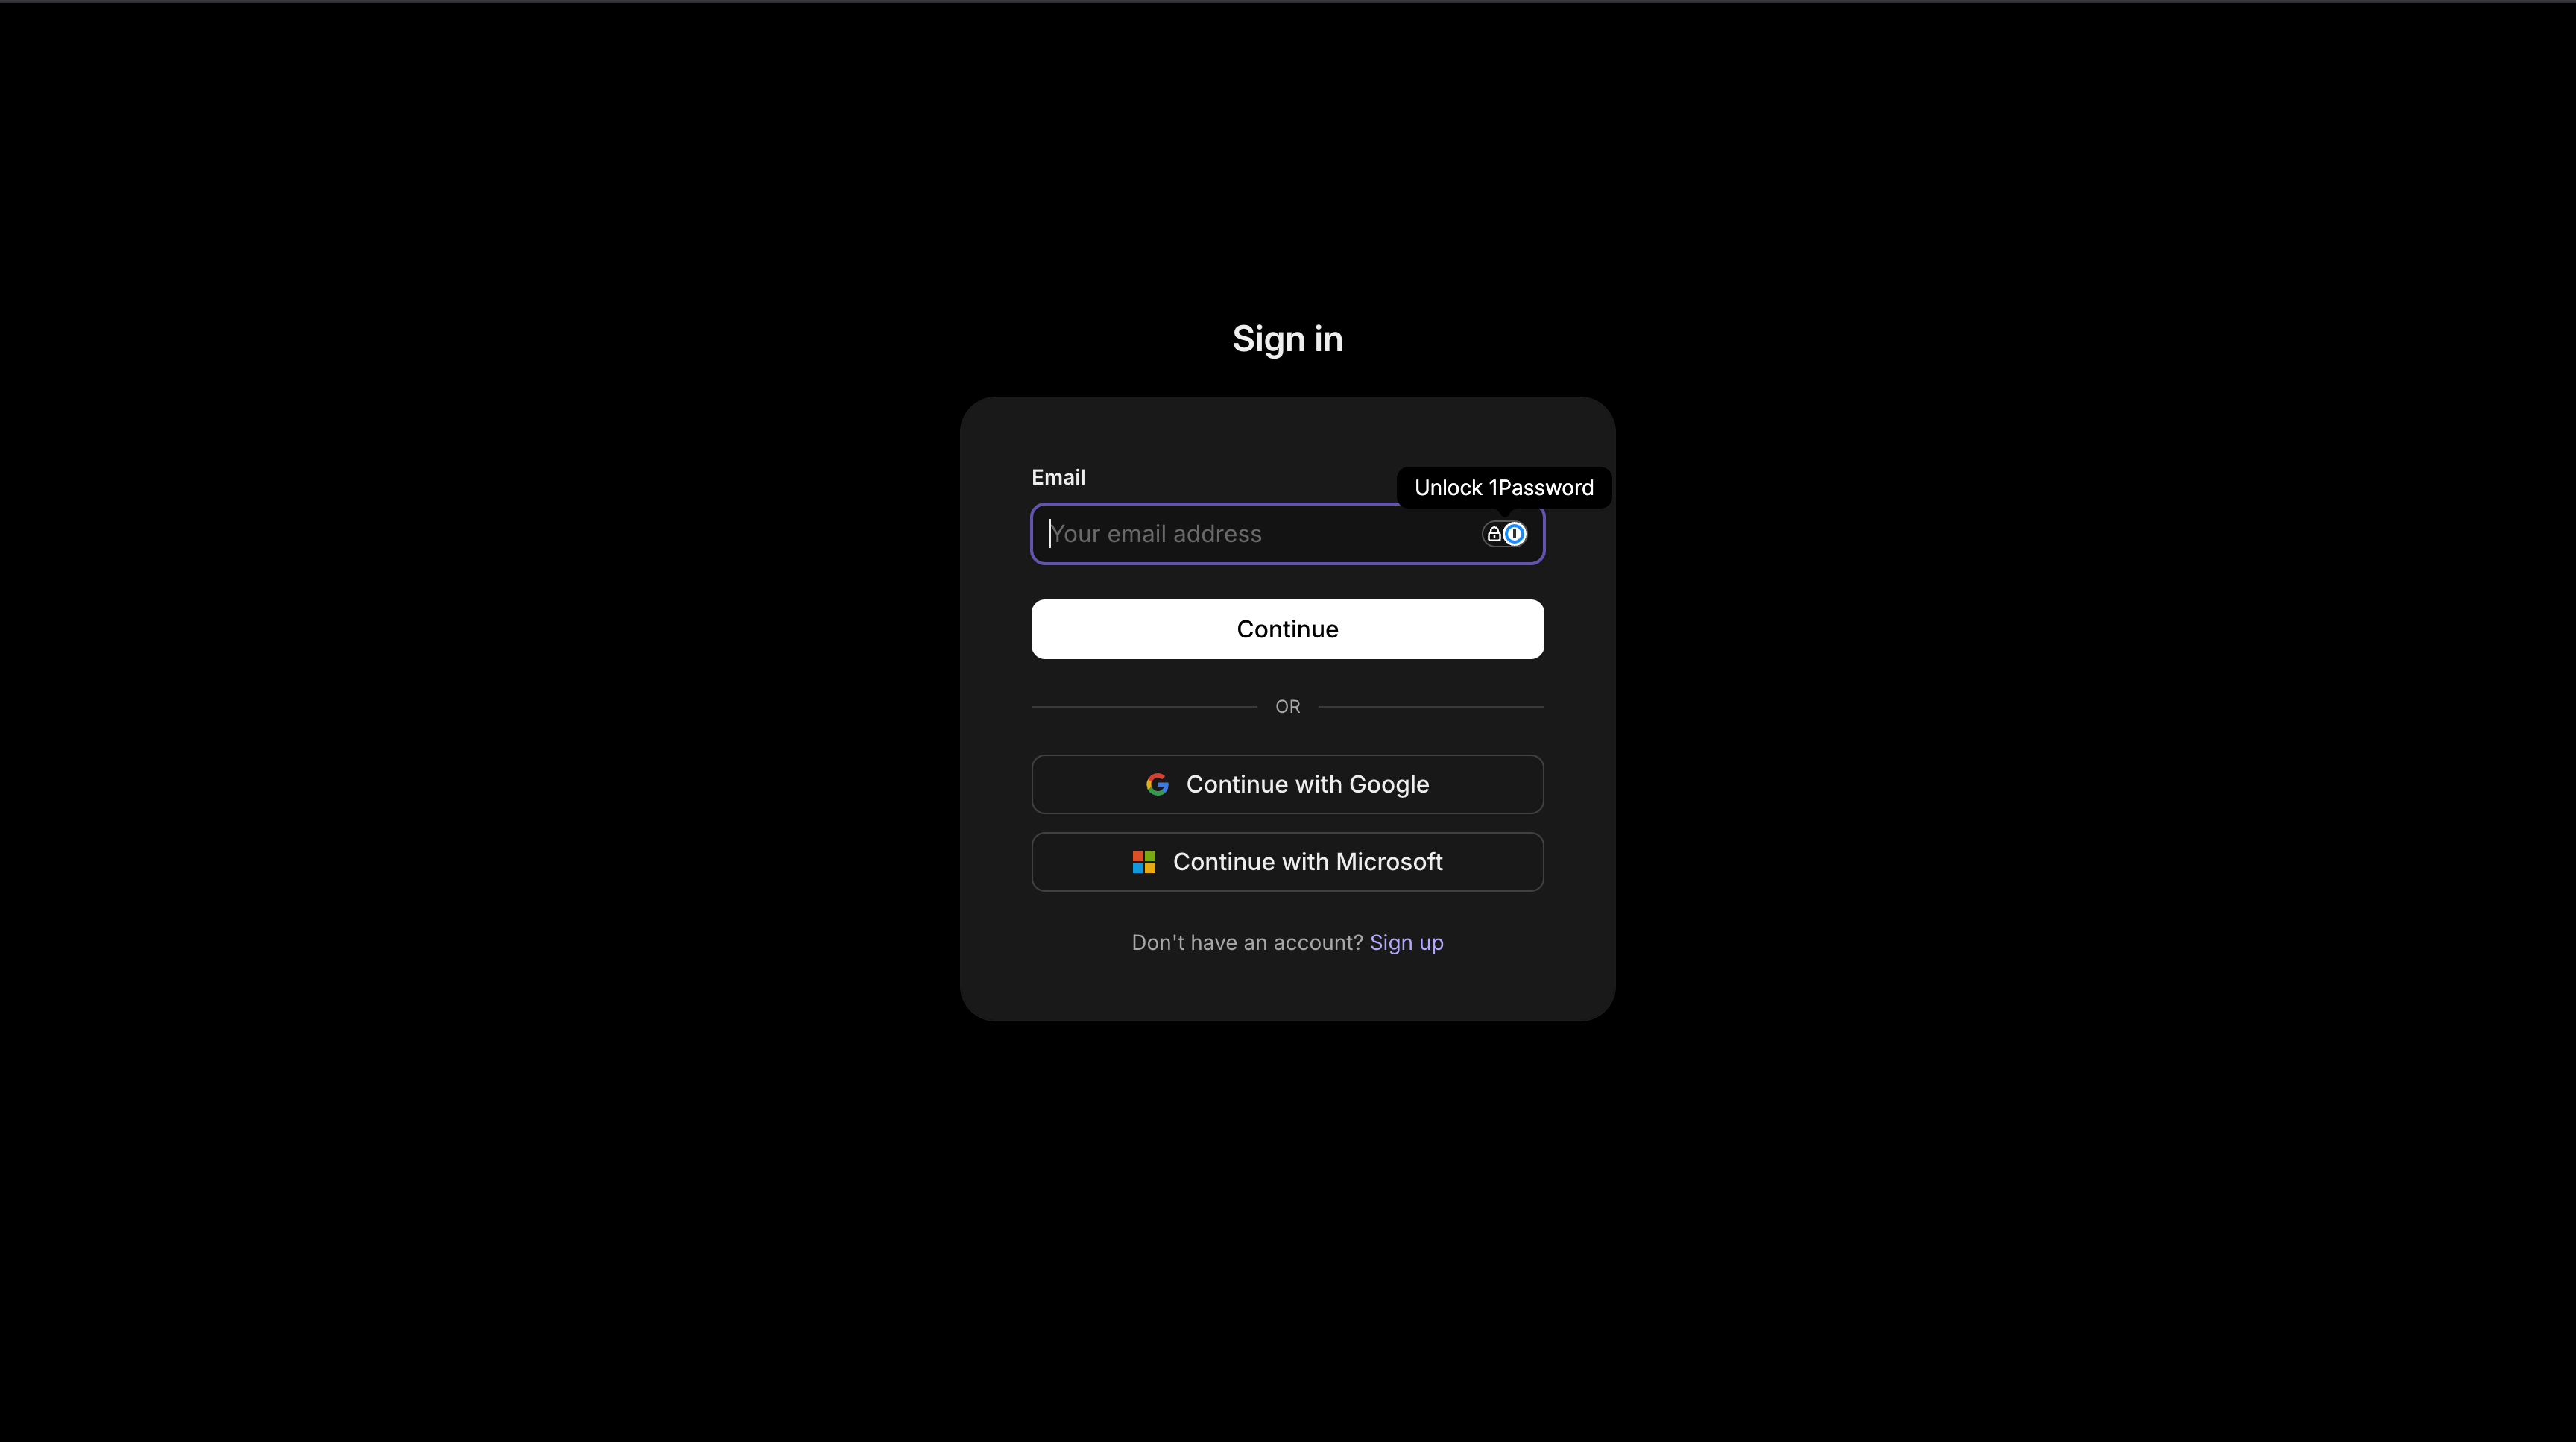
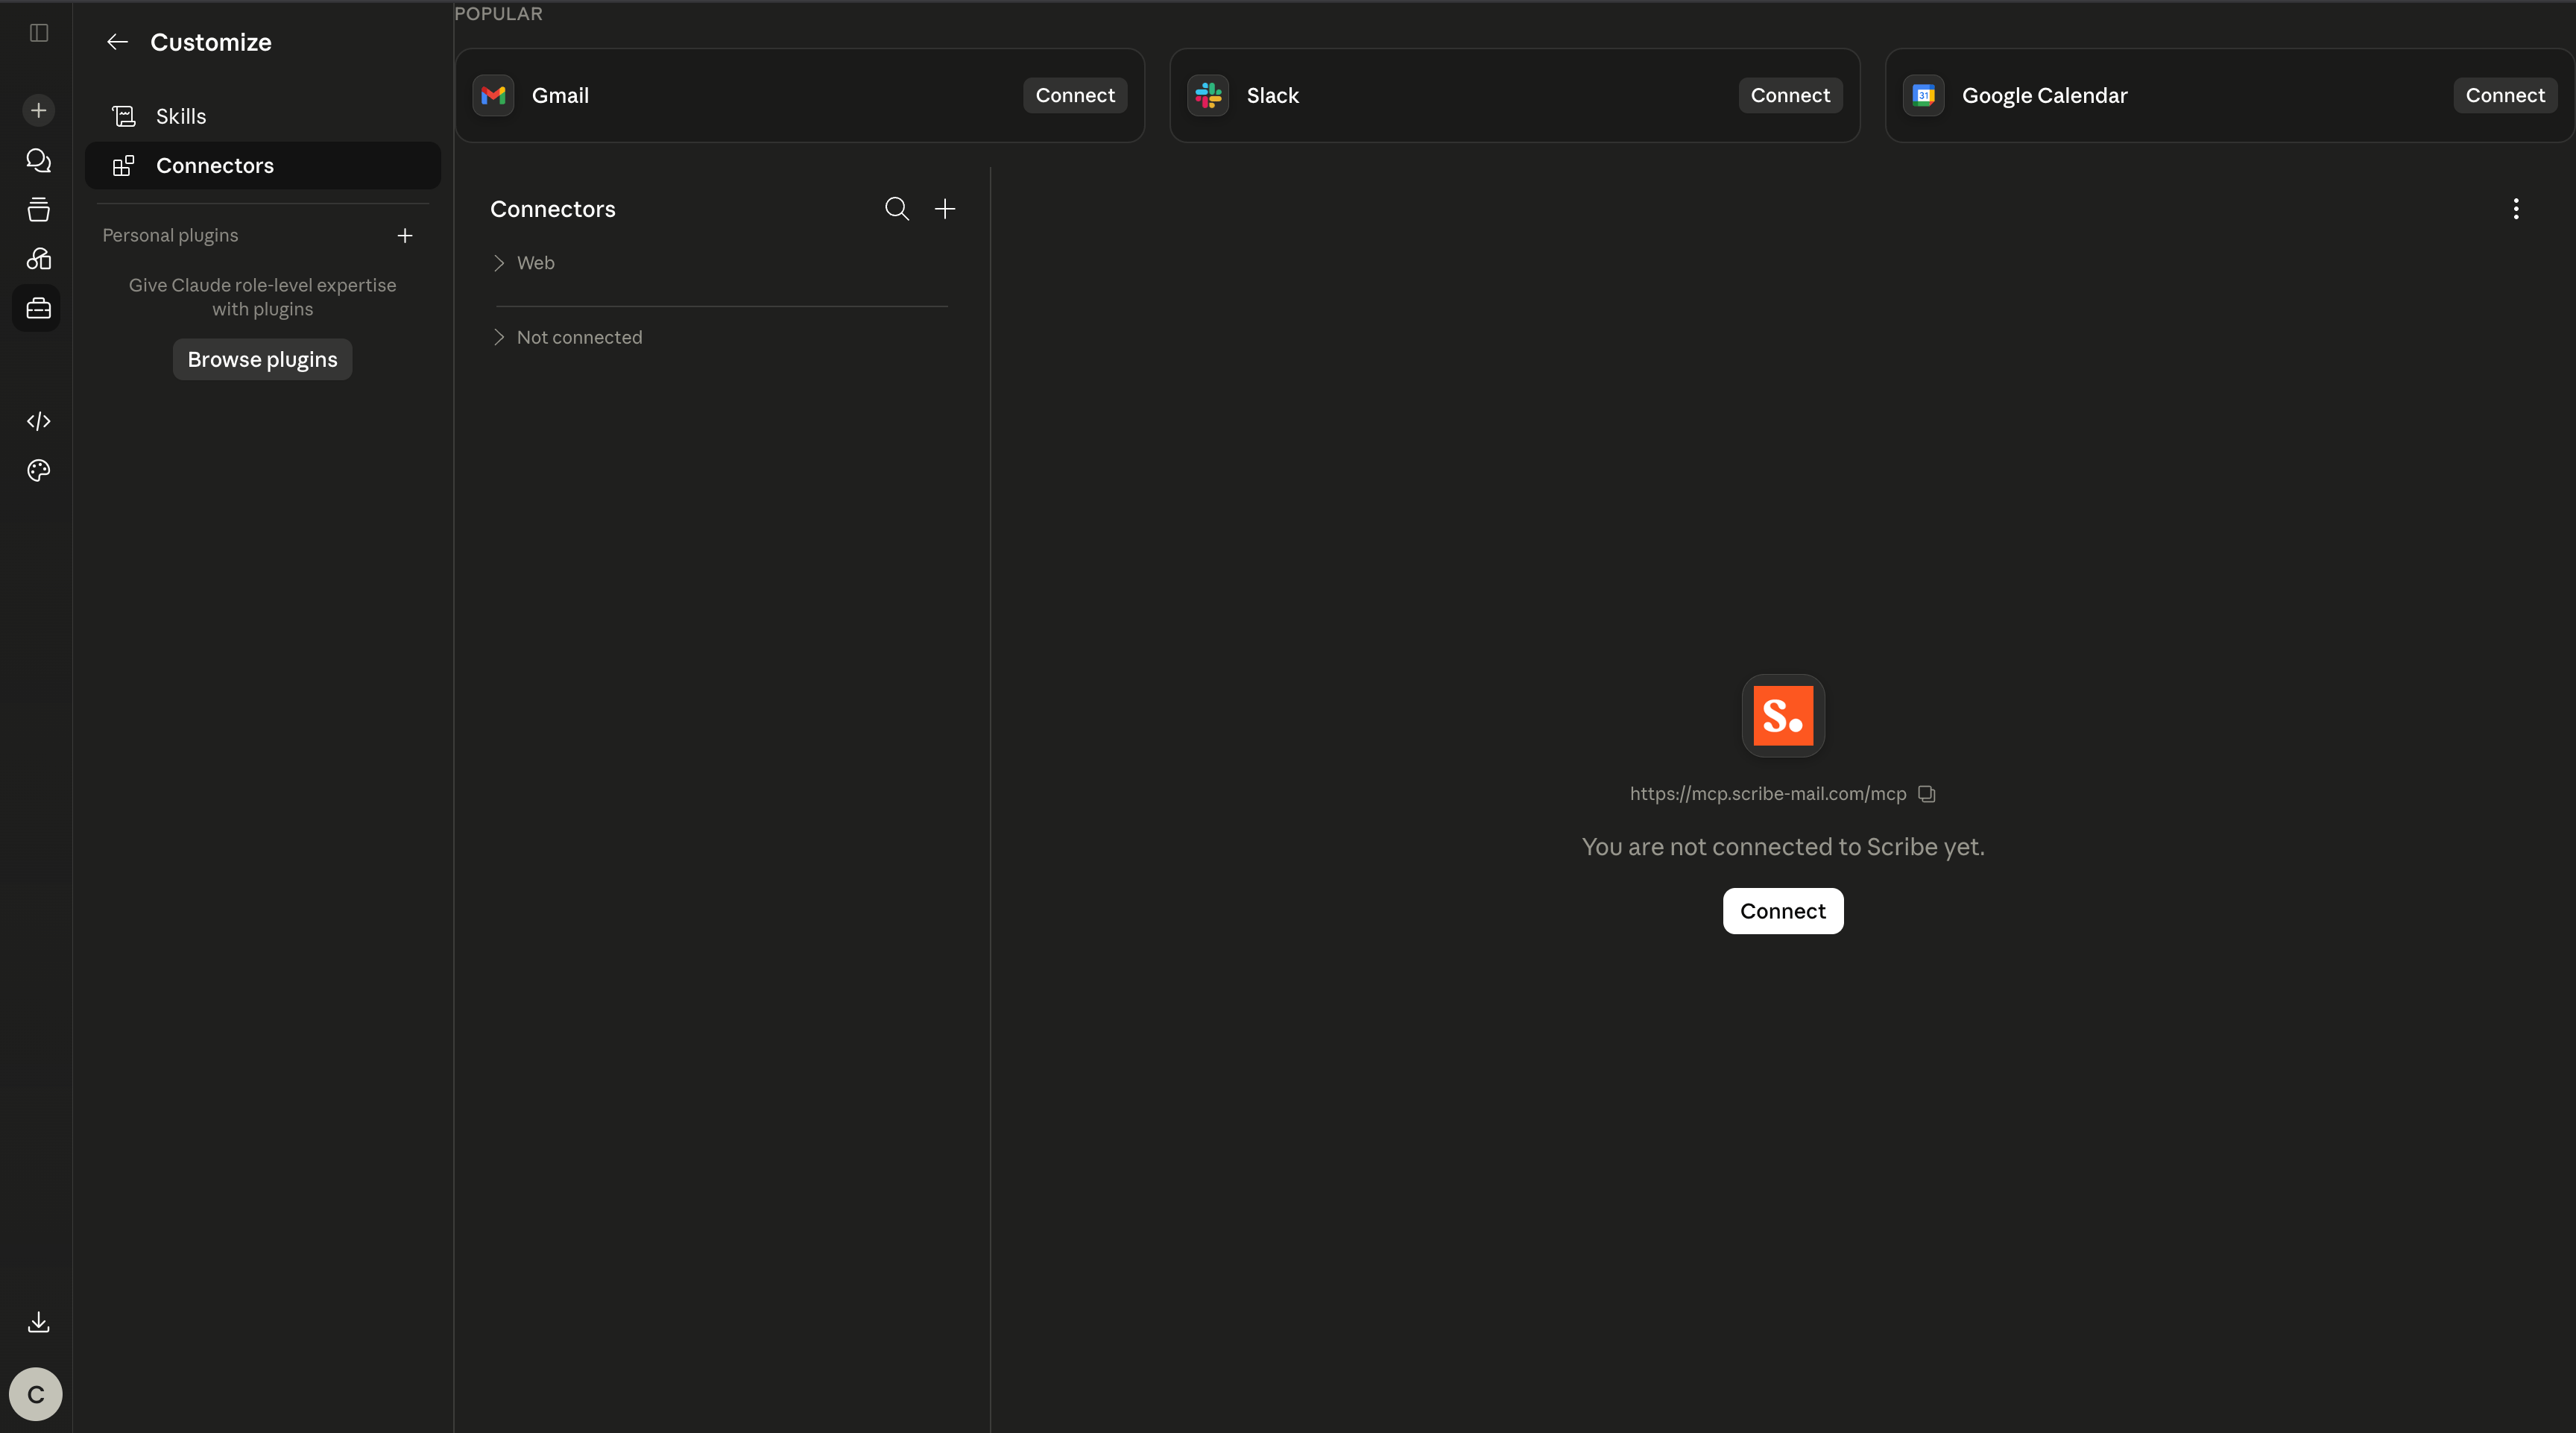 5. Sign in with your Scribe account when prompted.
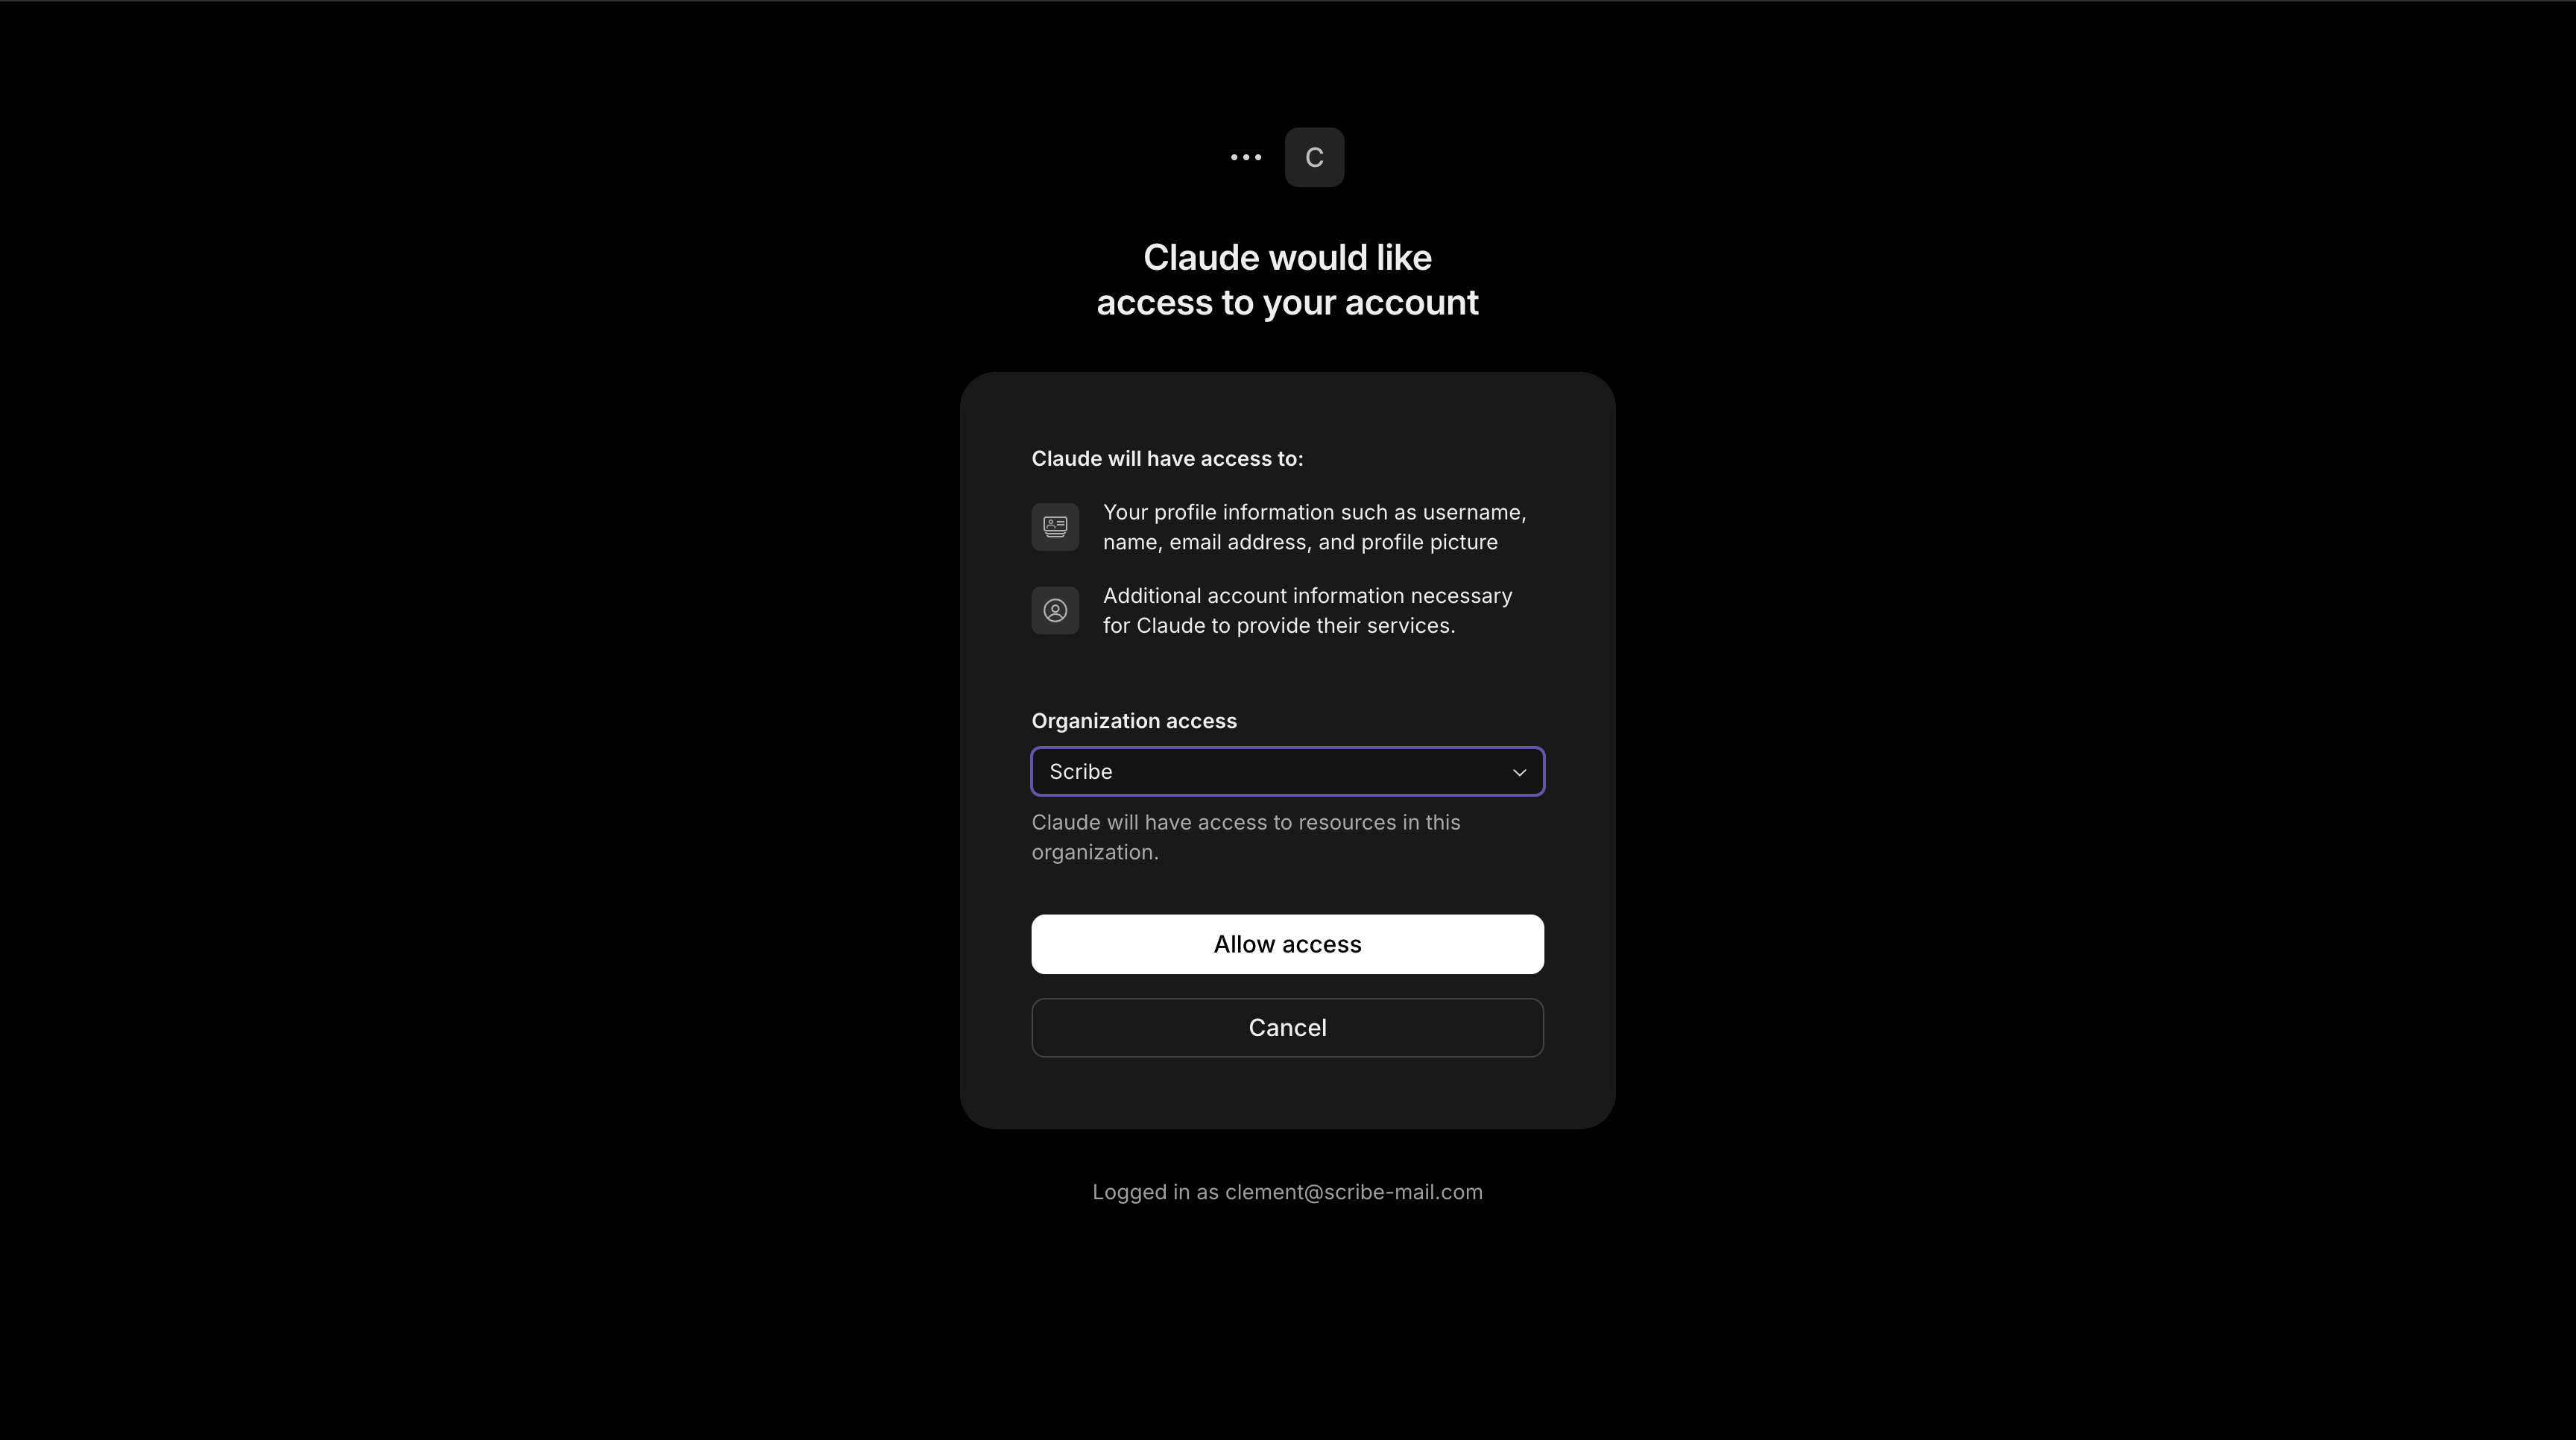
 6. Review the access, then click **Allow access**.
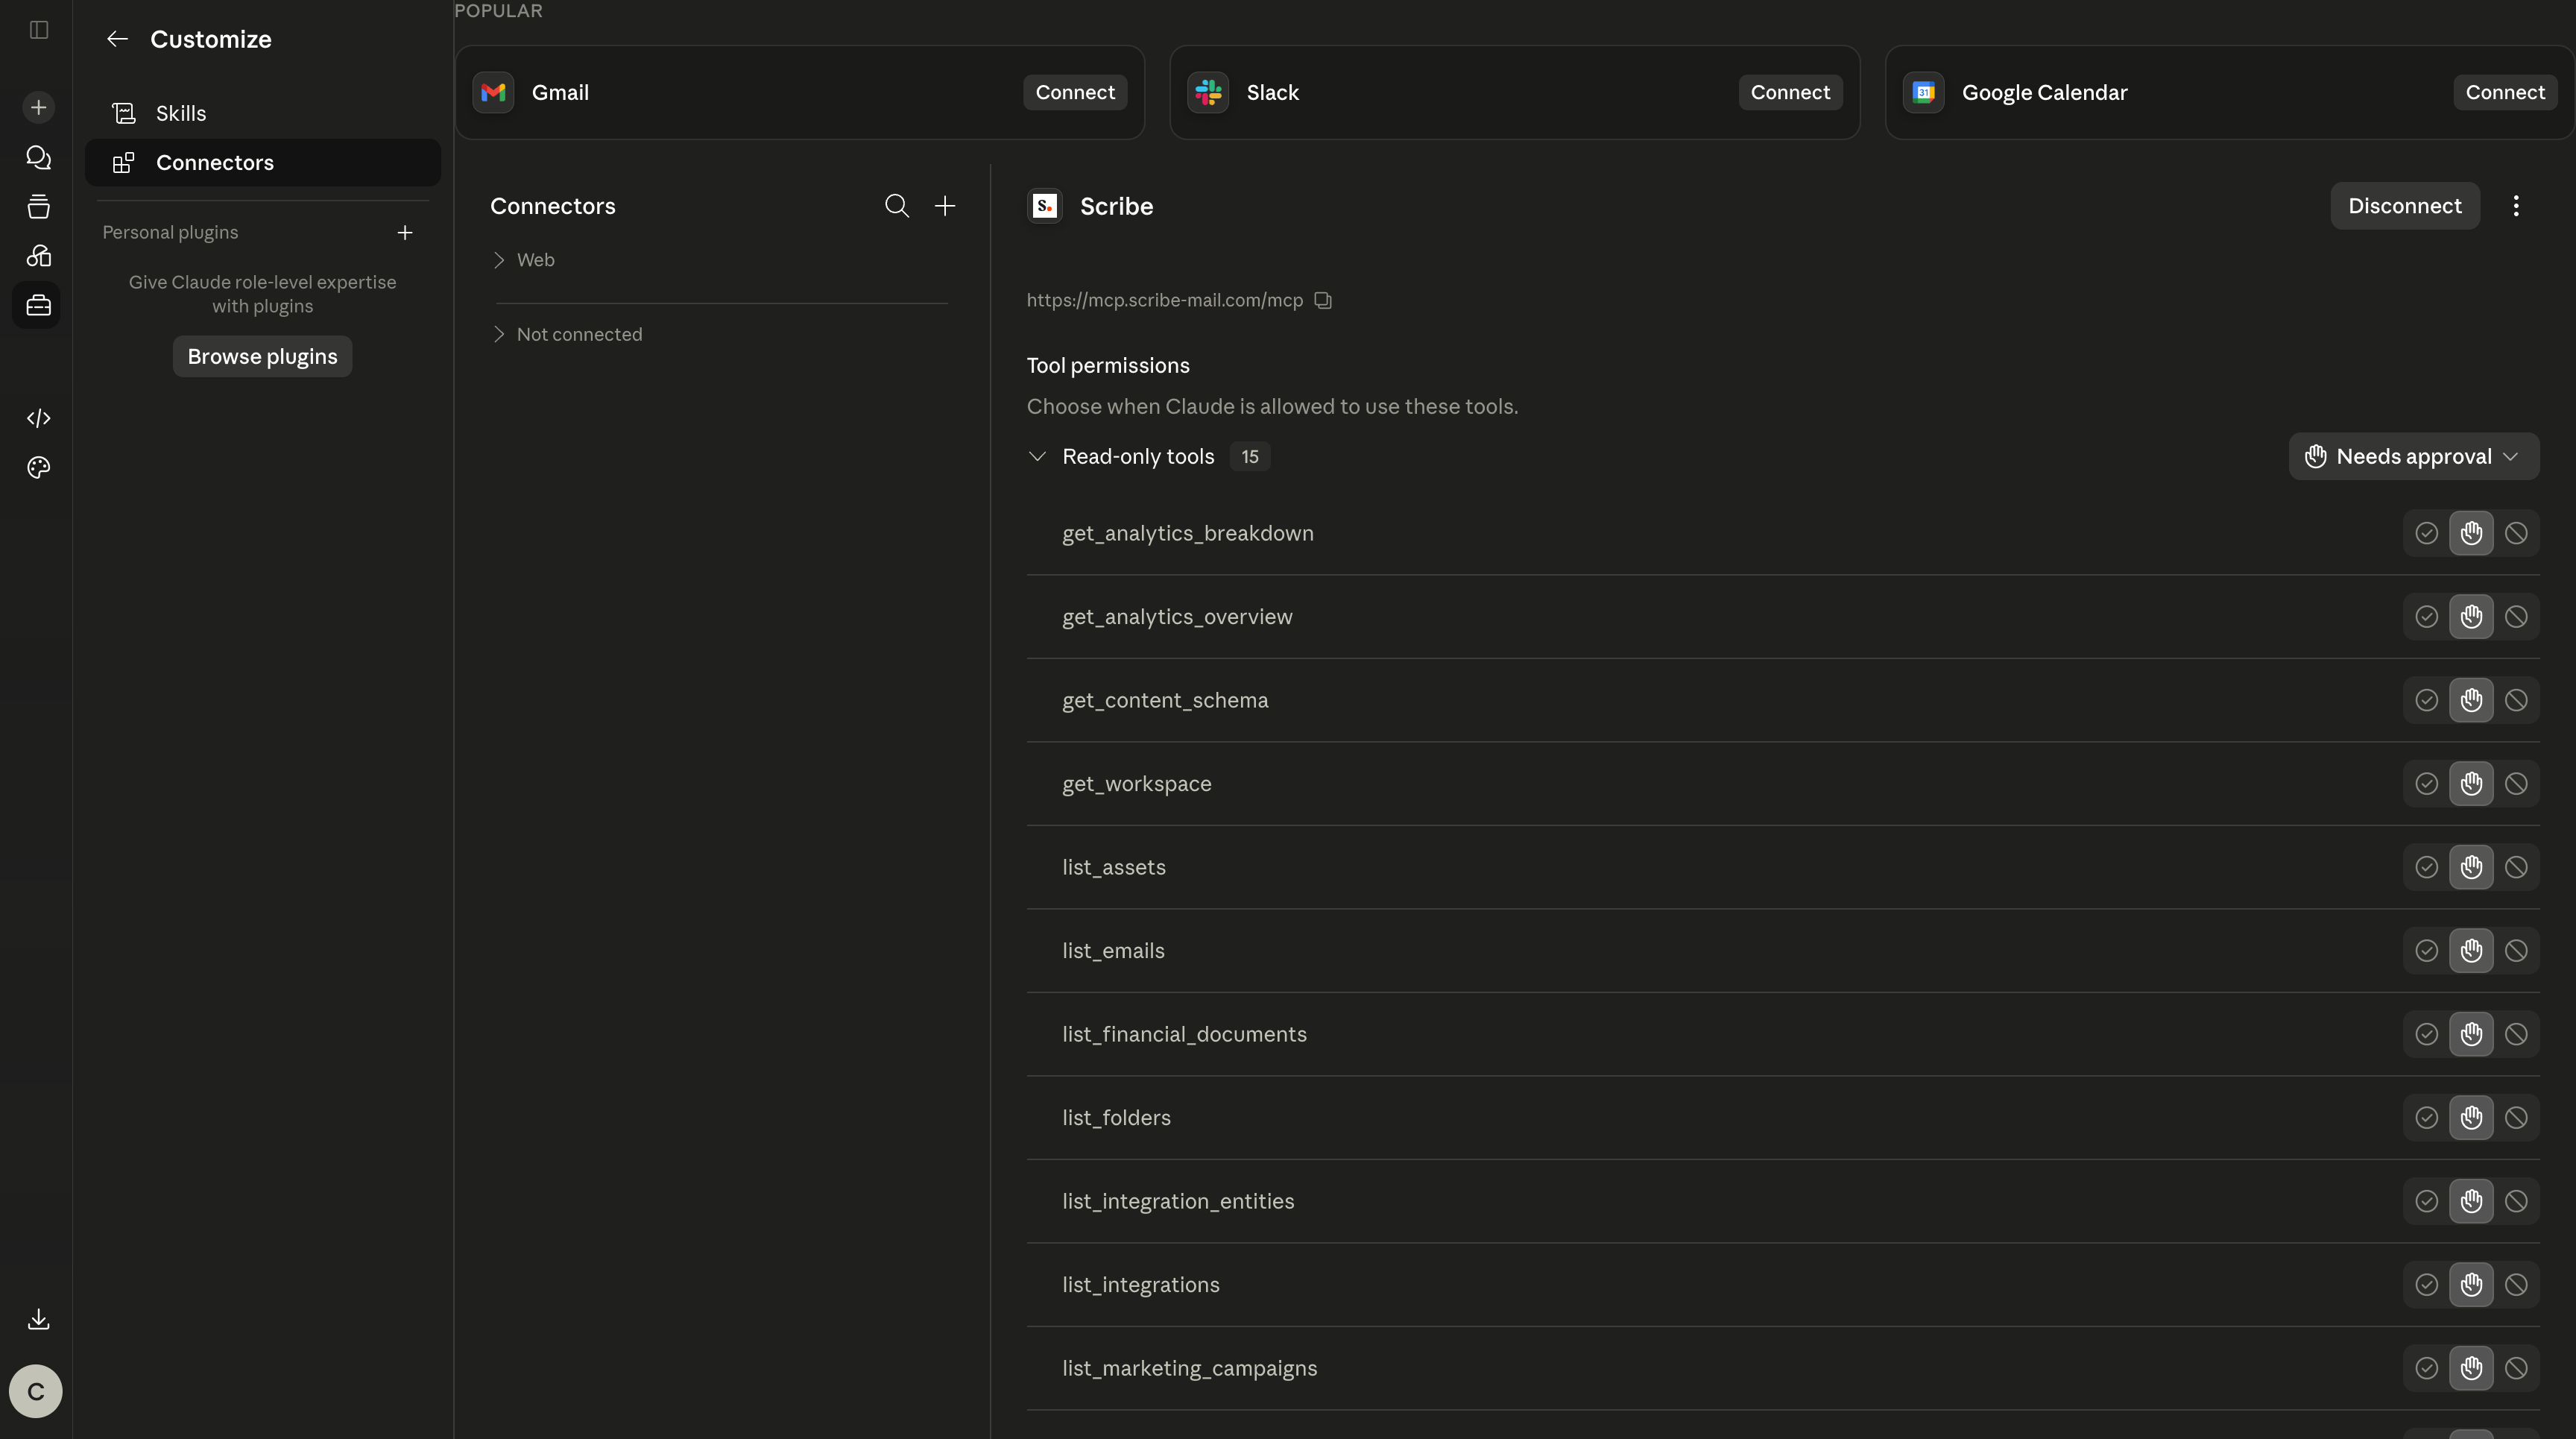
 7. Done. Scribe is connected, and you can adjust each tool's permission whenever you need.
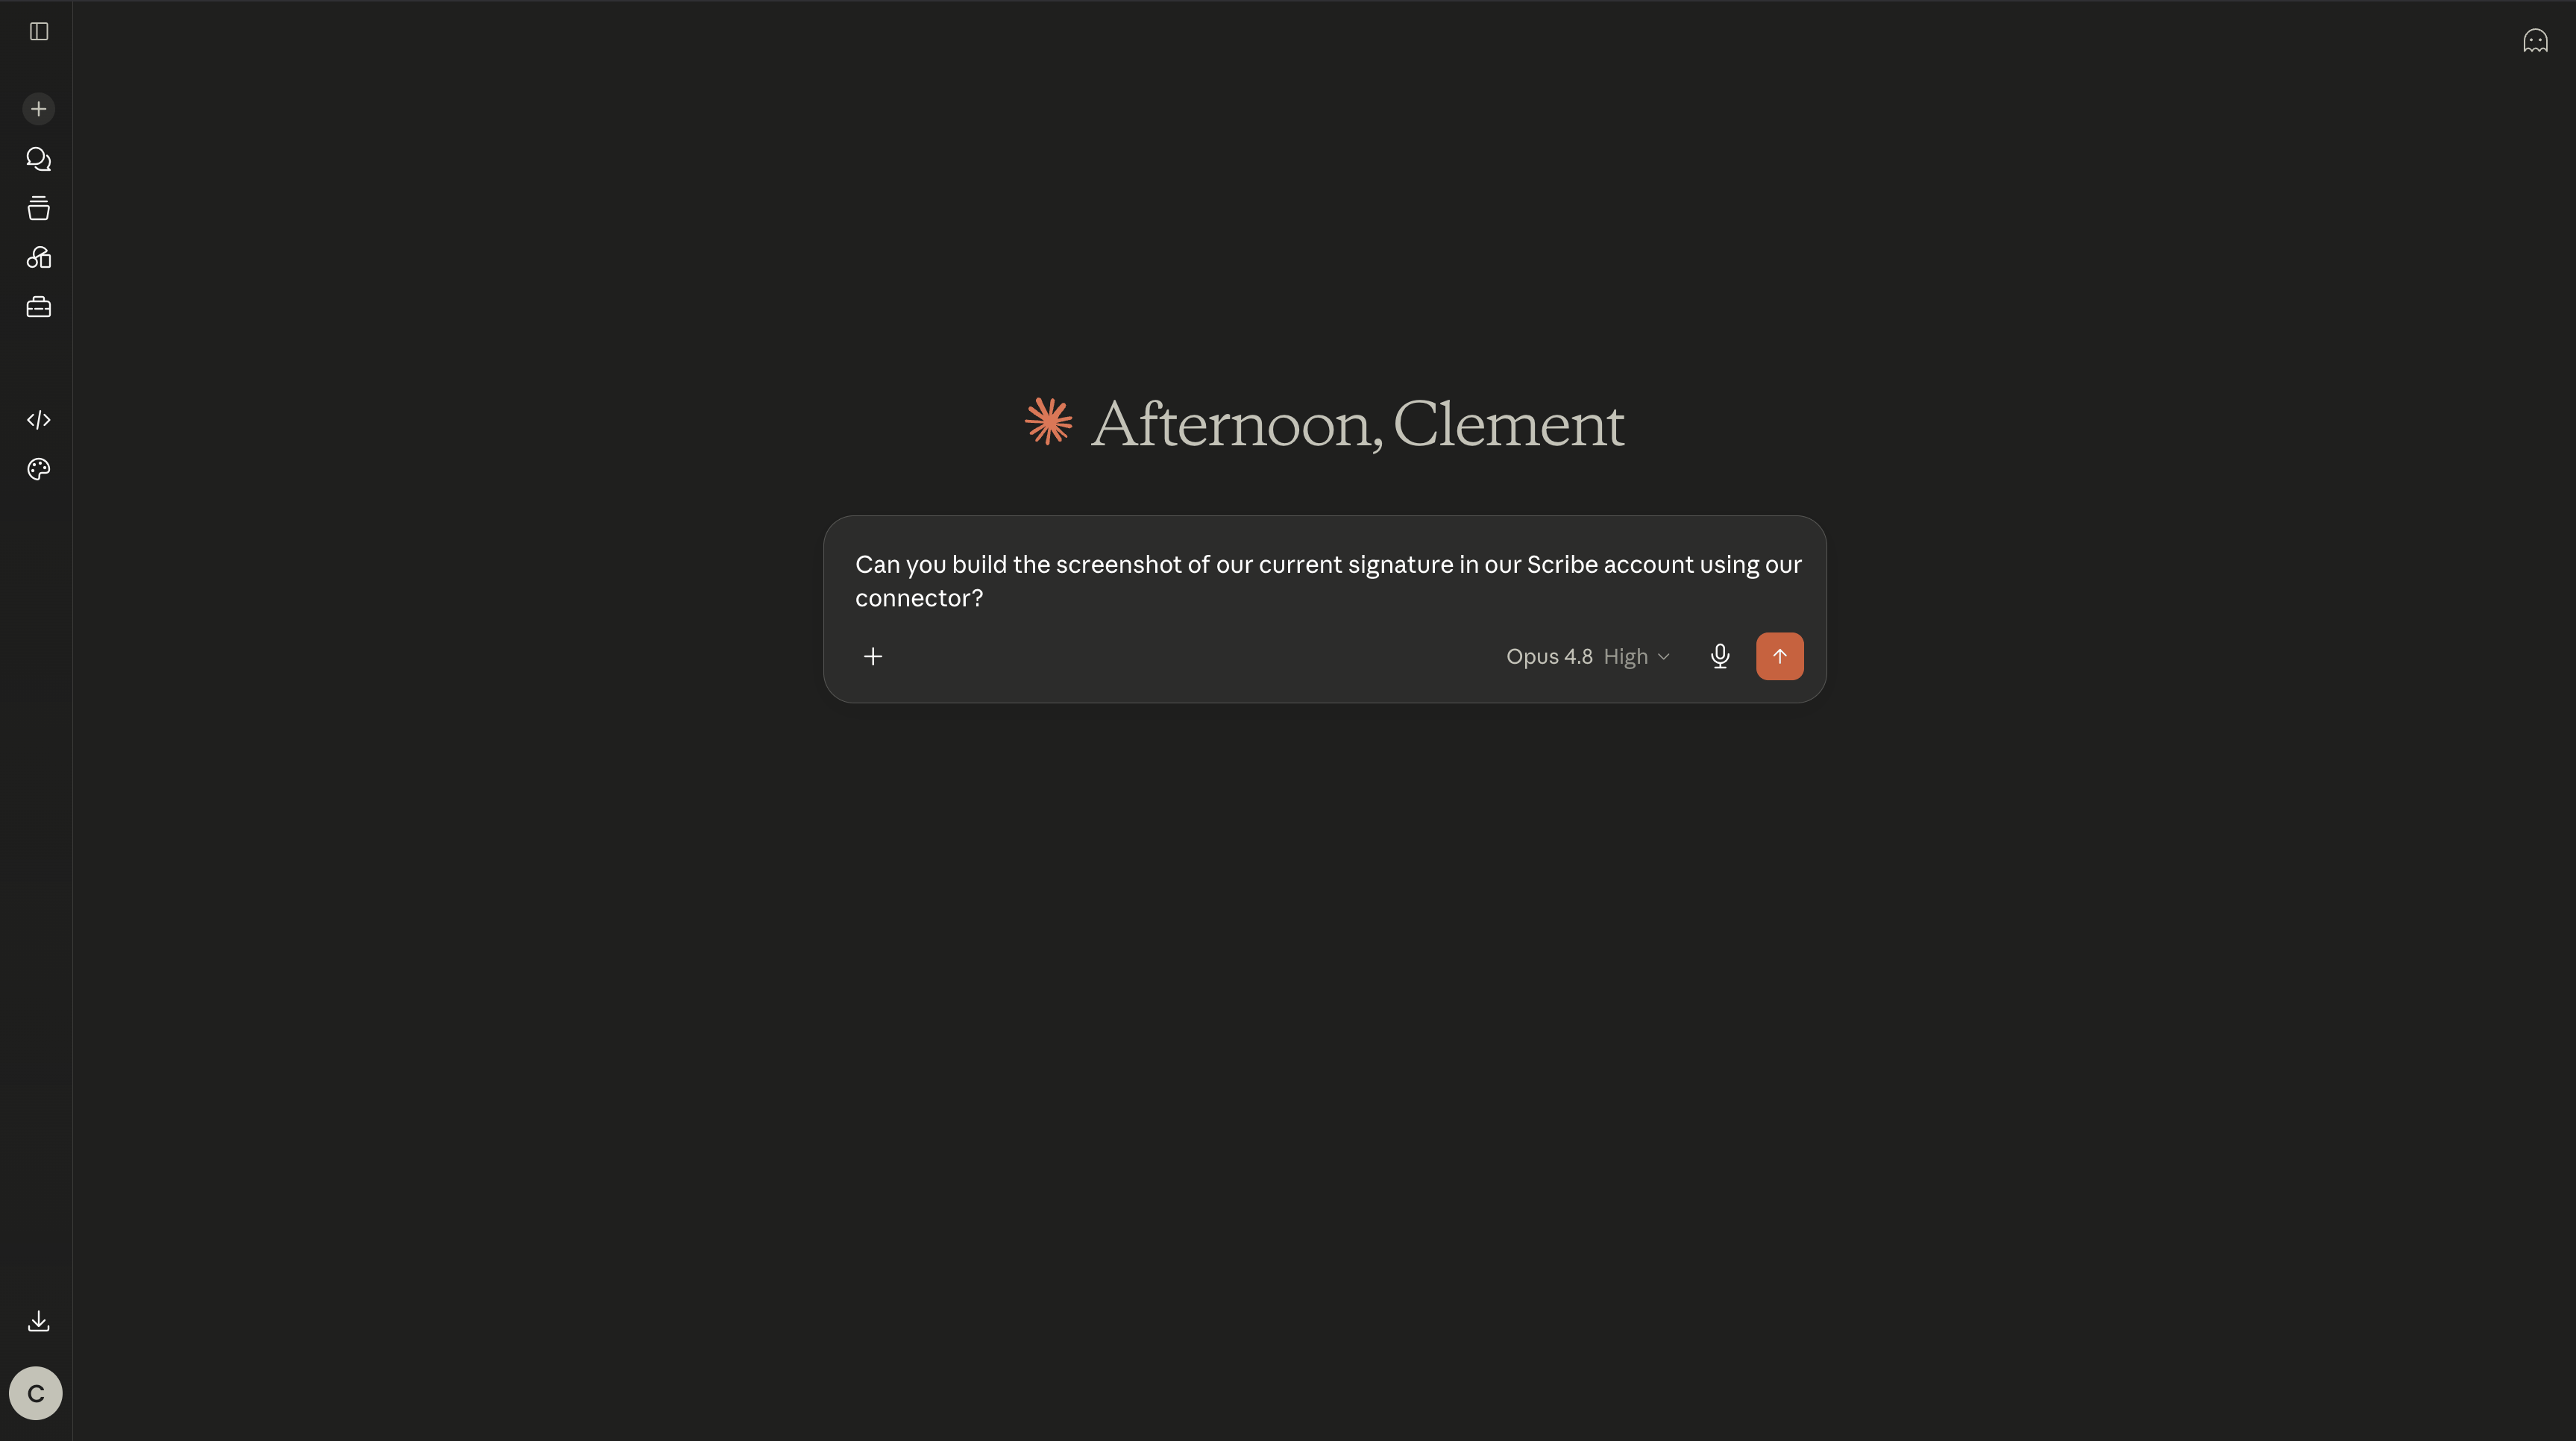
 Open a new chat and ask Claude to manage your account through the Scribe connector, from creating a signature to pulling your analytics.
 ### Connect ChatGPT to Scribe
Requires a Plus, Pro, Business, or Enterprise plan with Developer Mode enabled, on the web.
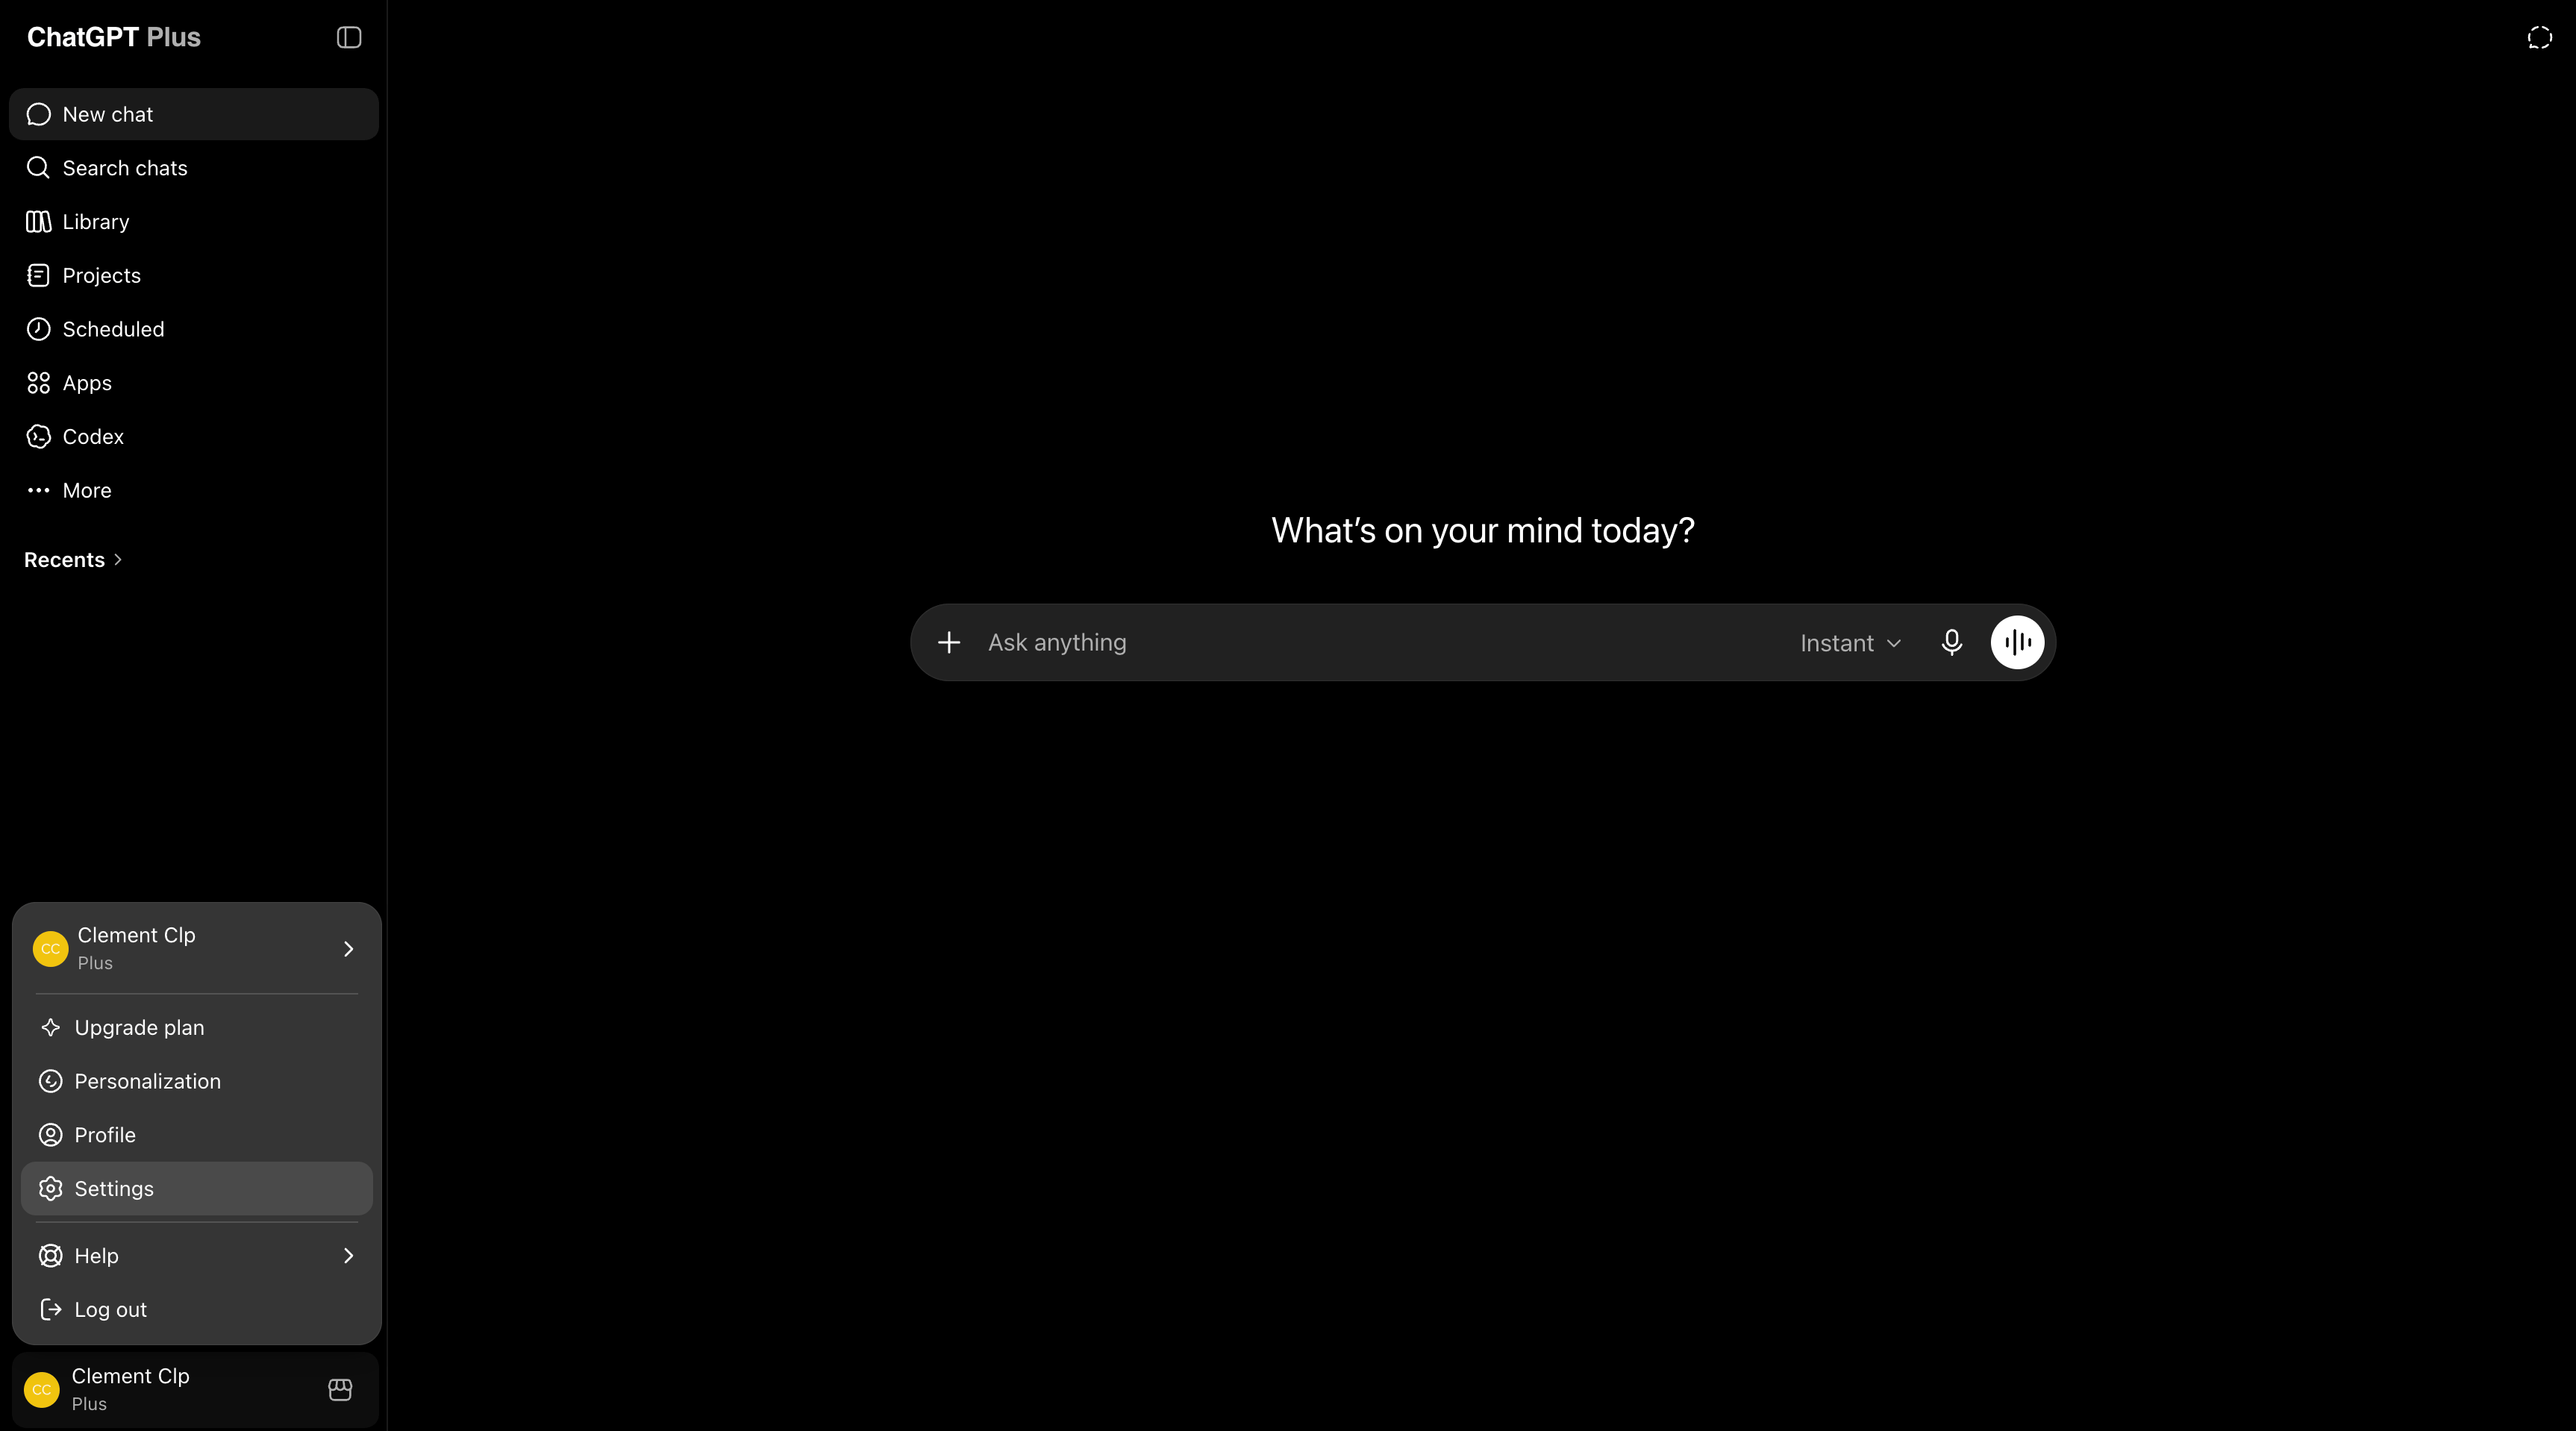
1. Click your profile icon, then open **Settings**.
### Connect ChatGPT to Scribe
Requires a Plus, Pro, Business, or Enterprise plan with Developer Mode enabled, on the web.
1. Click your profile icon, then open **Settings**.
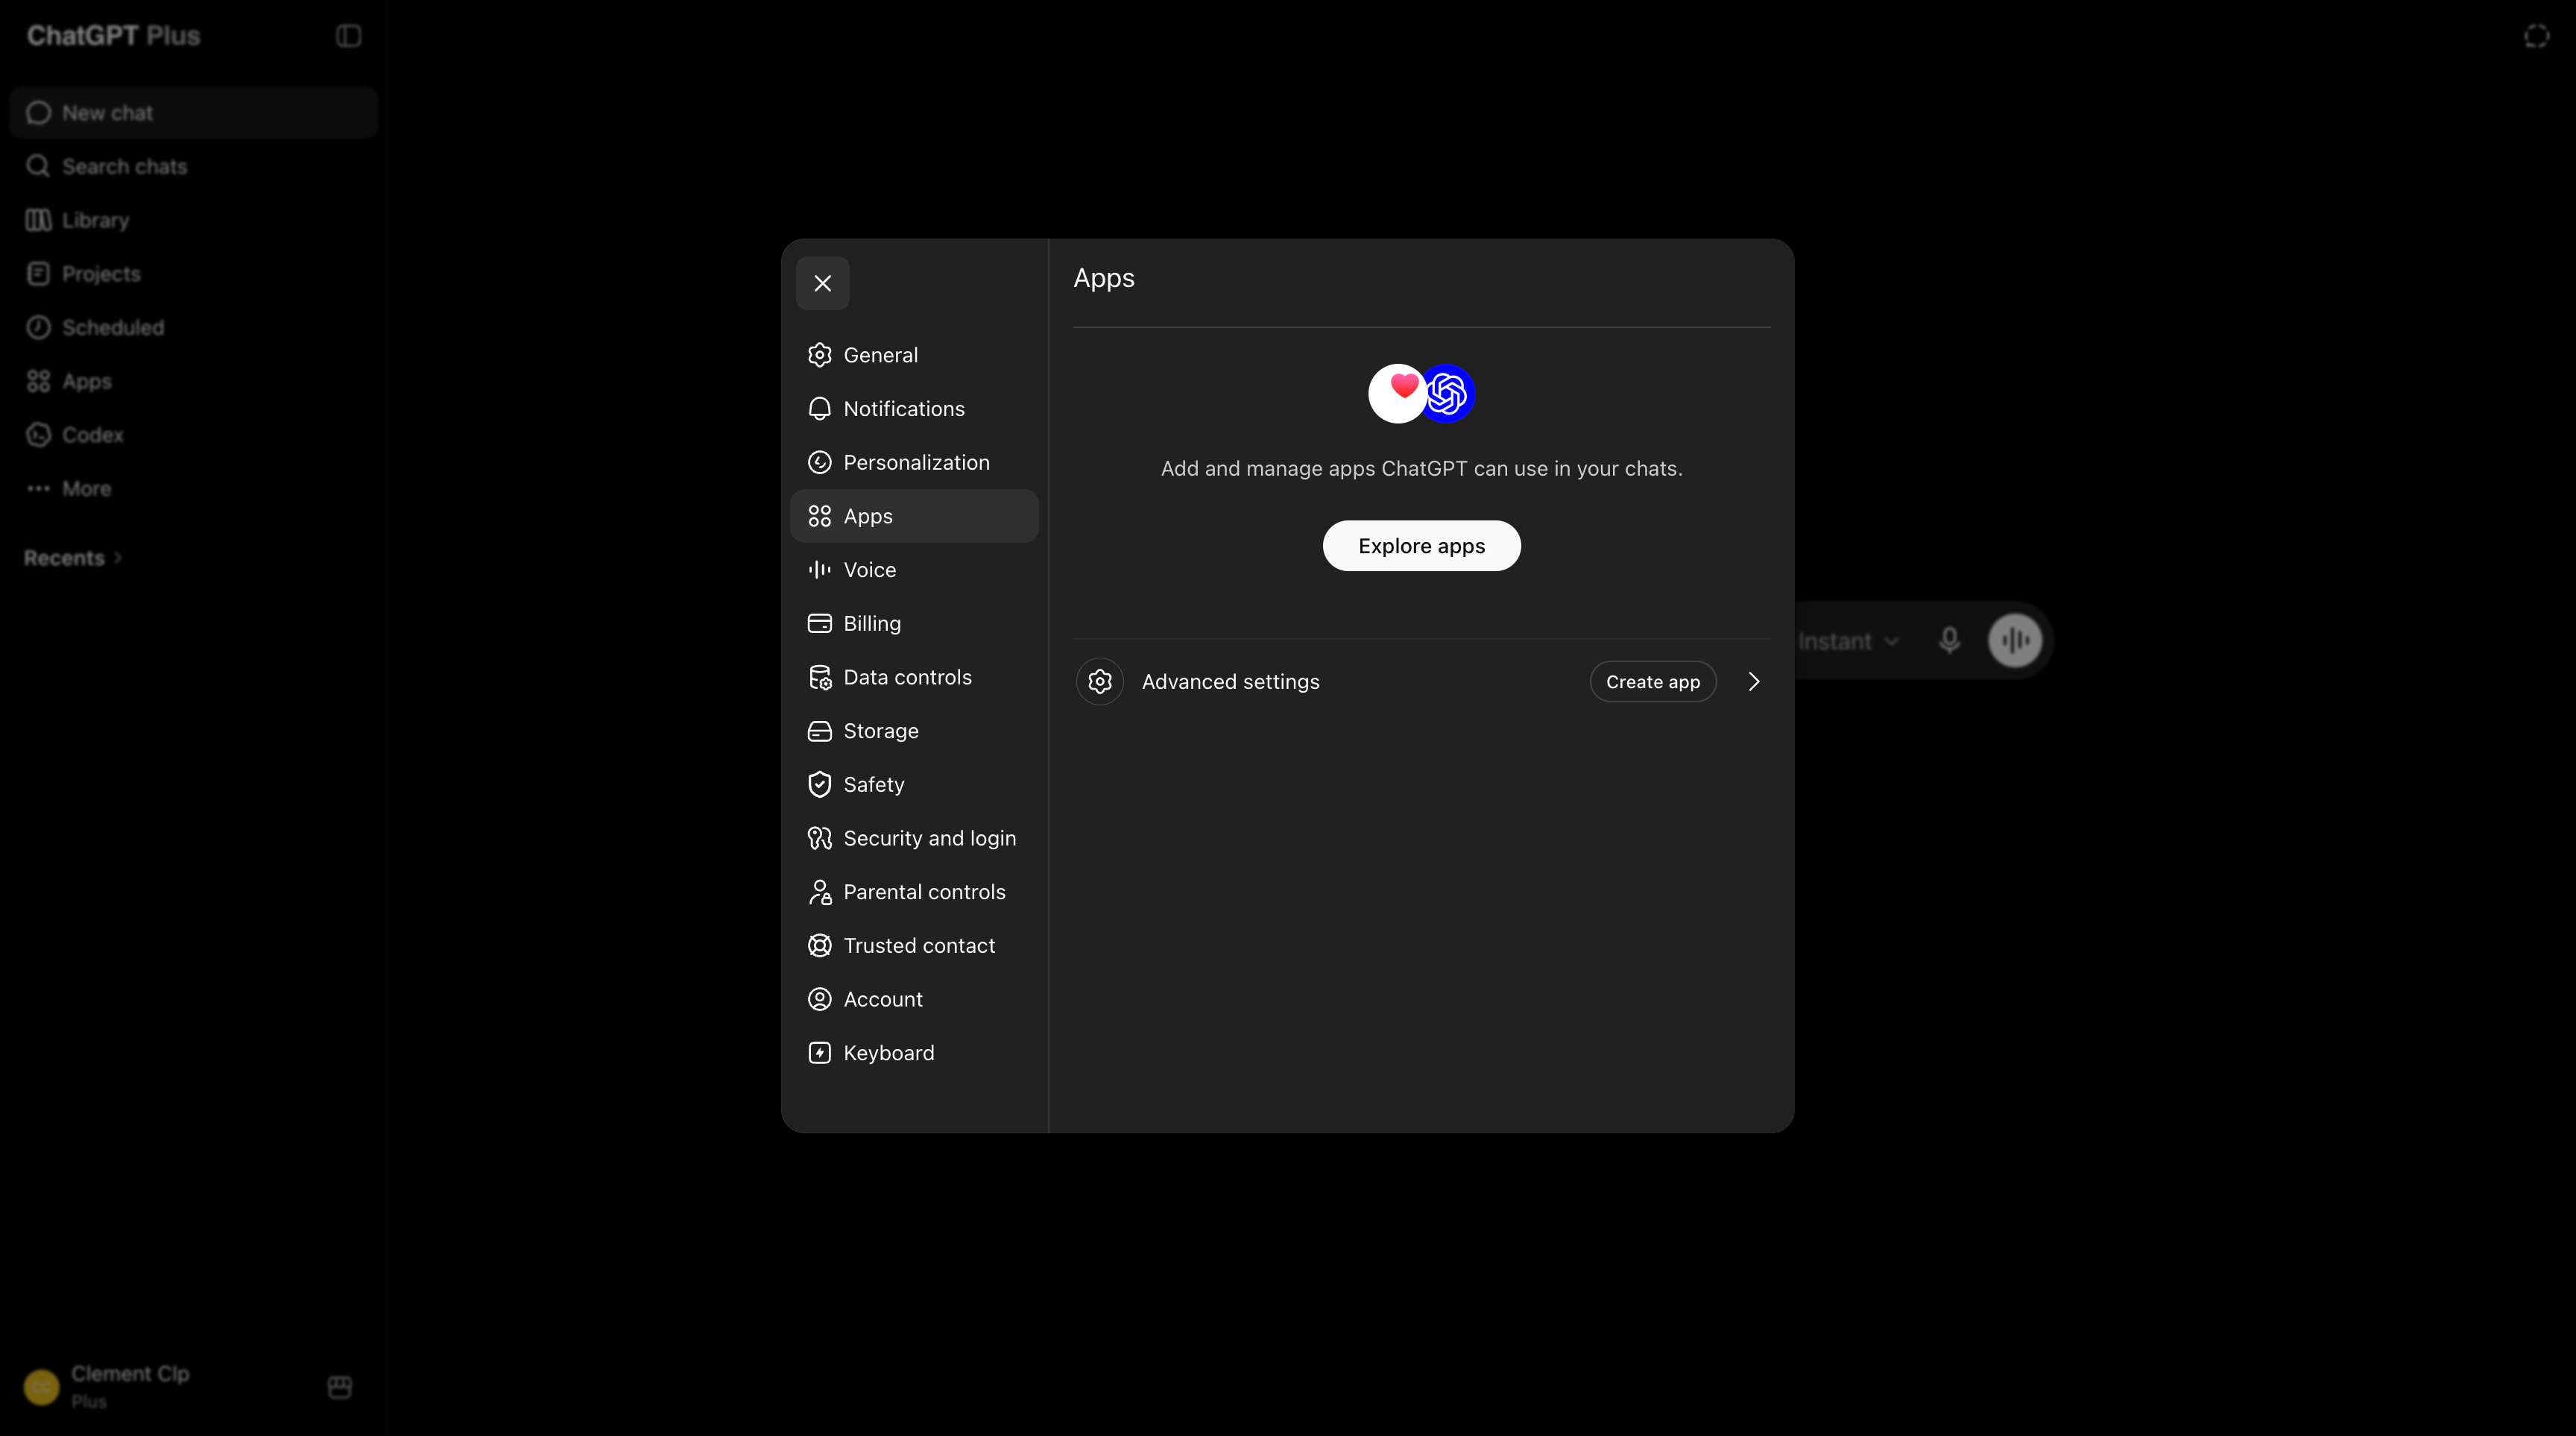
 2. Open the **Apps** tab, then in the **Advanced settings** row click **Create app**.
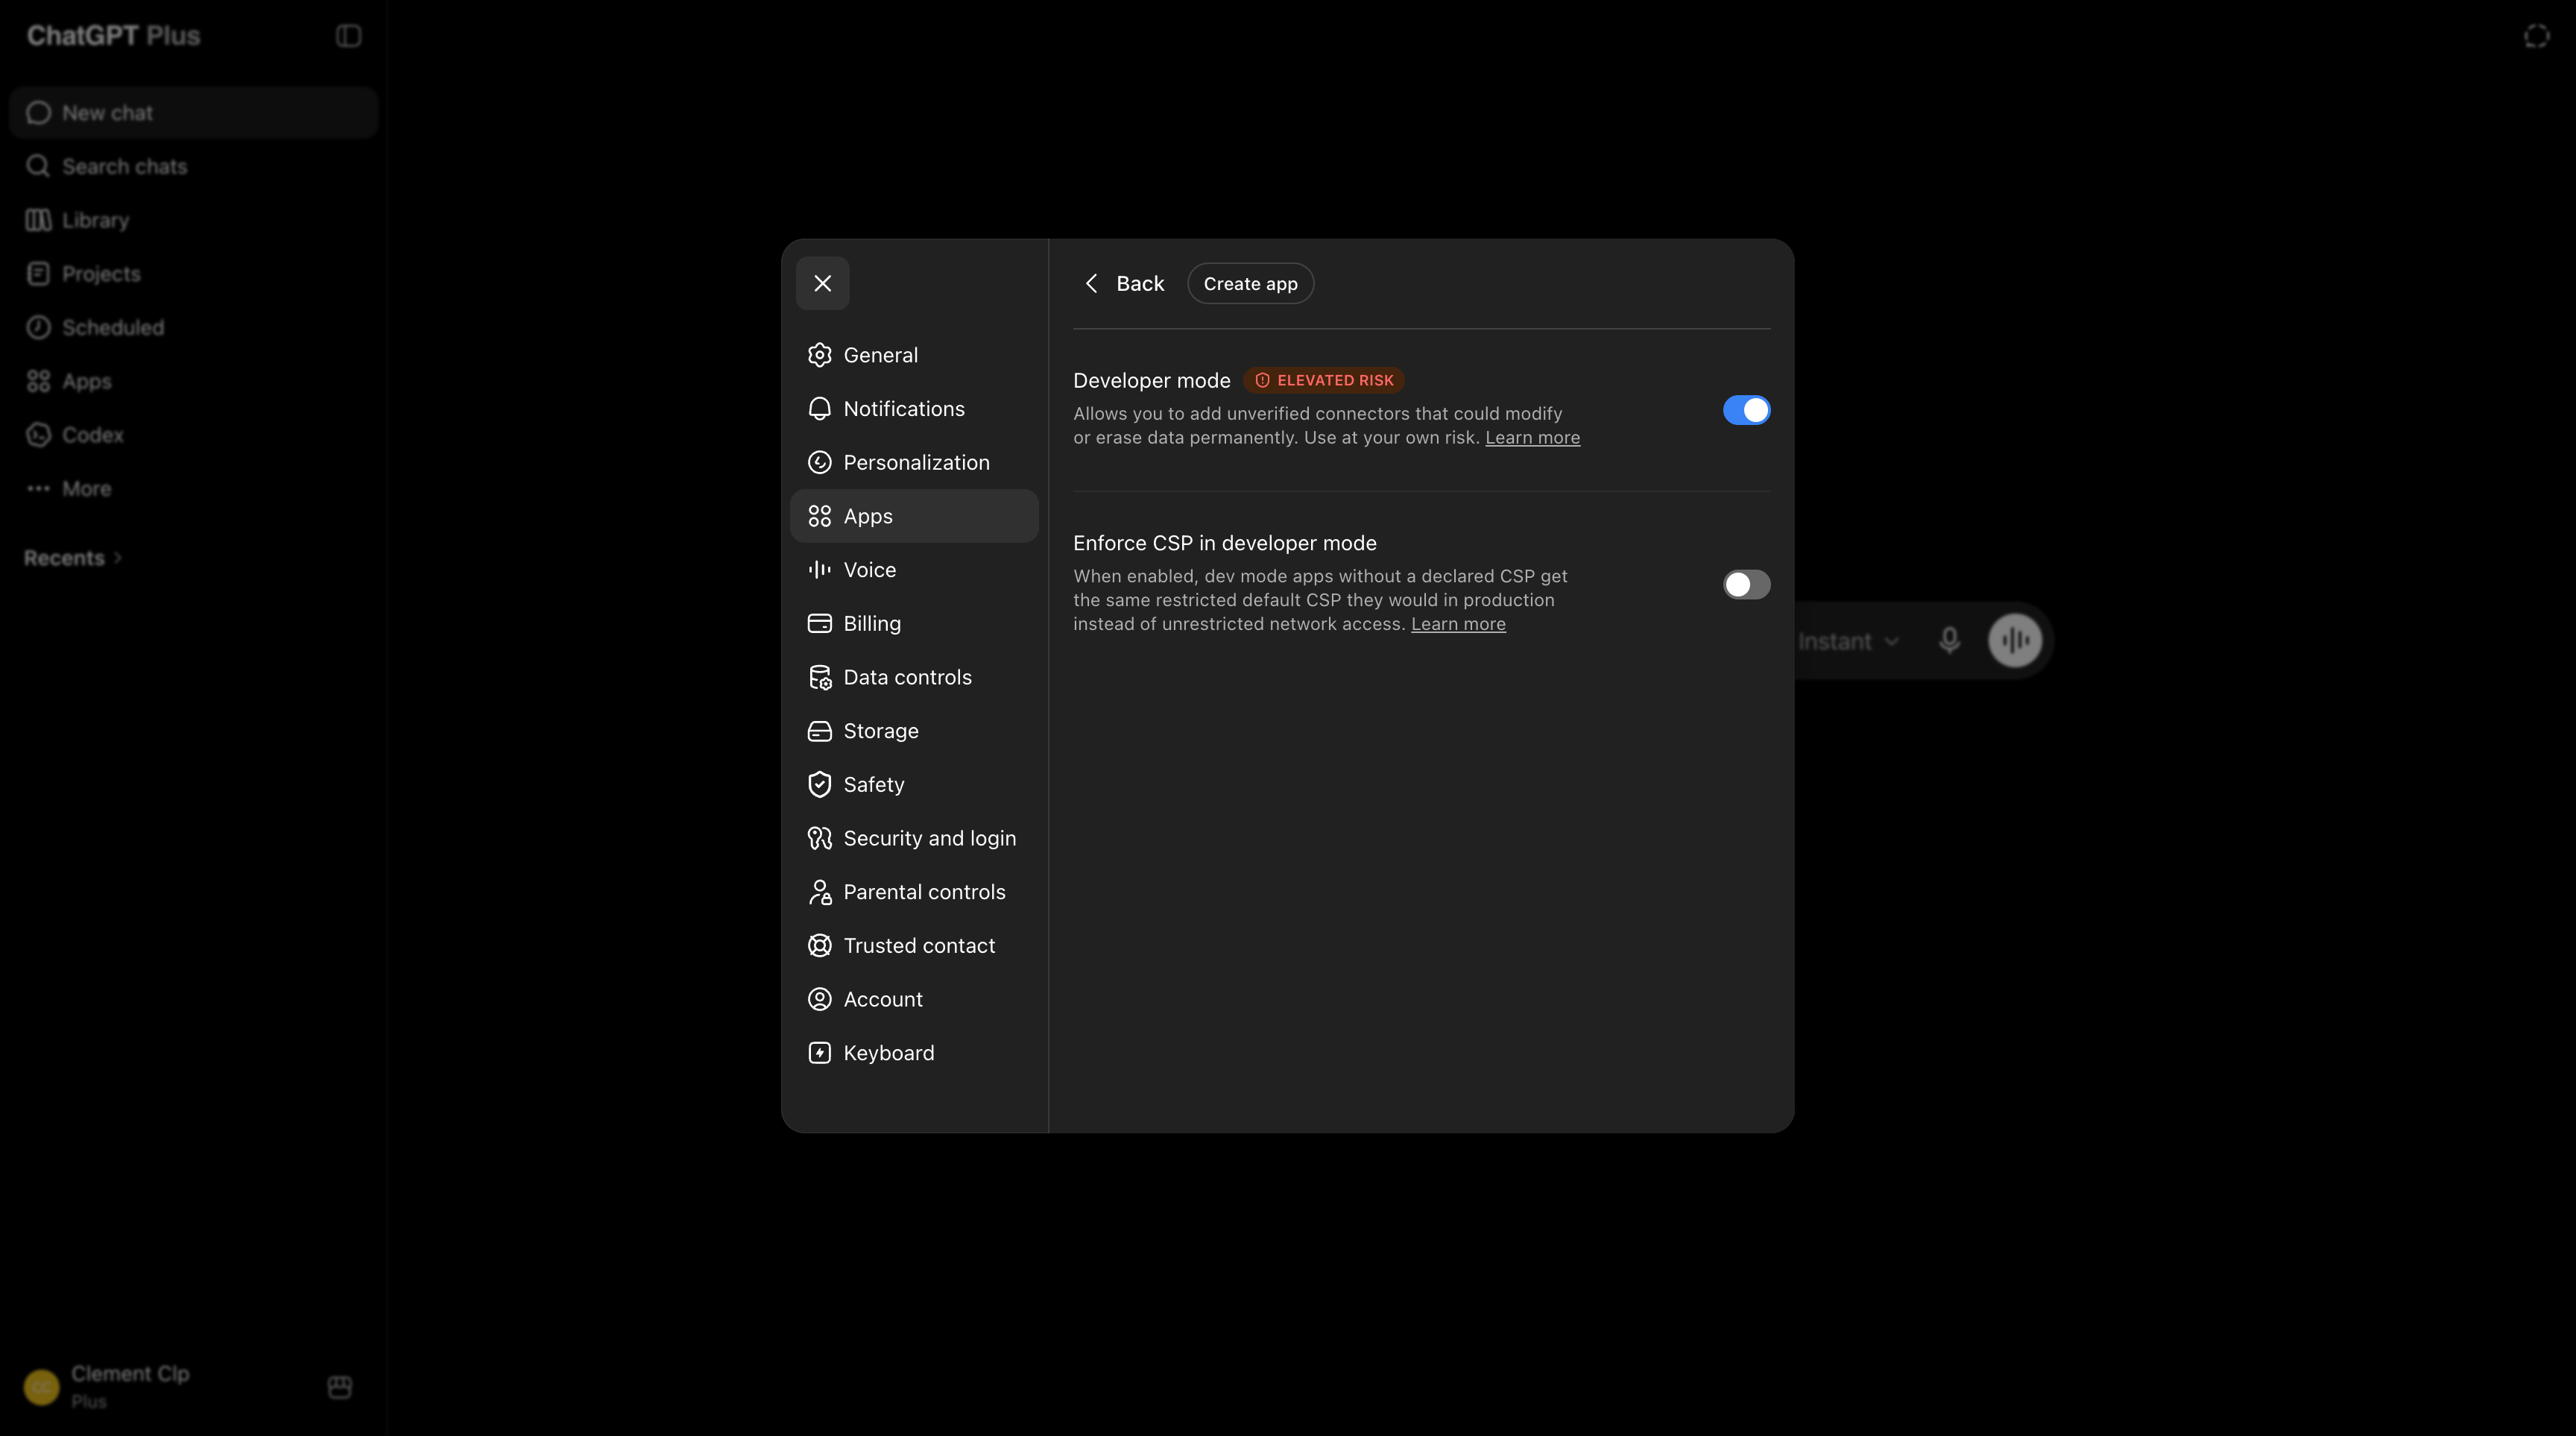
 3. Turn on **Developer mode**, then click **Create app** at the top.
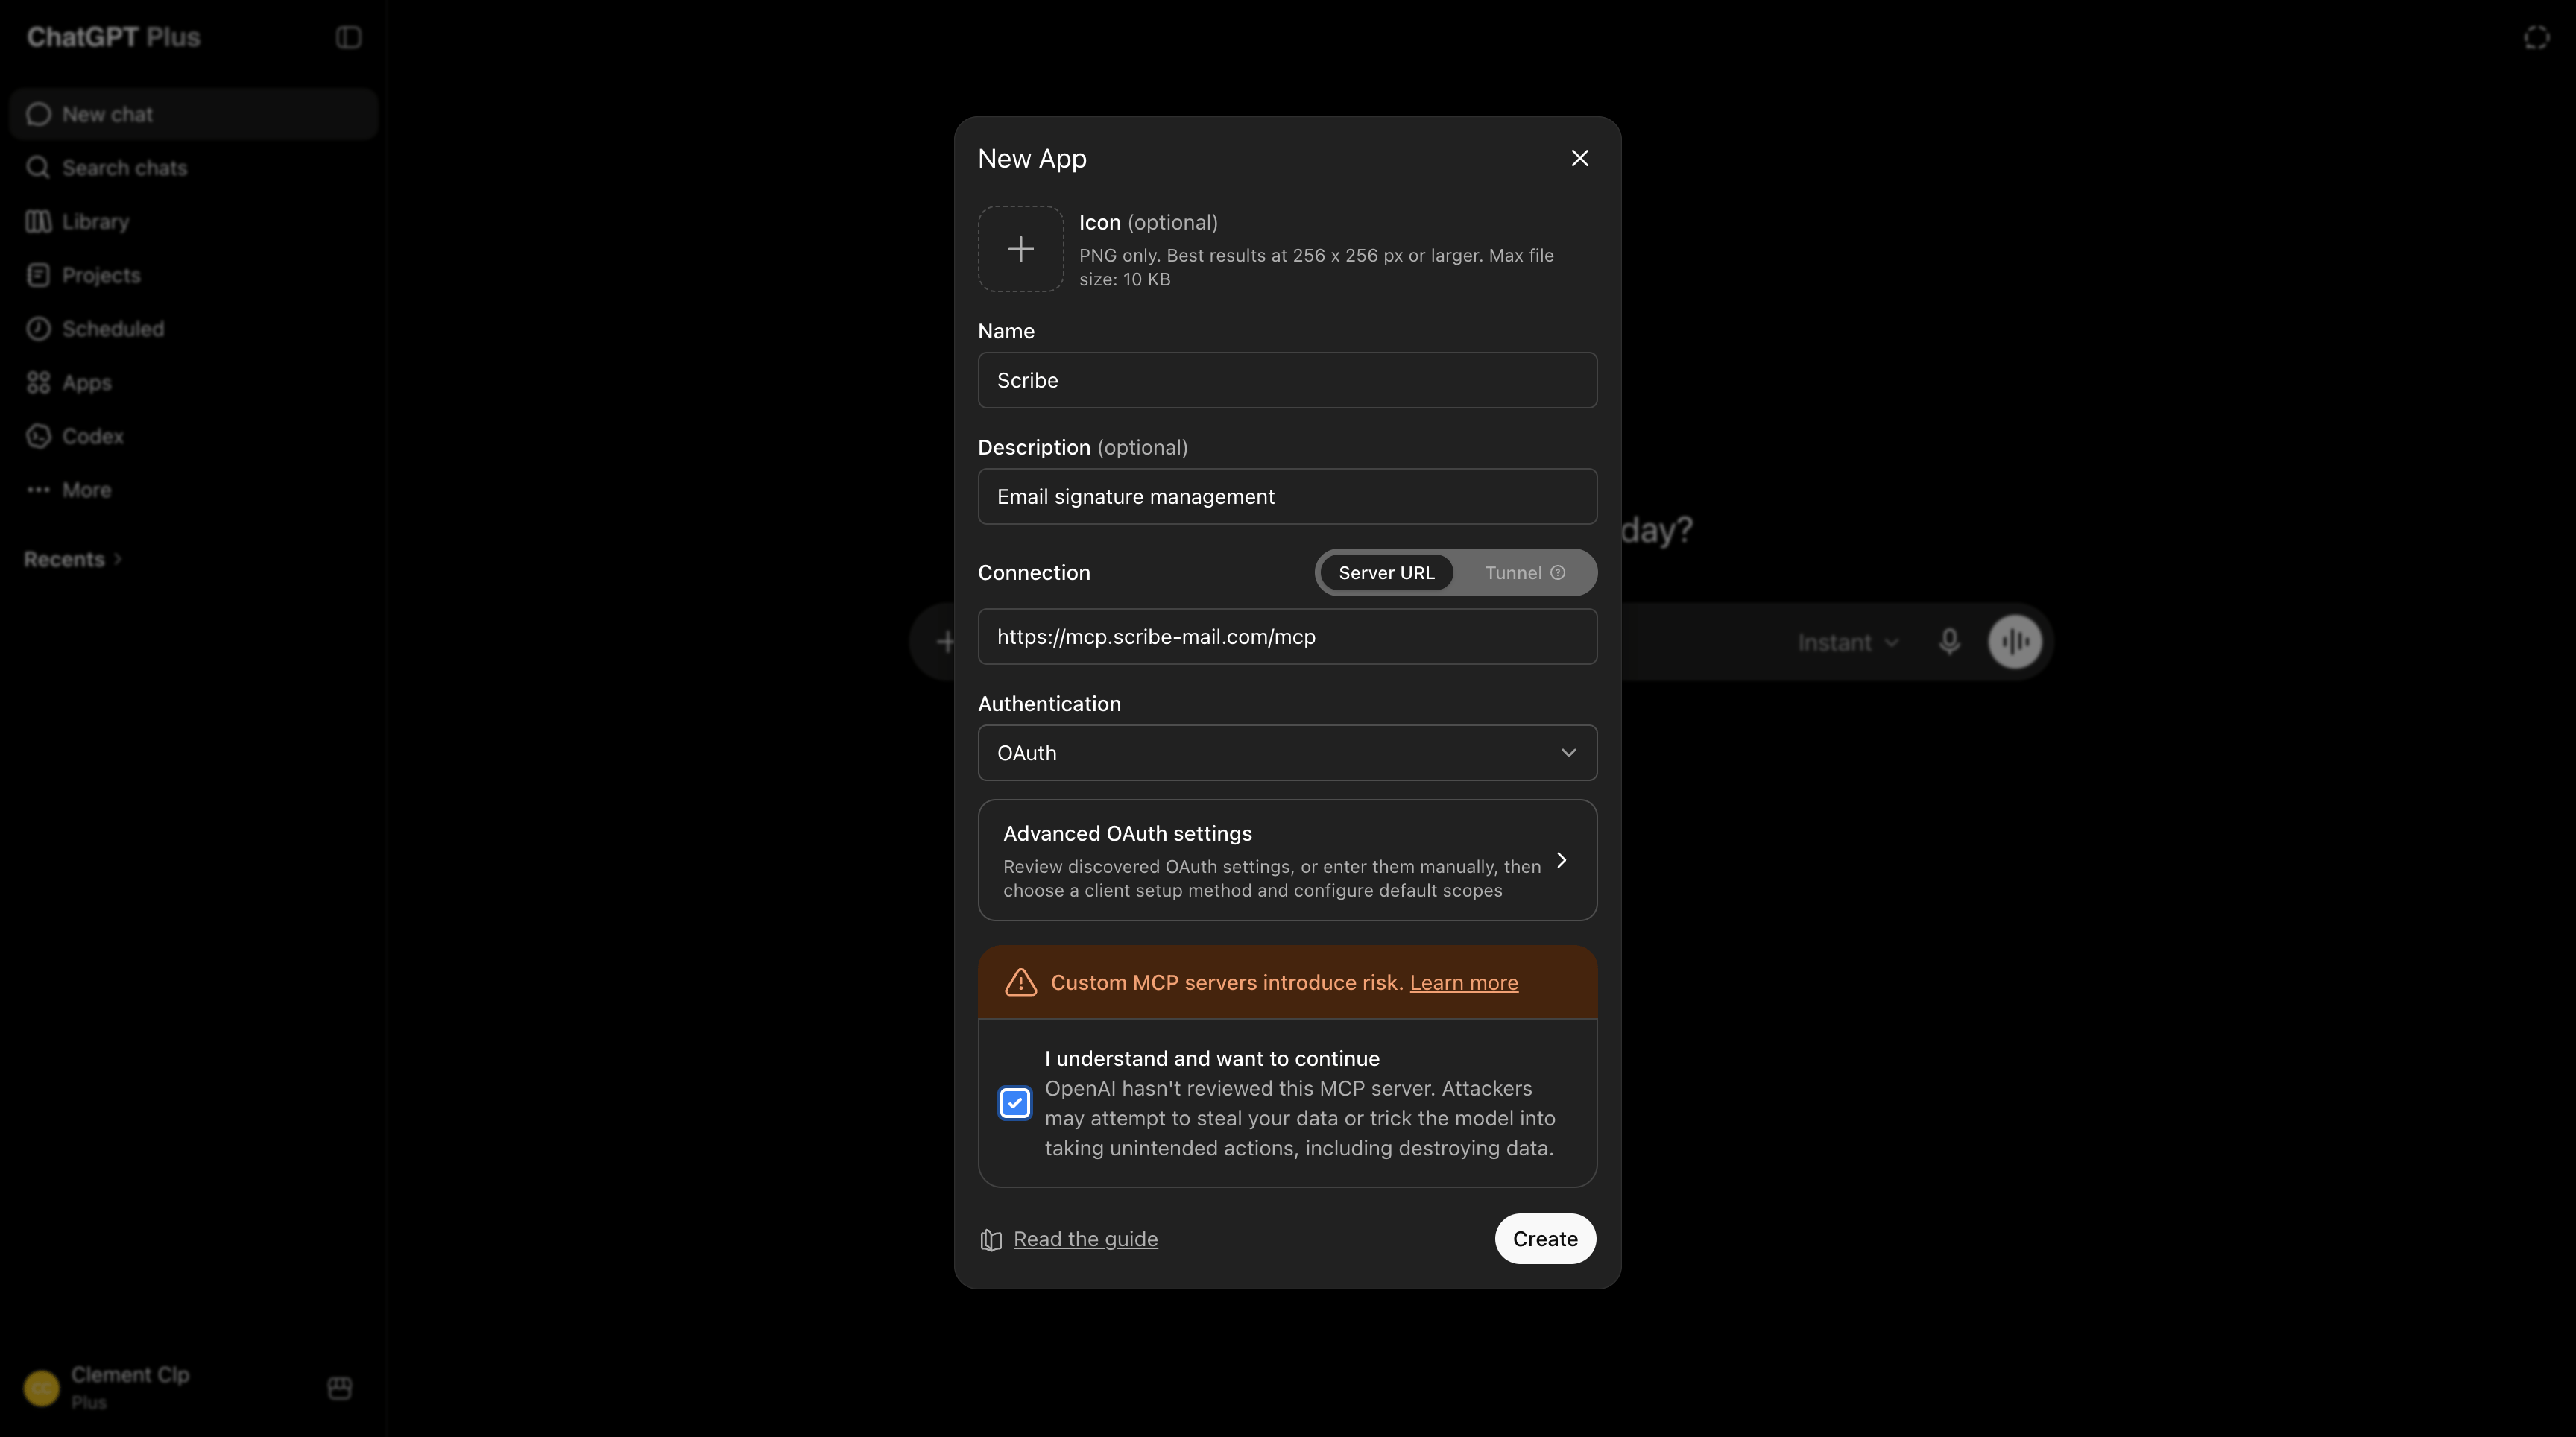
 4. Name it `Scribe`, paste the URL below into the connection field, check **I understand and want to continue**, then click **Create**:
```text theme={null}
https://mcp.scribe-mail.com/mcp
```
4. Name it `Scribe`, paste the URL below into the connection field, check **I understand and want to continue**, then click **Create**:
```text theme={null}
https://mcp.scribe-mail.com/mcp
```
 5. Click **Sign in with Scribe**.
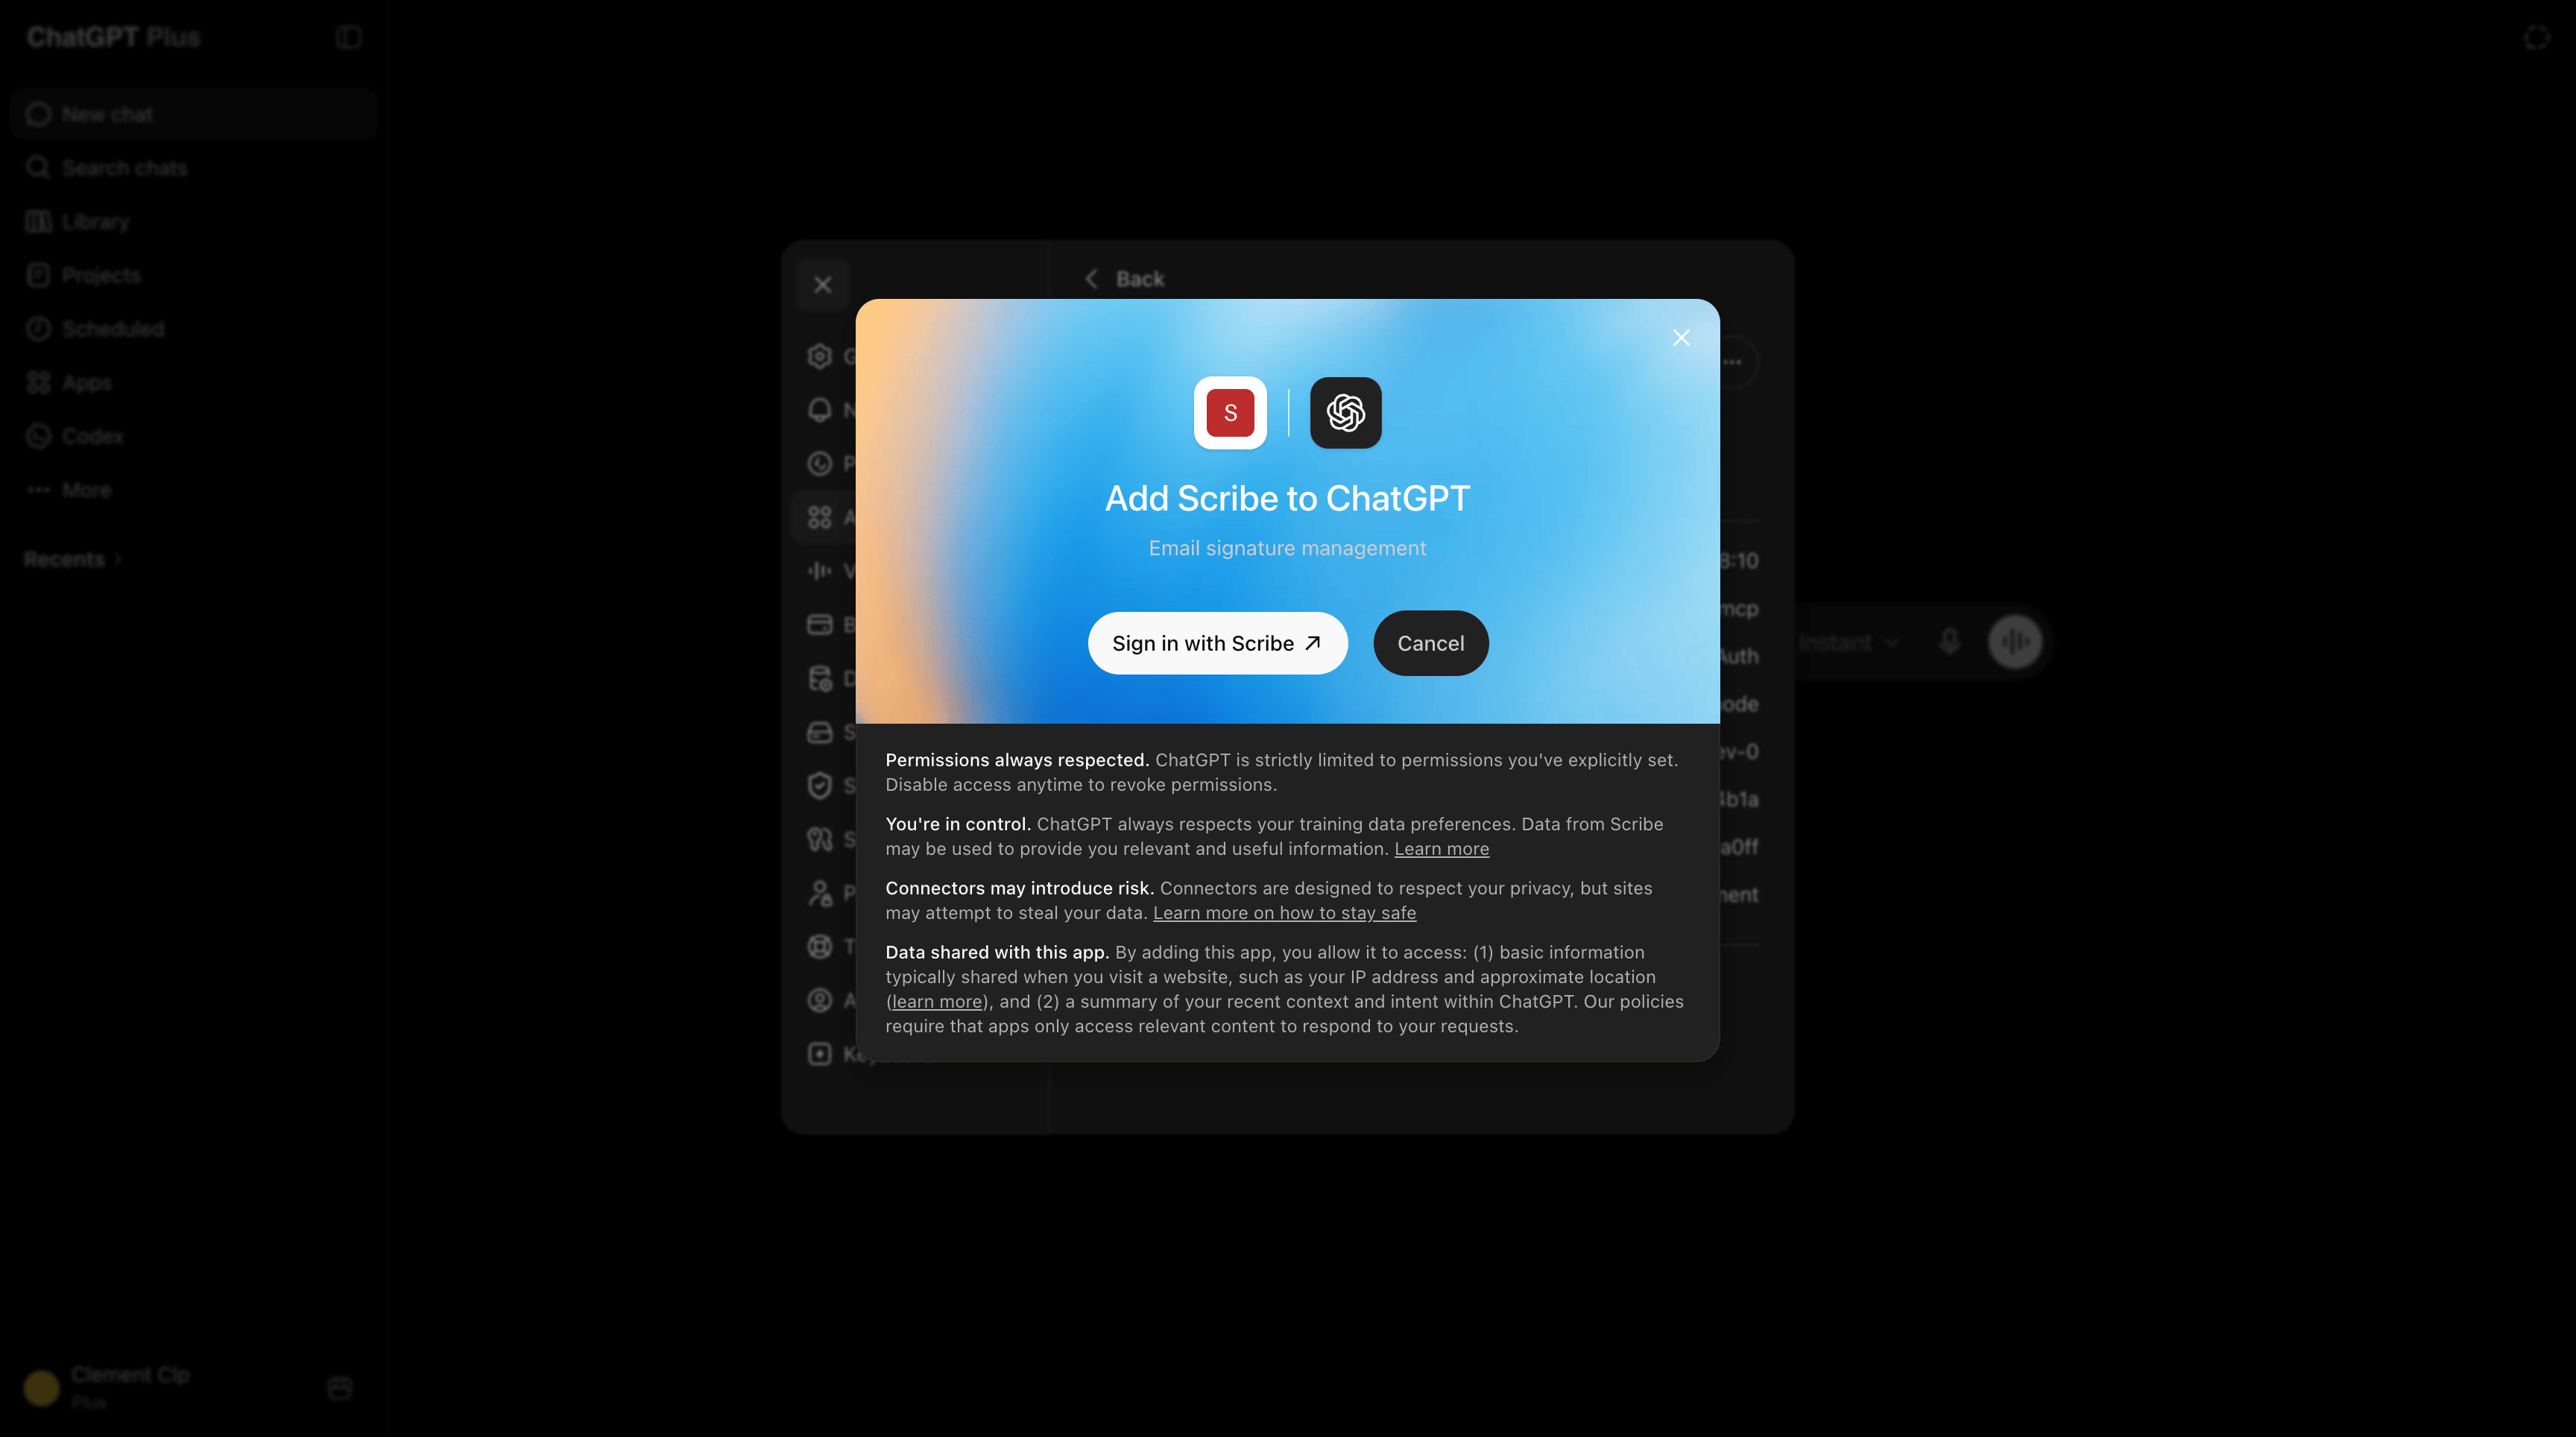 6. Click **Allow access** to let ChatGPT use your Scribe account.
 7. Scribe is now installed as a ChatGPT app.
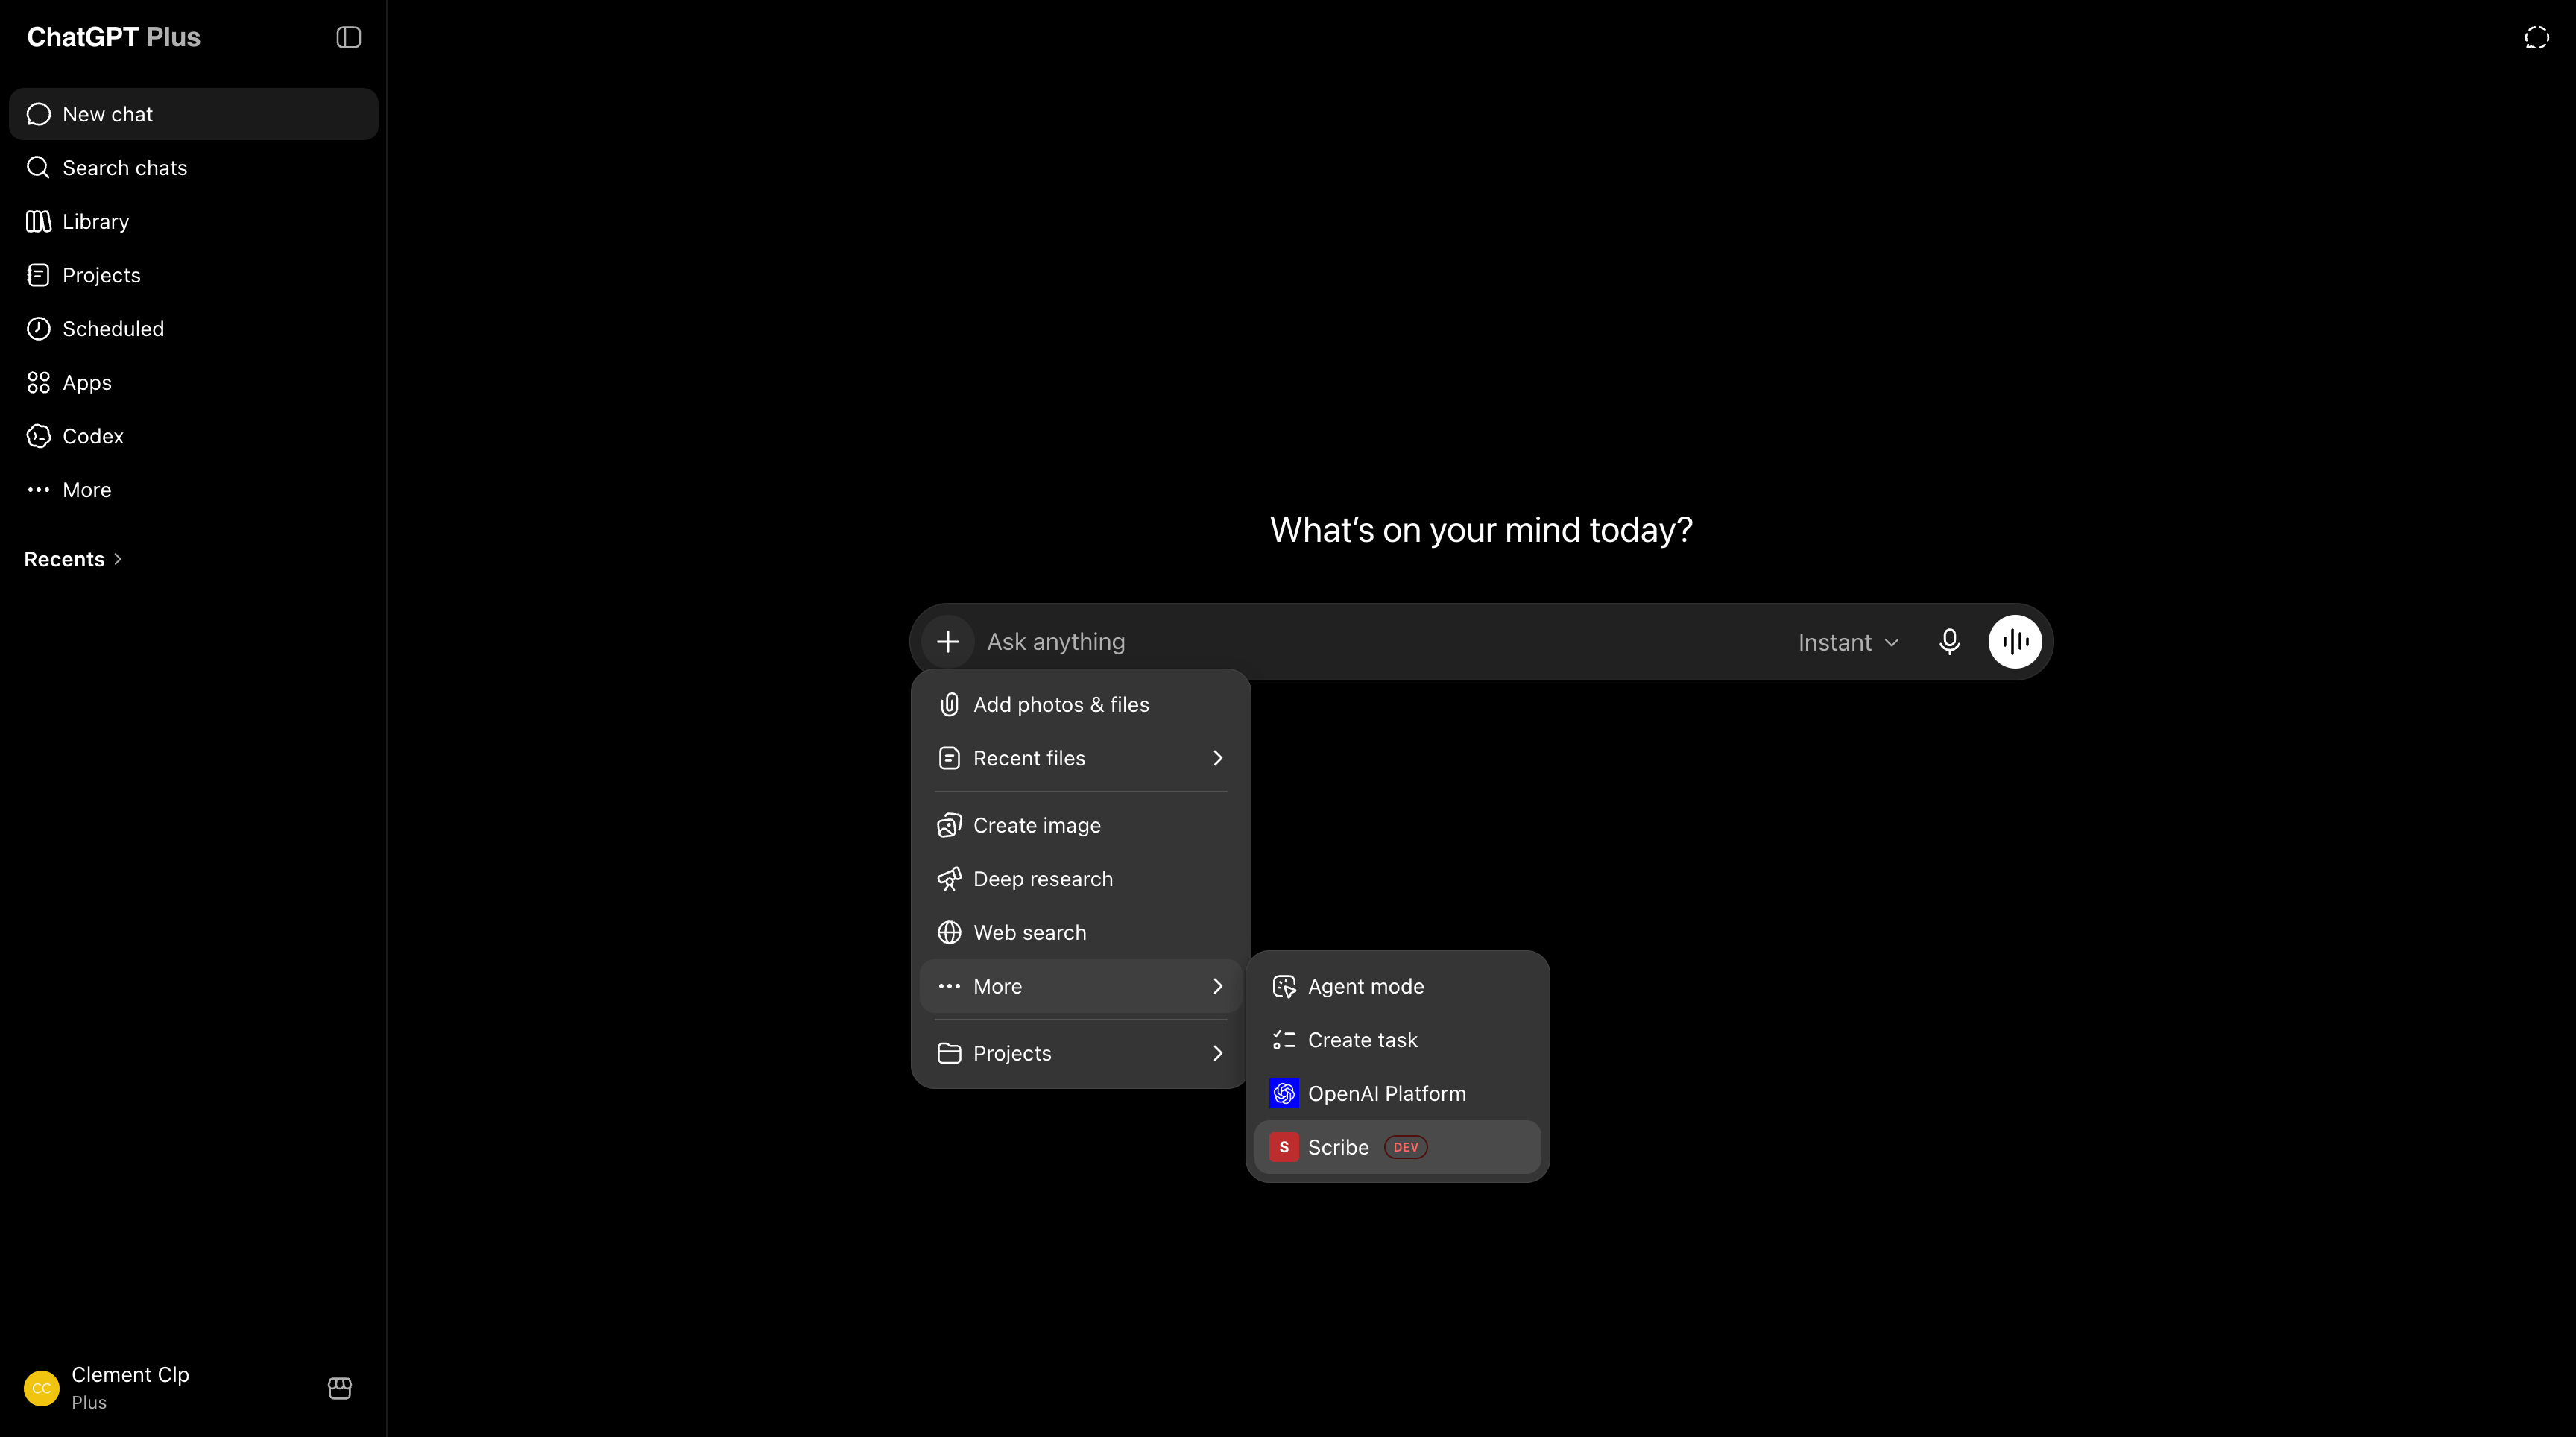
 8. Start a new chat, open the plus menu, then select **Scribe** under **More**.
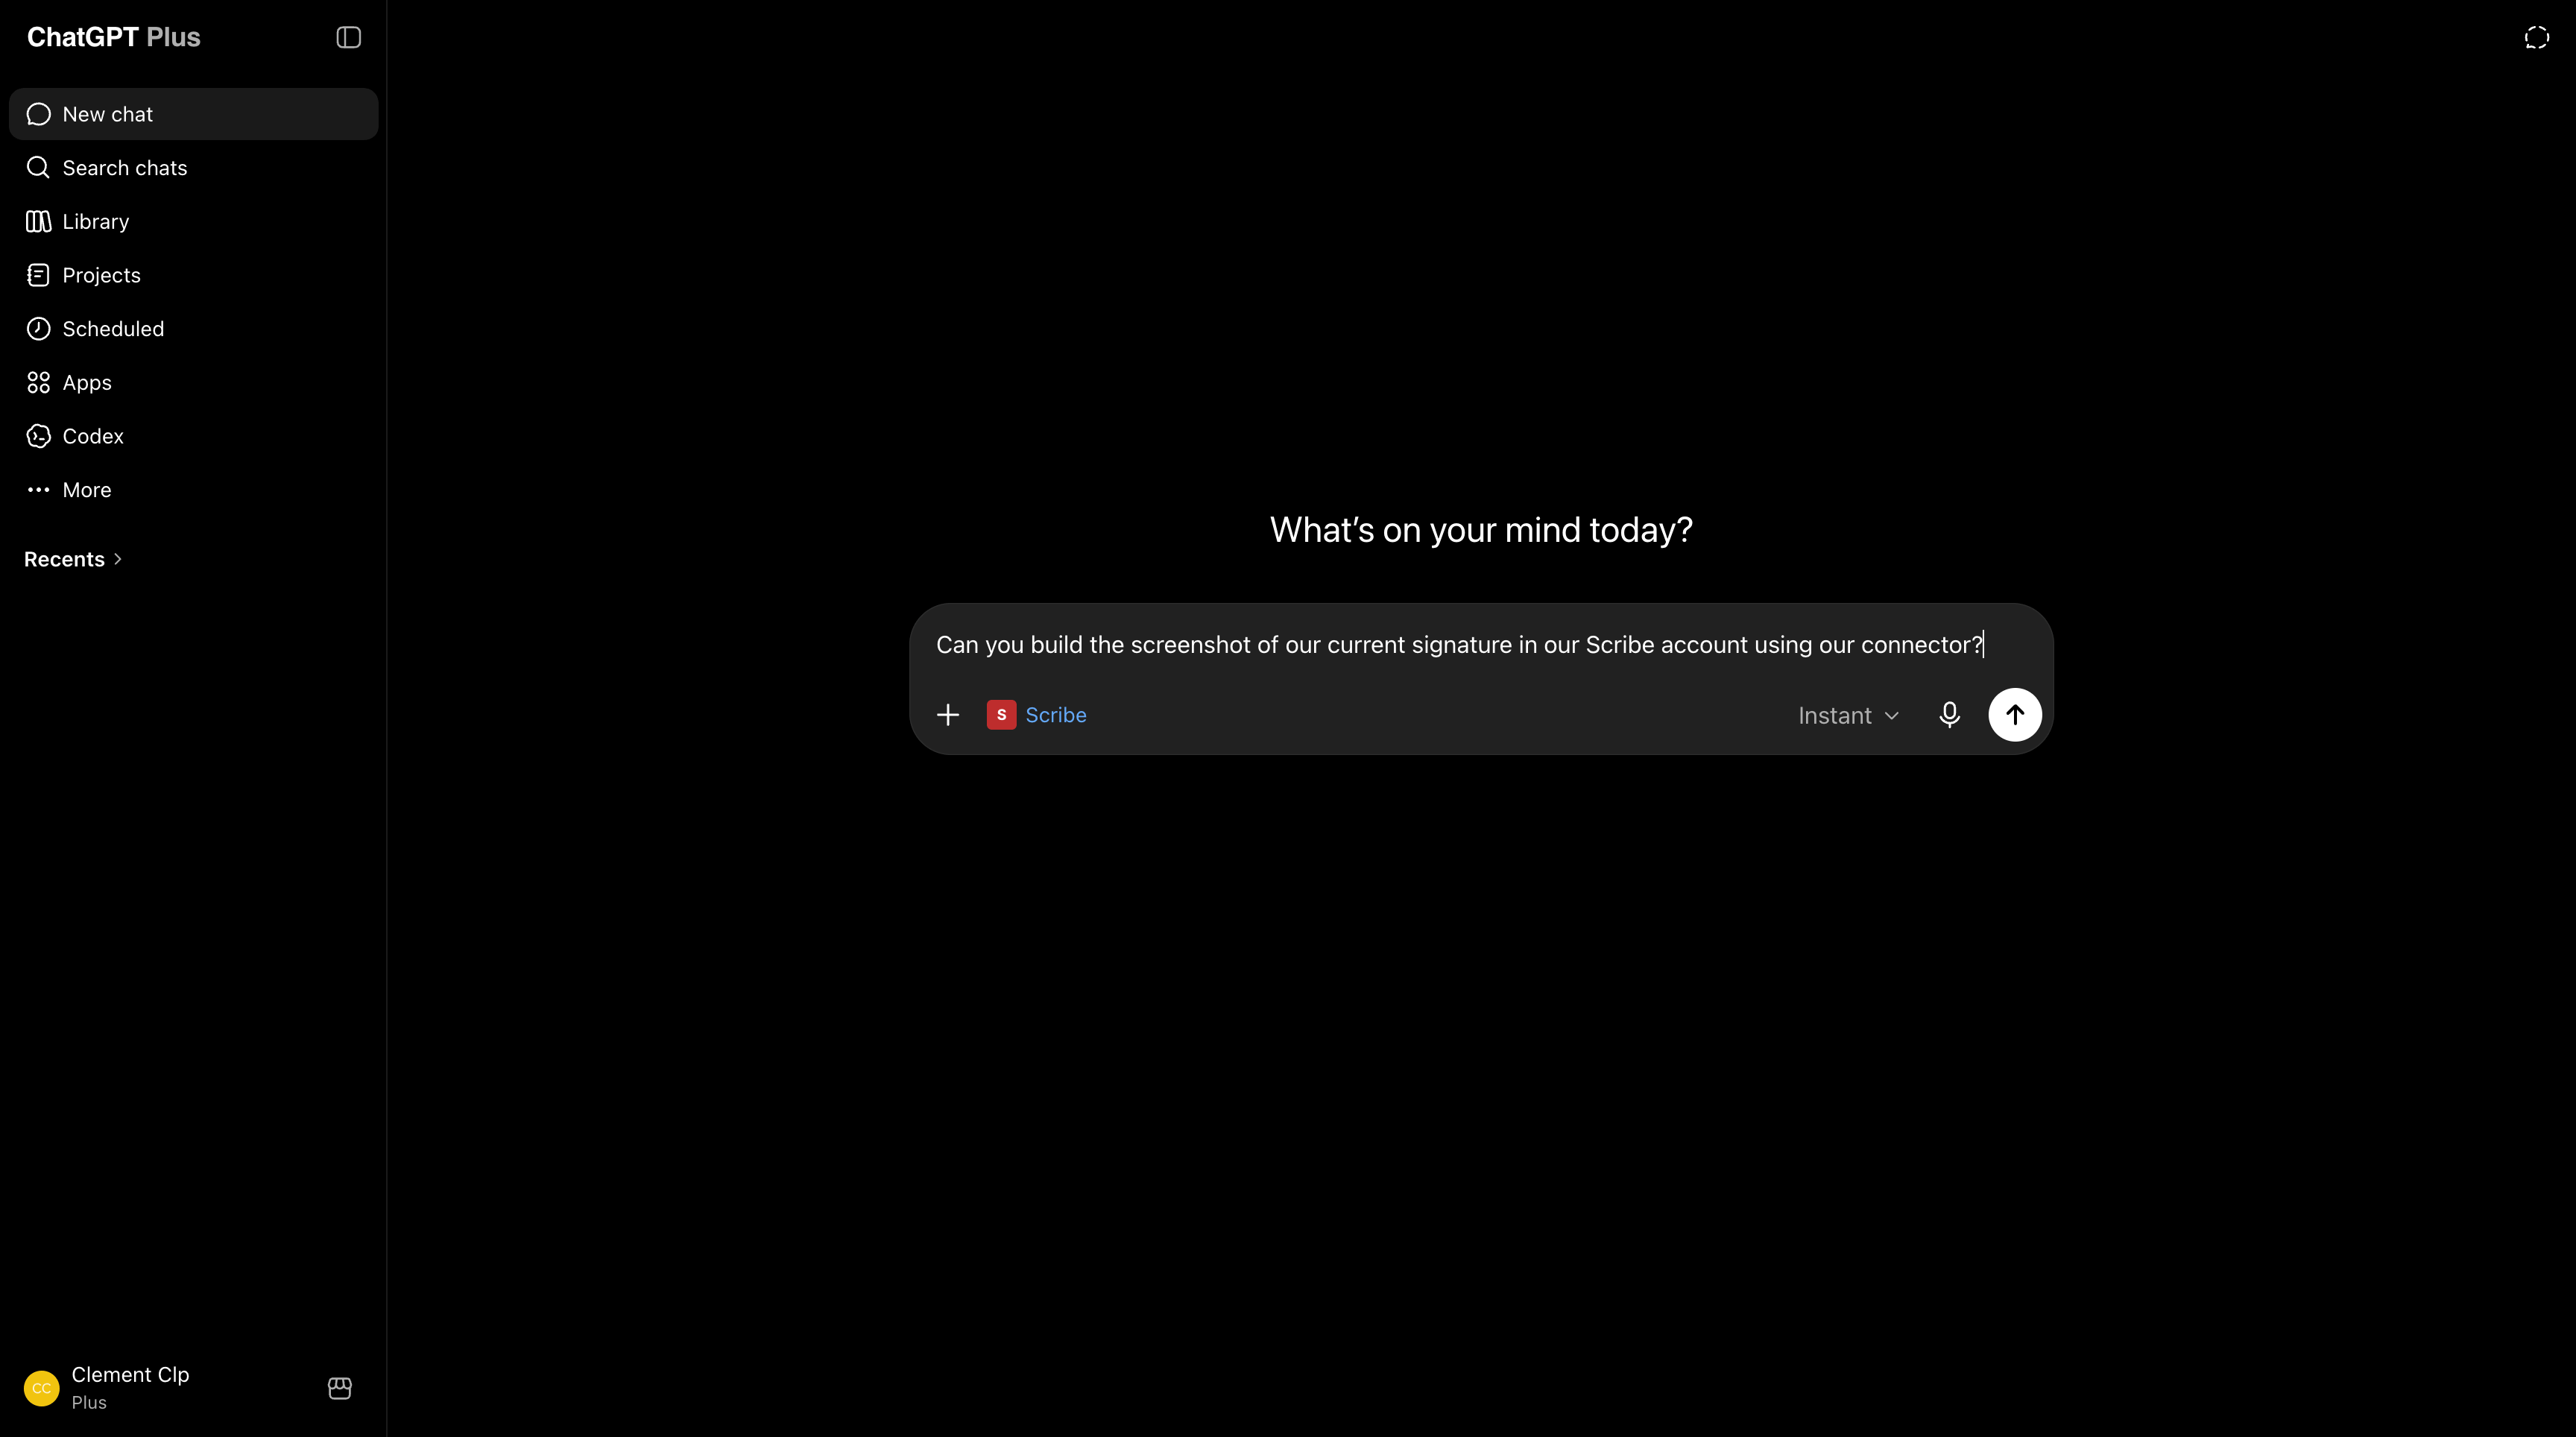
 9. Ask ChatGPT to manage your Scribe account, from creating a signature to pulling your analytics.
 ### Connect Mistral Vibe to Scribe
Works on the free plan.
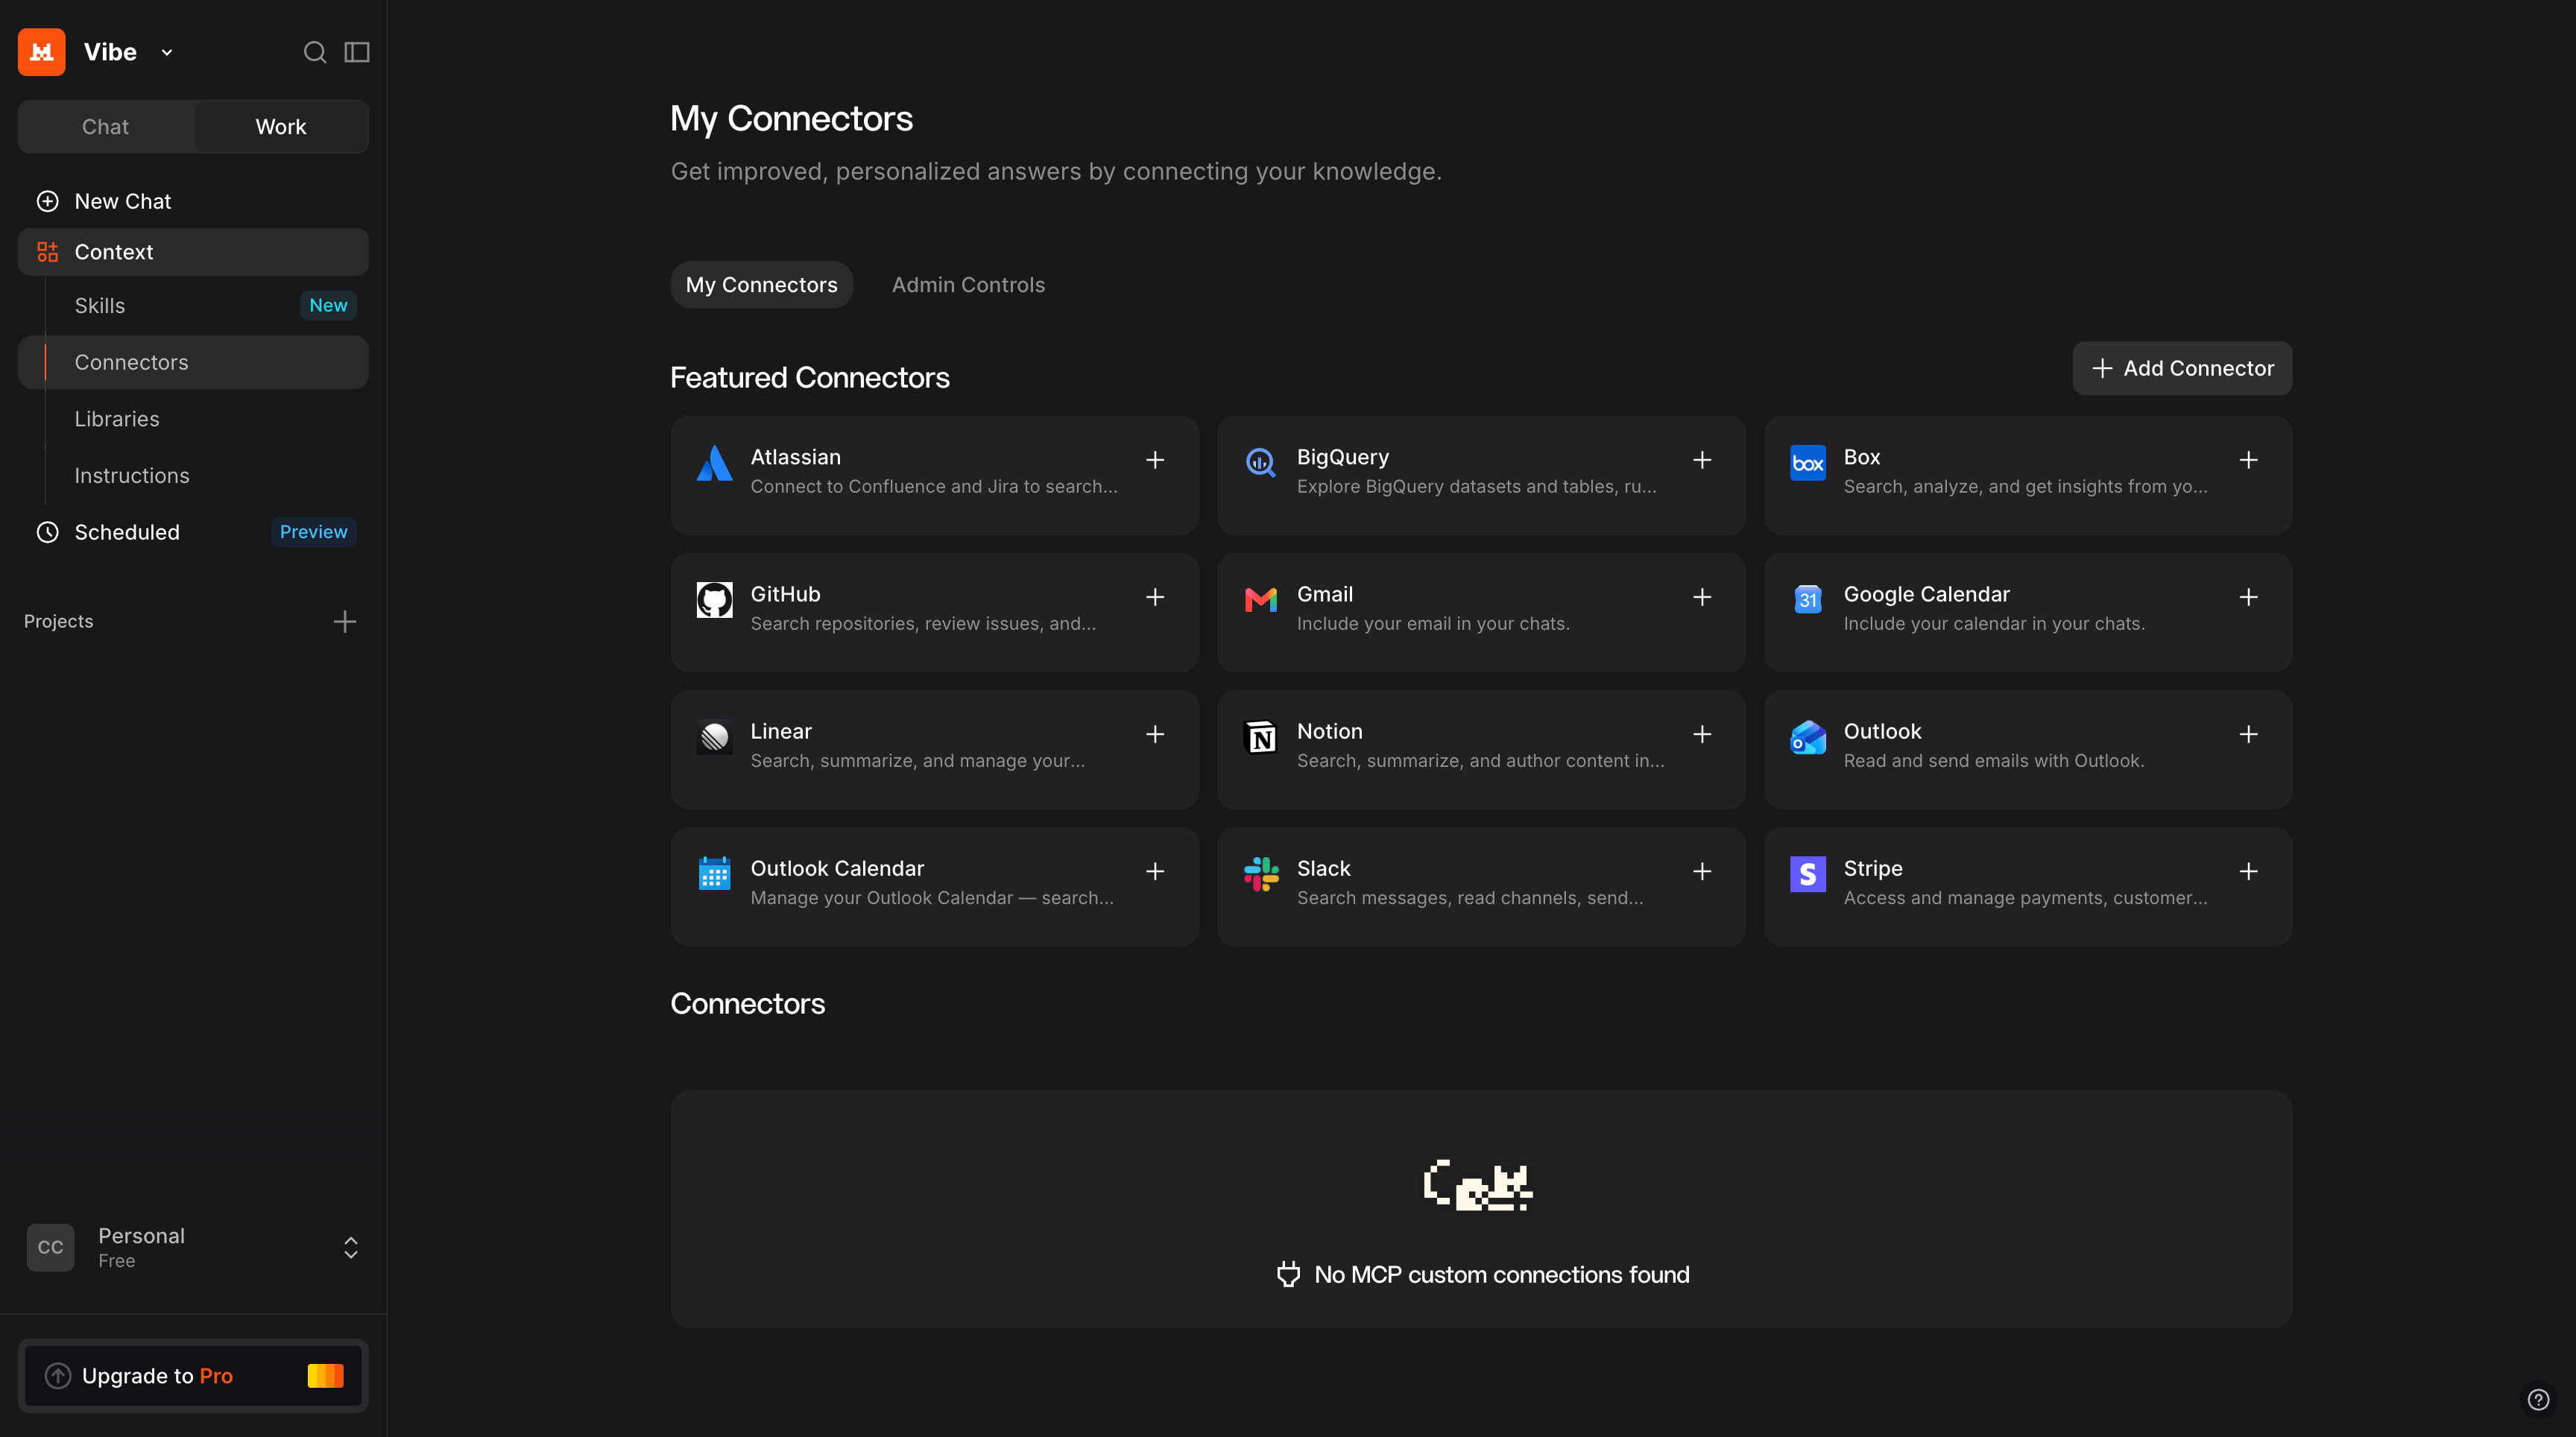
1. In Mistral Vibe, open **Context**, go to **Connectors**, then click **Add Connector**.
### Connect Mistral Vibe to Scribe
Works on the free plan.
1. In Mistral Vibe, open **Context**, go to **Connectors**, then click **Add Connector**.
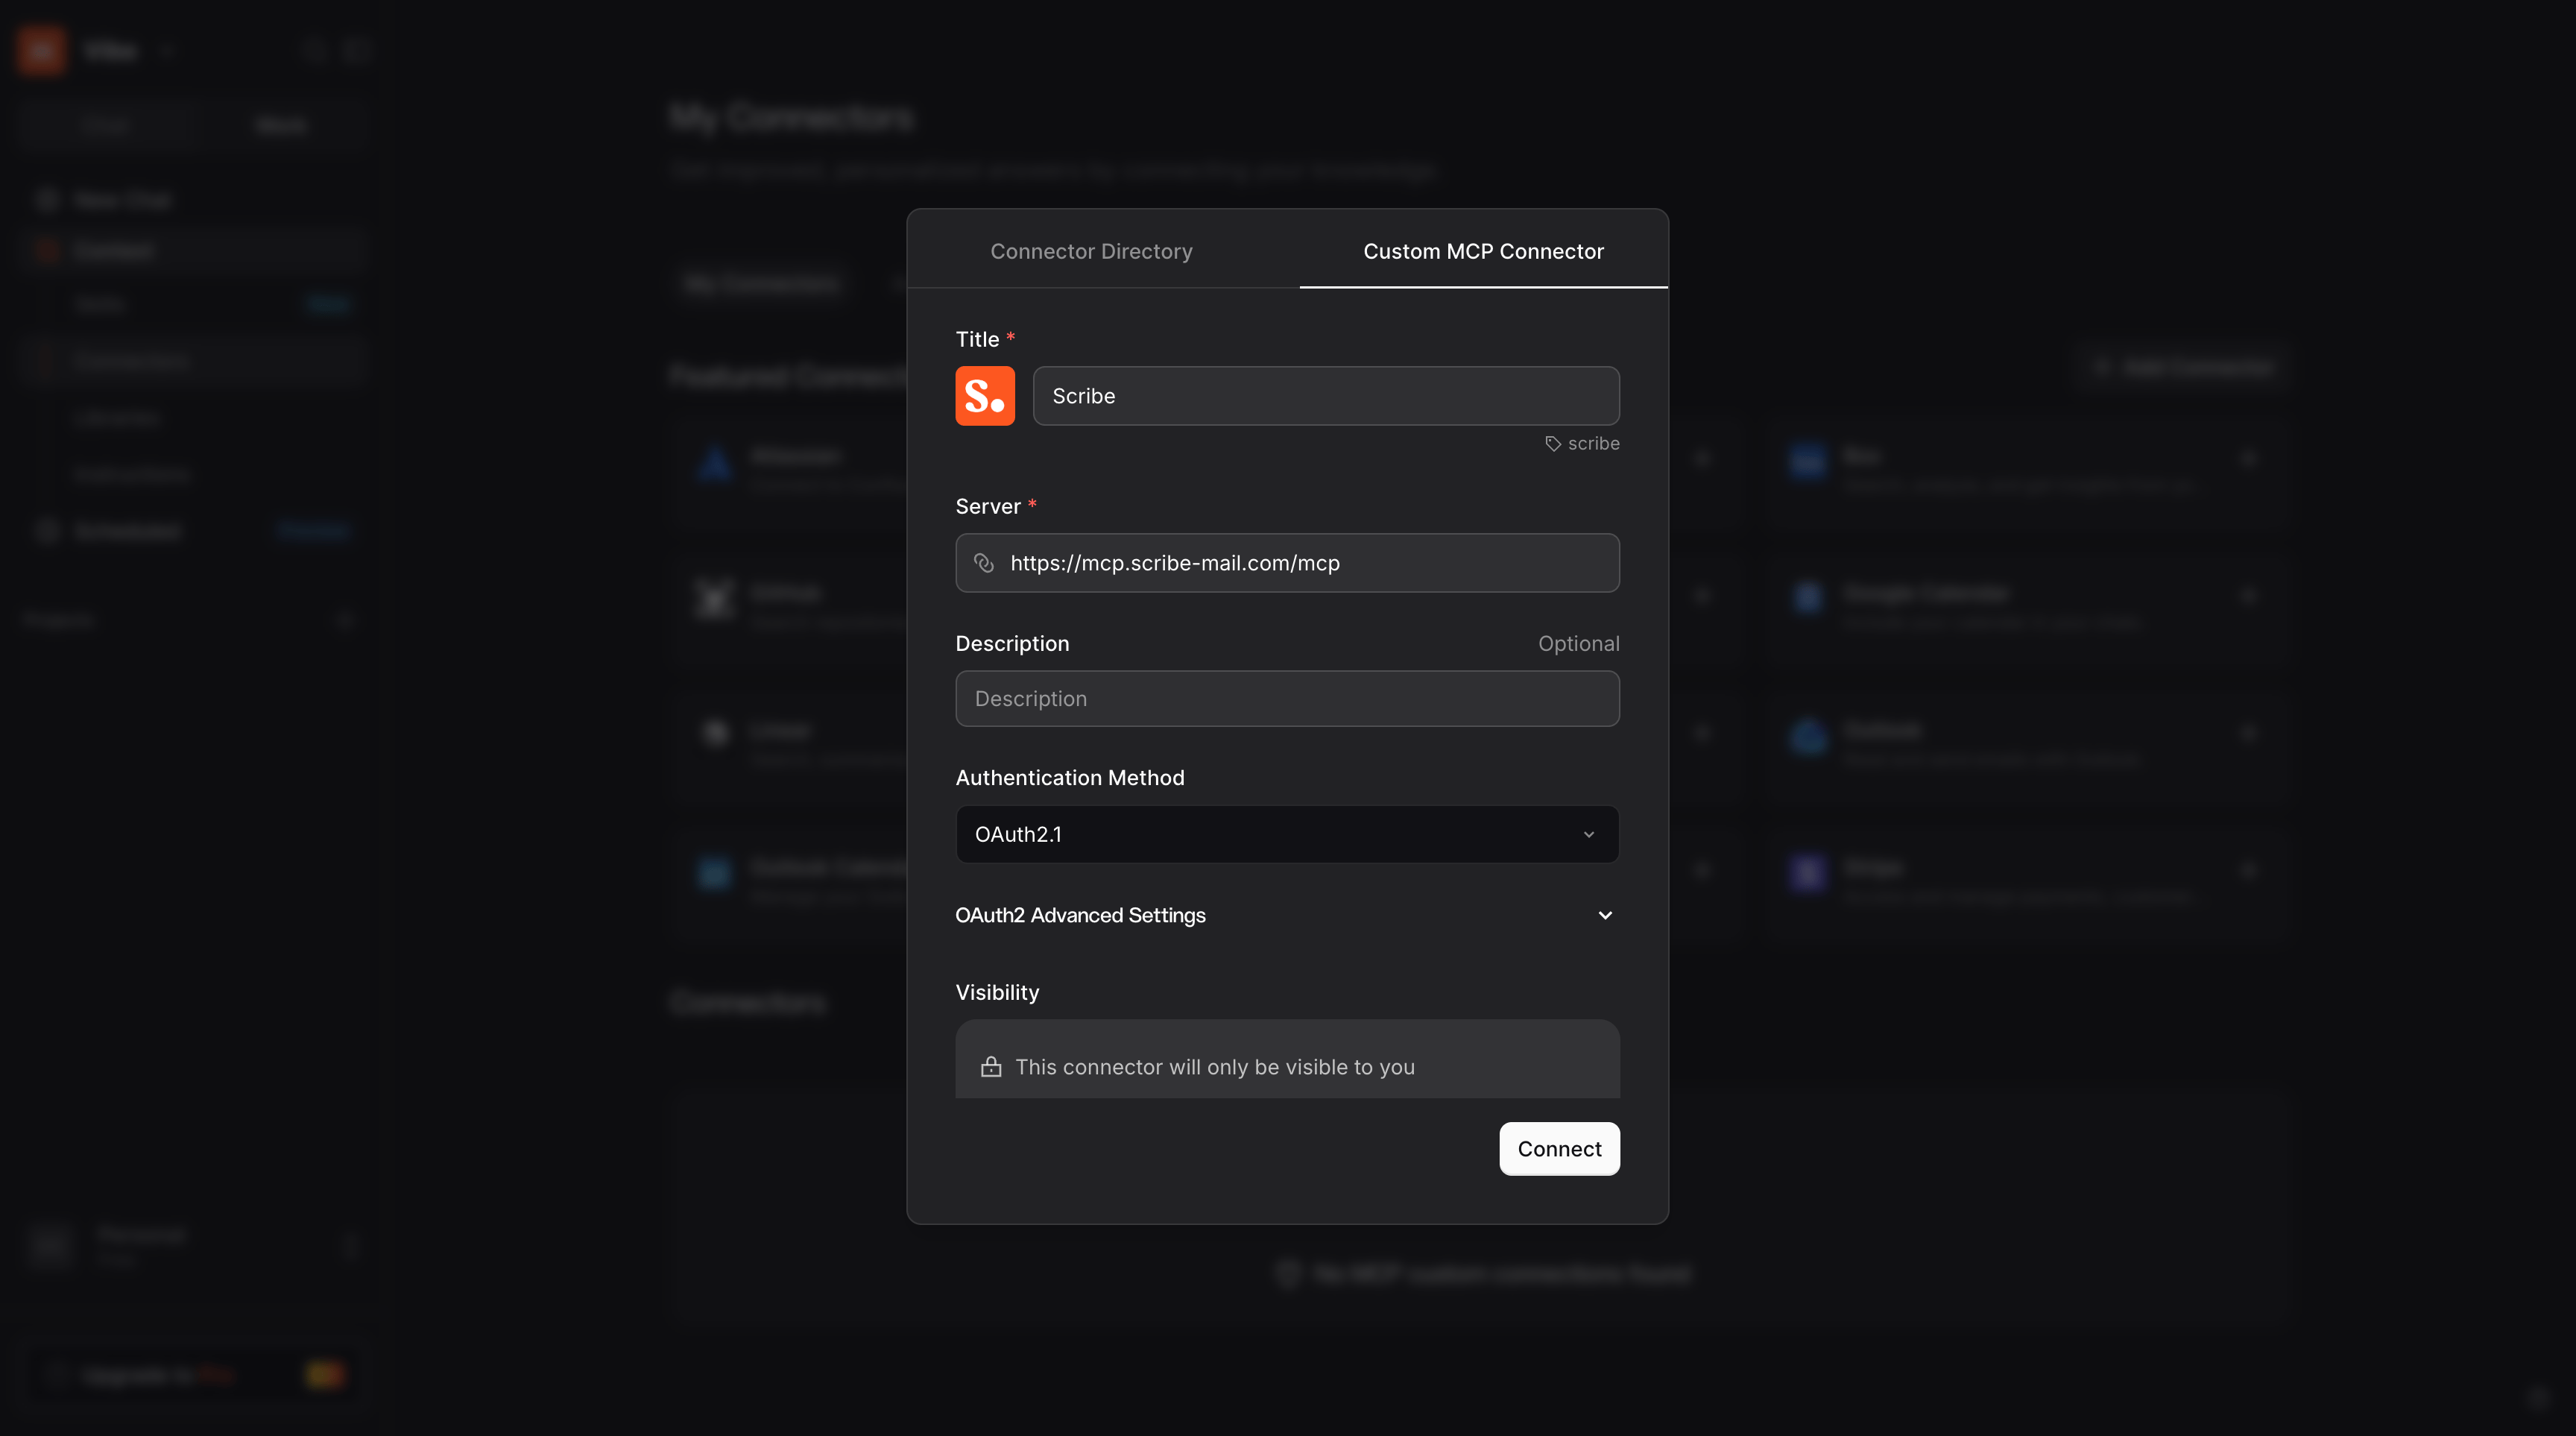
 2. Open the **Custom MCP Connector** tab. Name it `Scribe`, paste the URL below into **Server**, leave the authentication method on **OAuth2.1**, then click **Connect**:
```text theme={null}
https://mcp.scribe-mail.com/mcp
```
2. Open the **Custom MCP Connector** tab. Name it `Scribe`, paste the URL below into **Server**, leave the authentication method on **OAuth2.1**, then click **Connect**:
```text theme={null}
https://mcp.scribe-mail.com/mcp
```
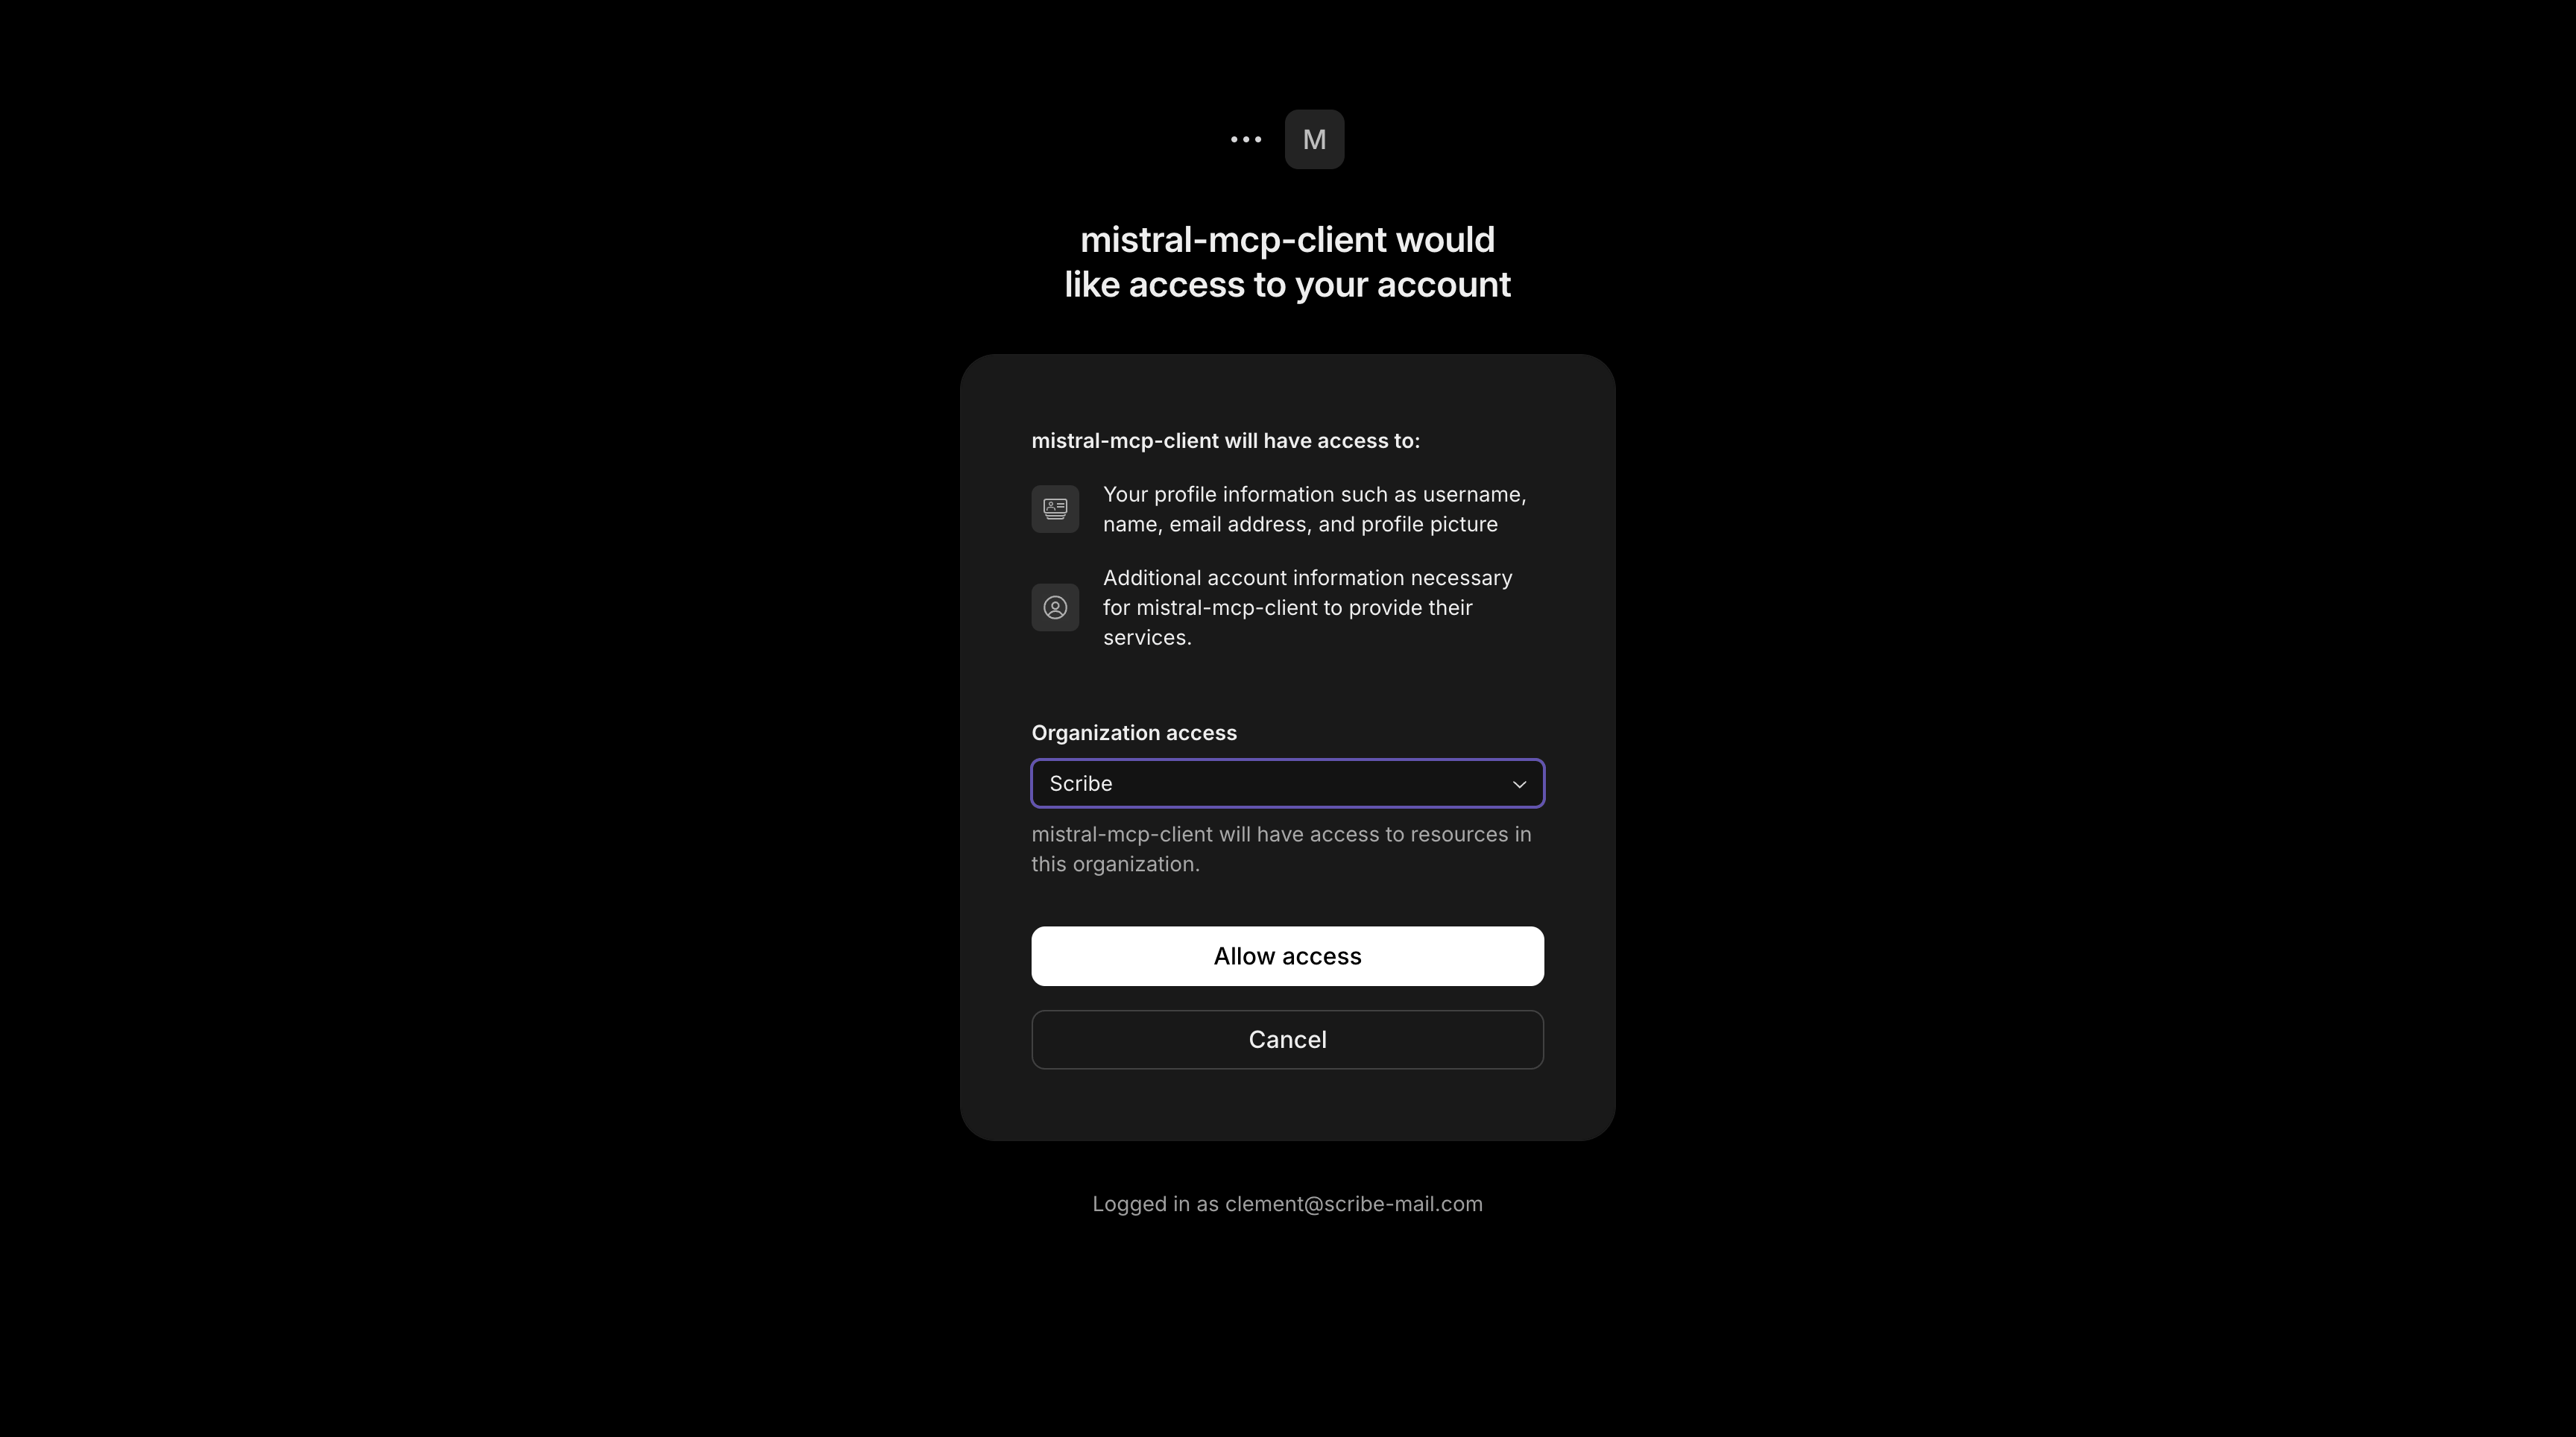
 3. Sign in with your Scribe account if prompted, review the access, then click **Allow access**.
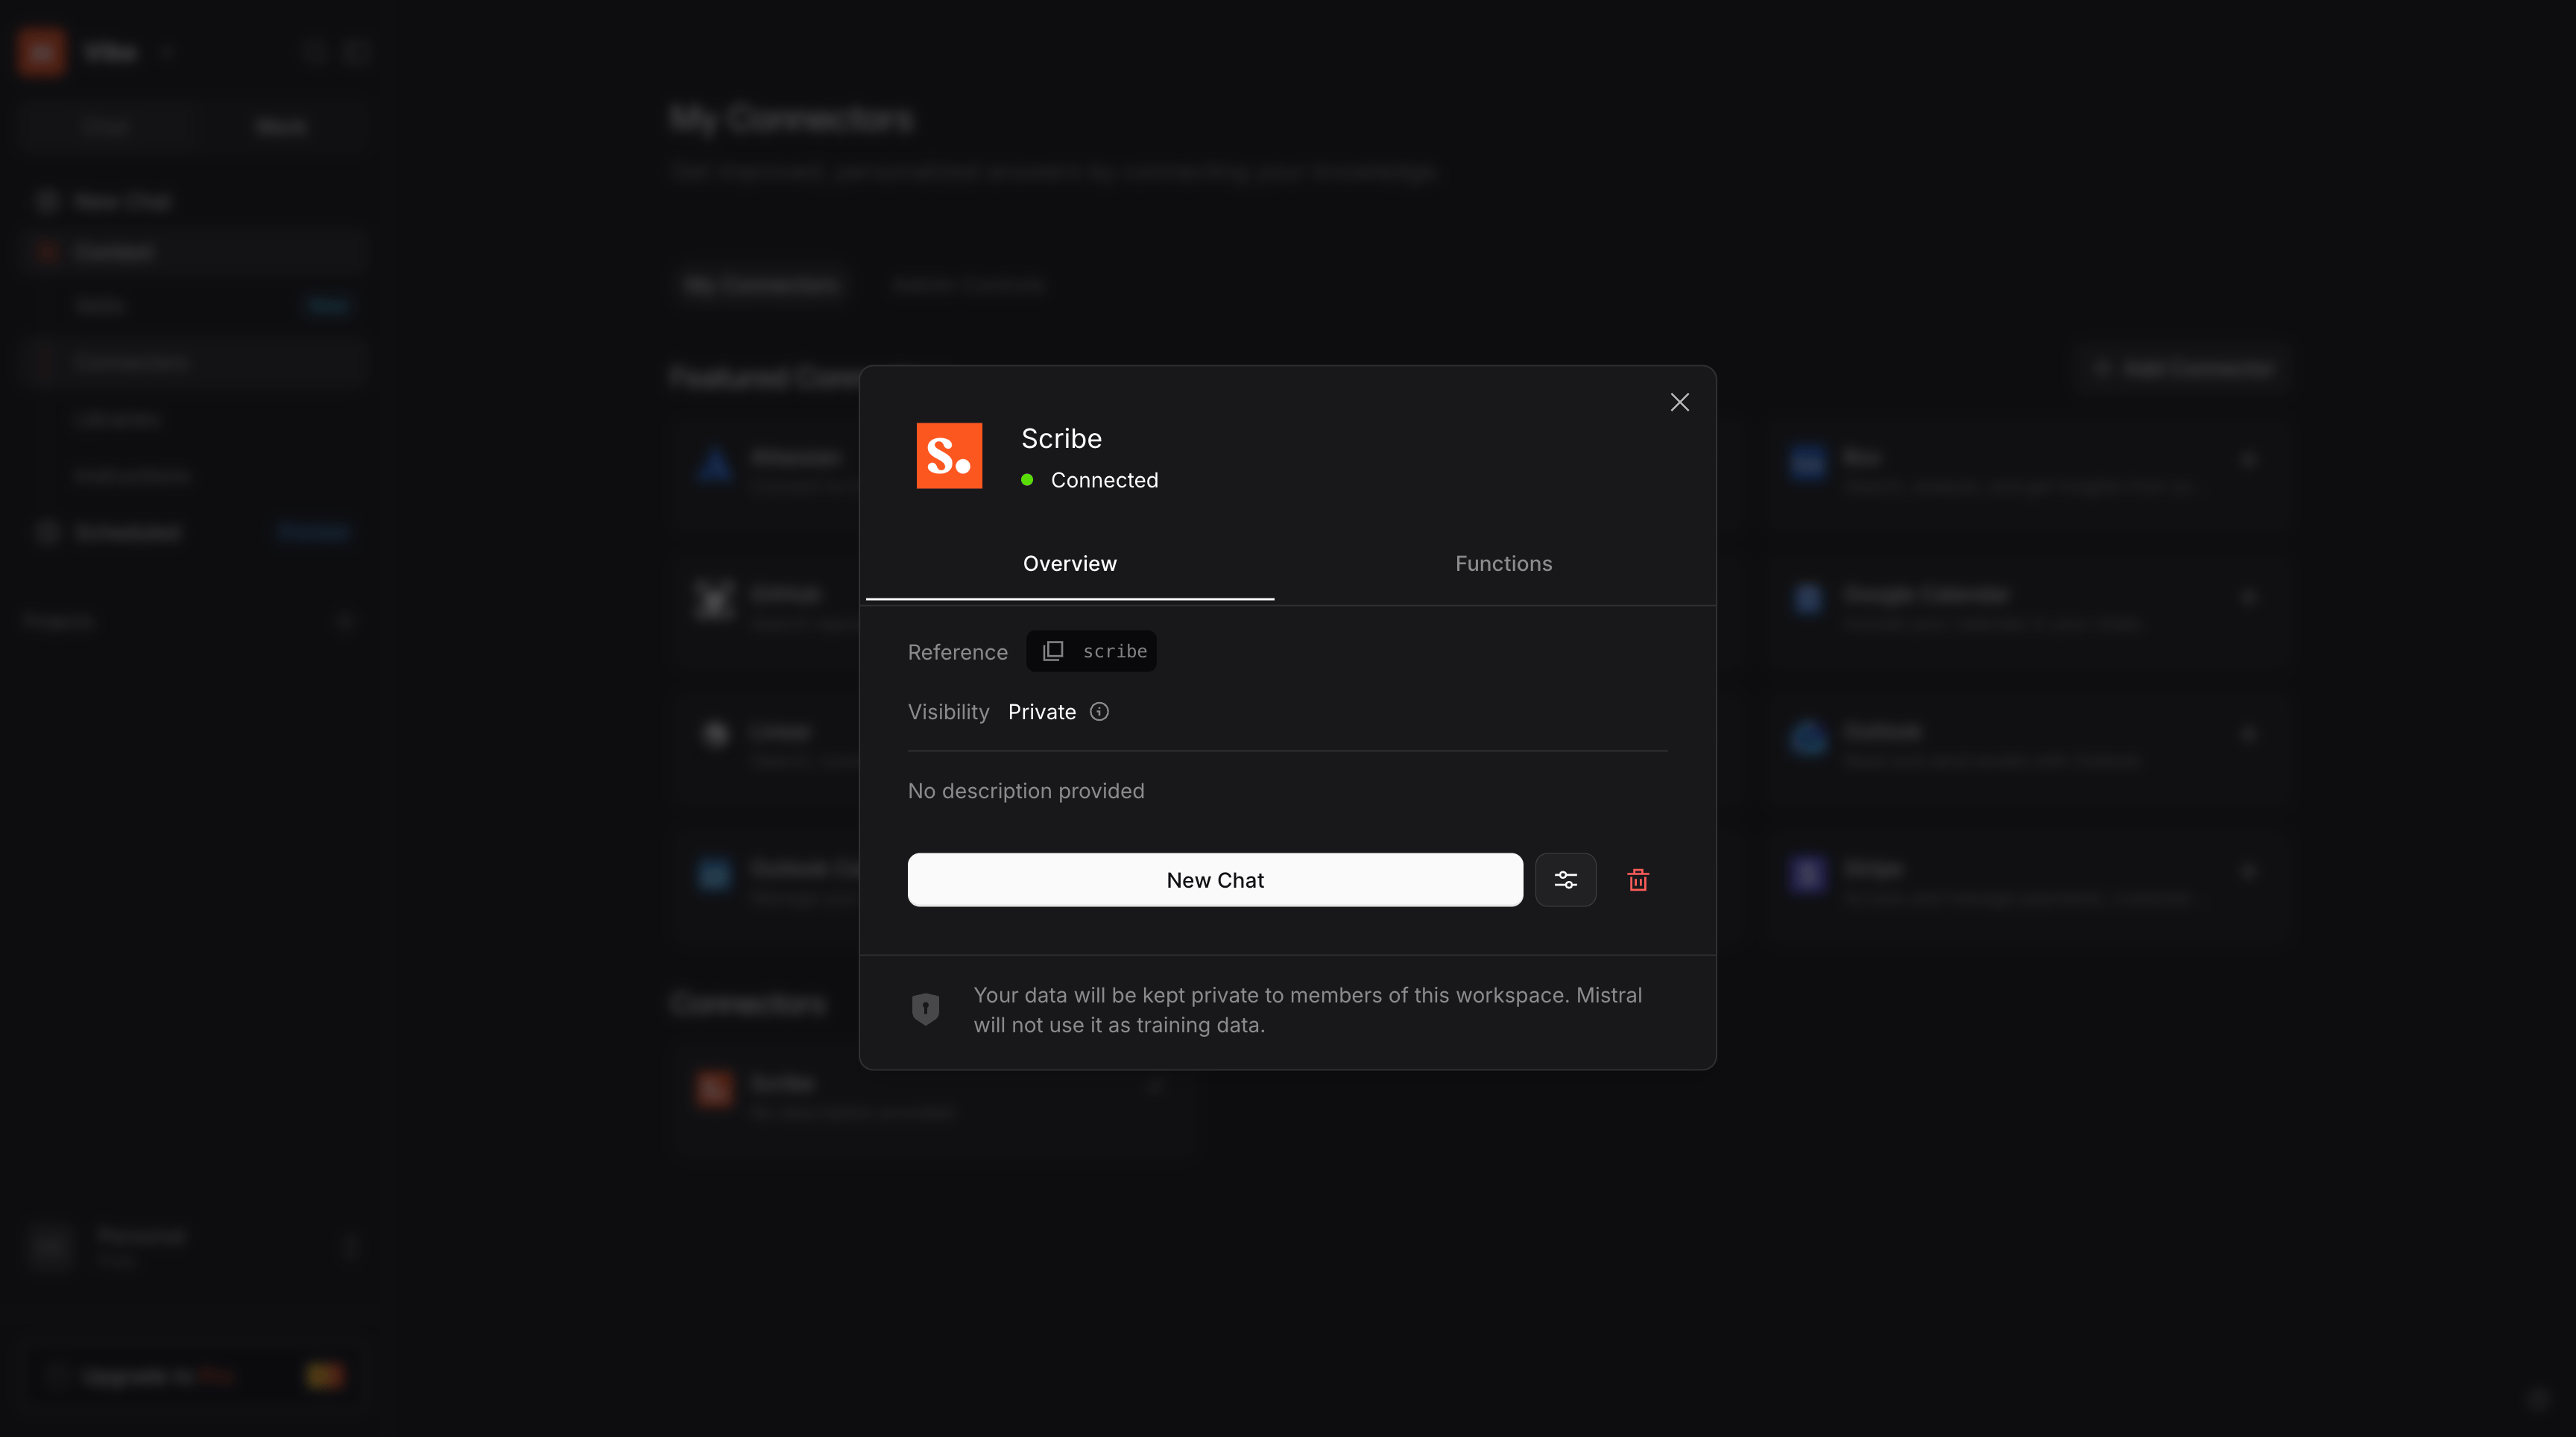
 4. Done. Scribe is connected, and you can review its tools under **Functions** whenever you need.
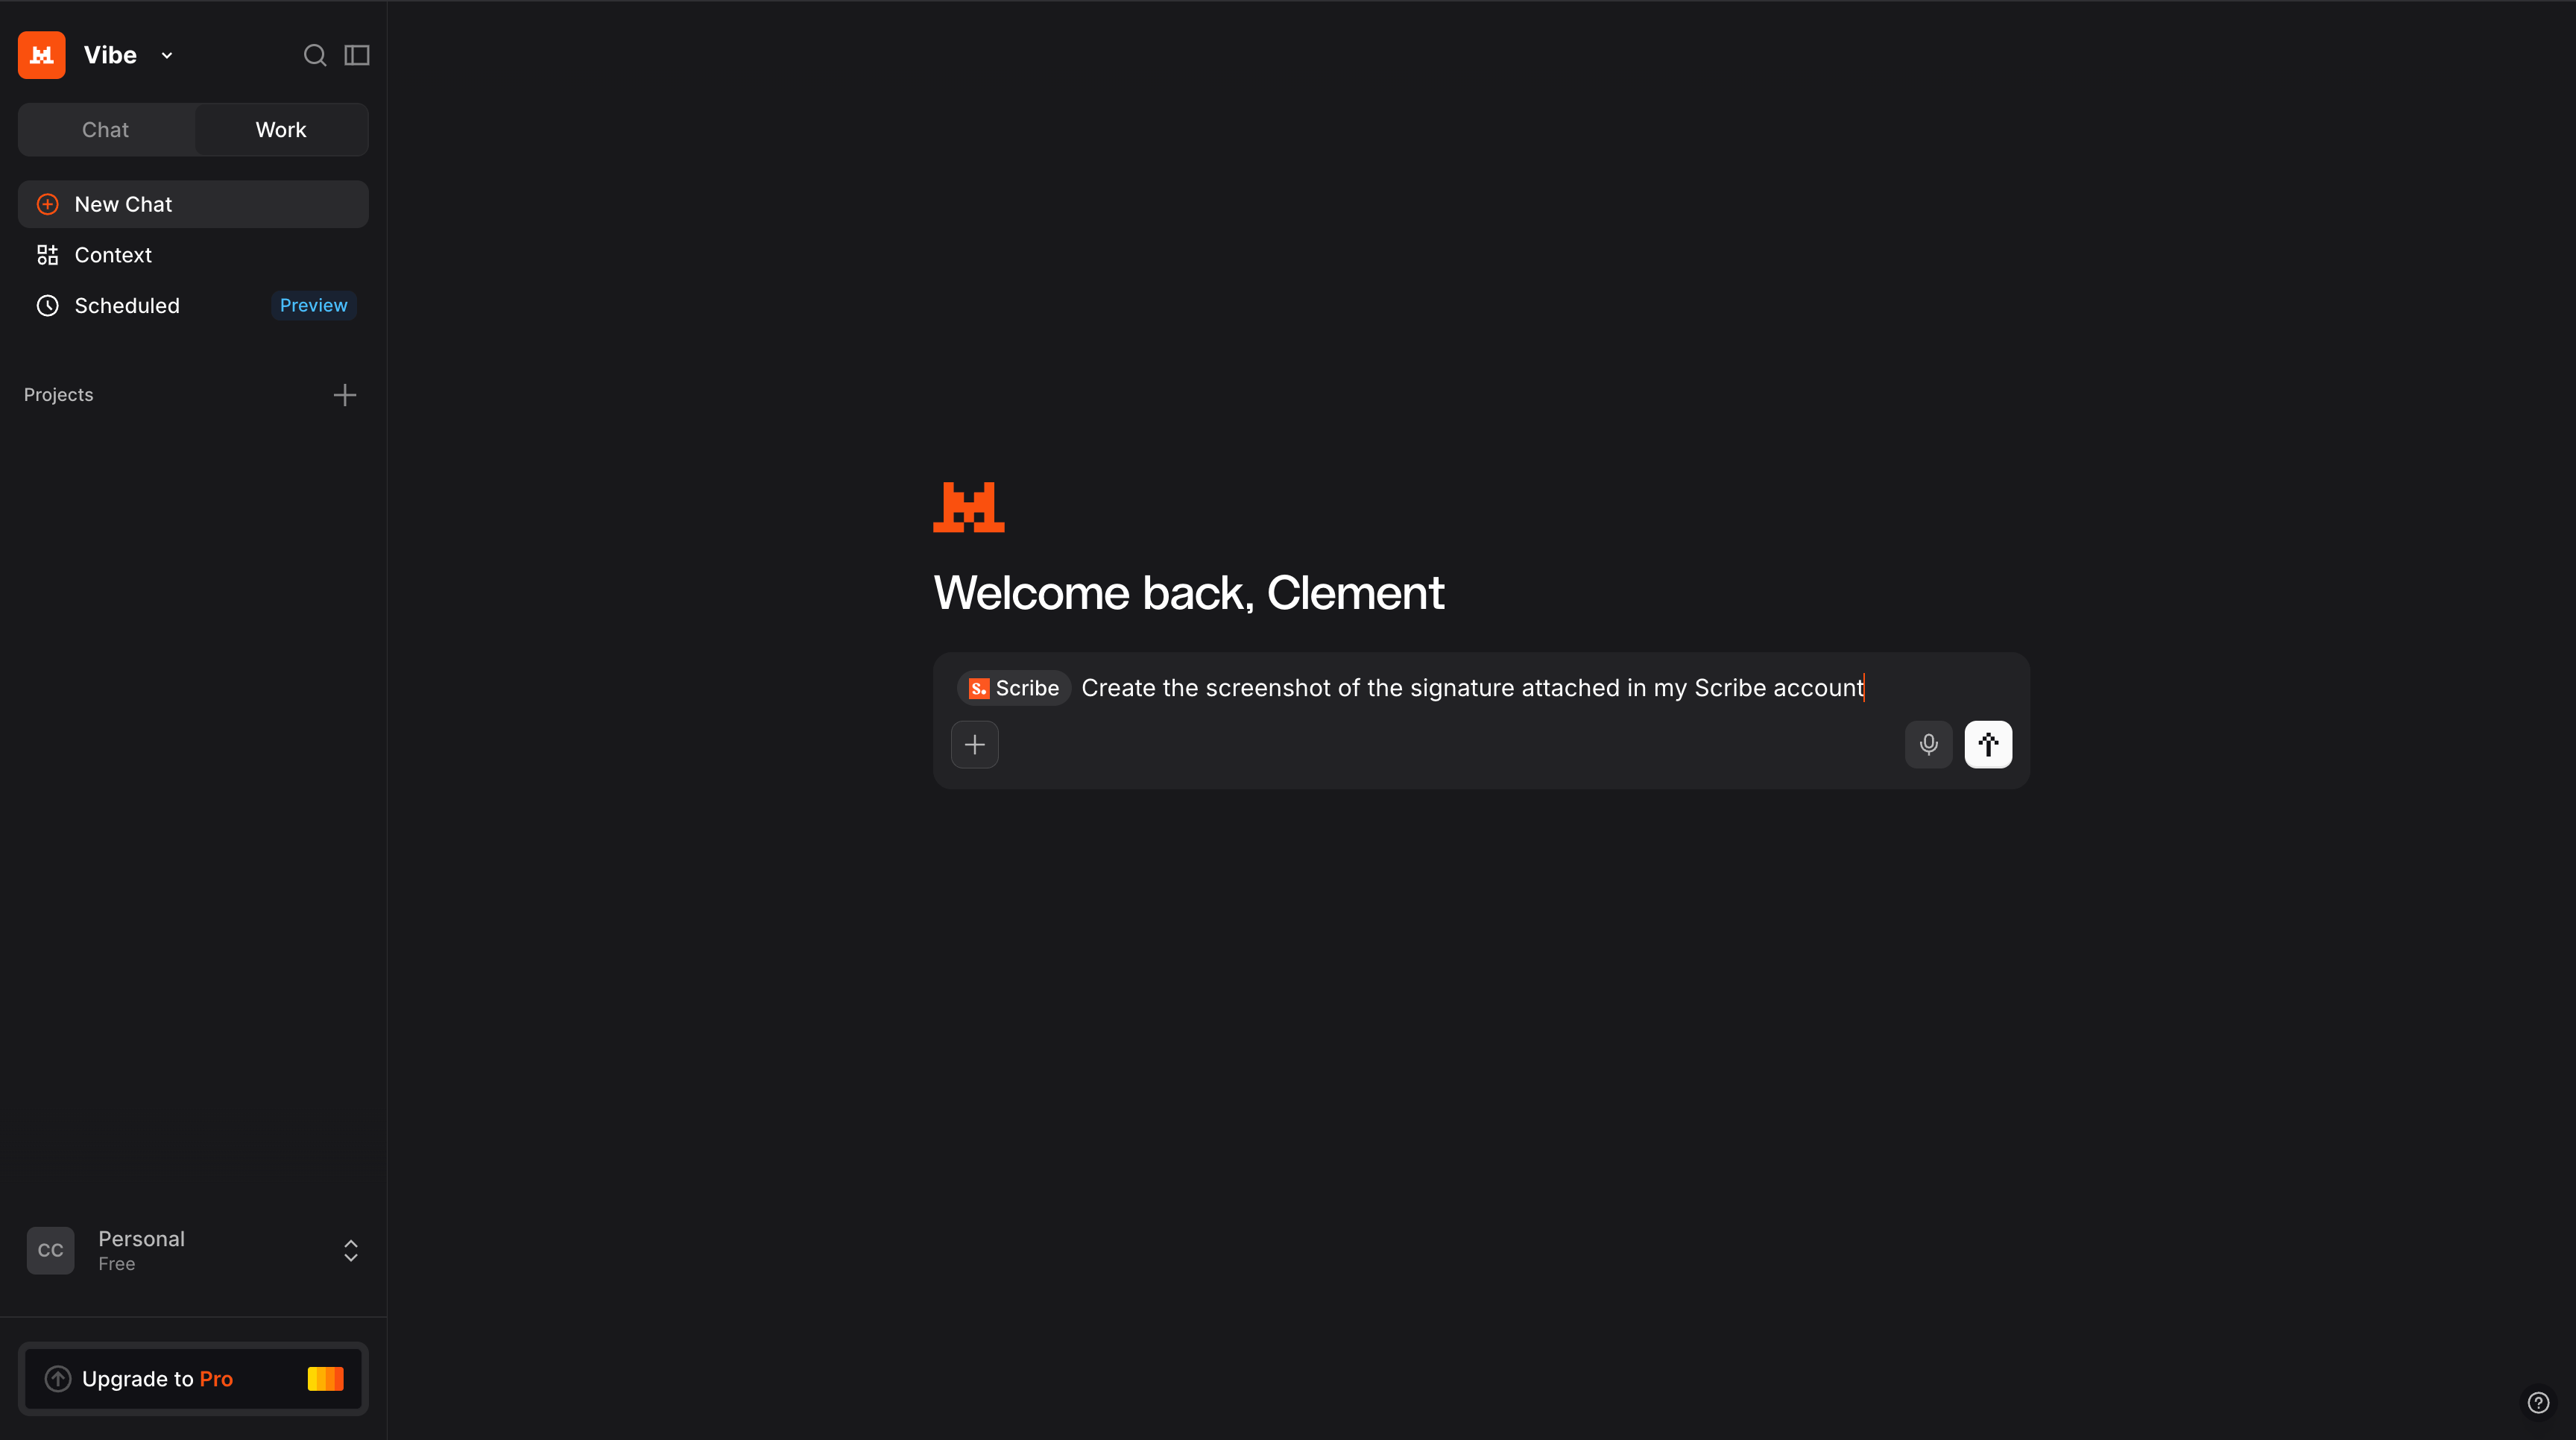
 Open a new chat, select the **Scribe** connector, then ask Mistral Vibe to manage your account, from creating a signature to pulling your analytics.
 ### Connect Grok to Scribe
Requires a paid account.
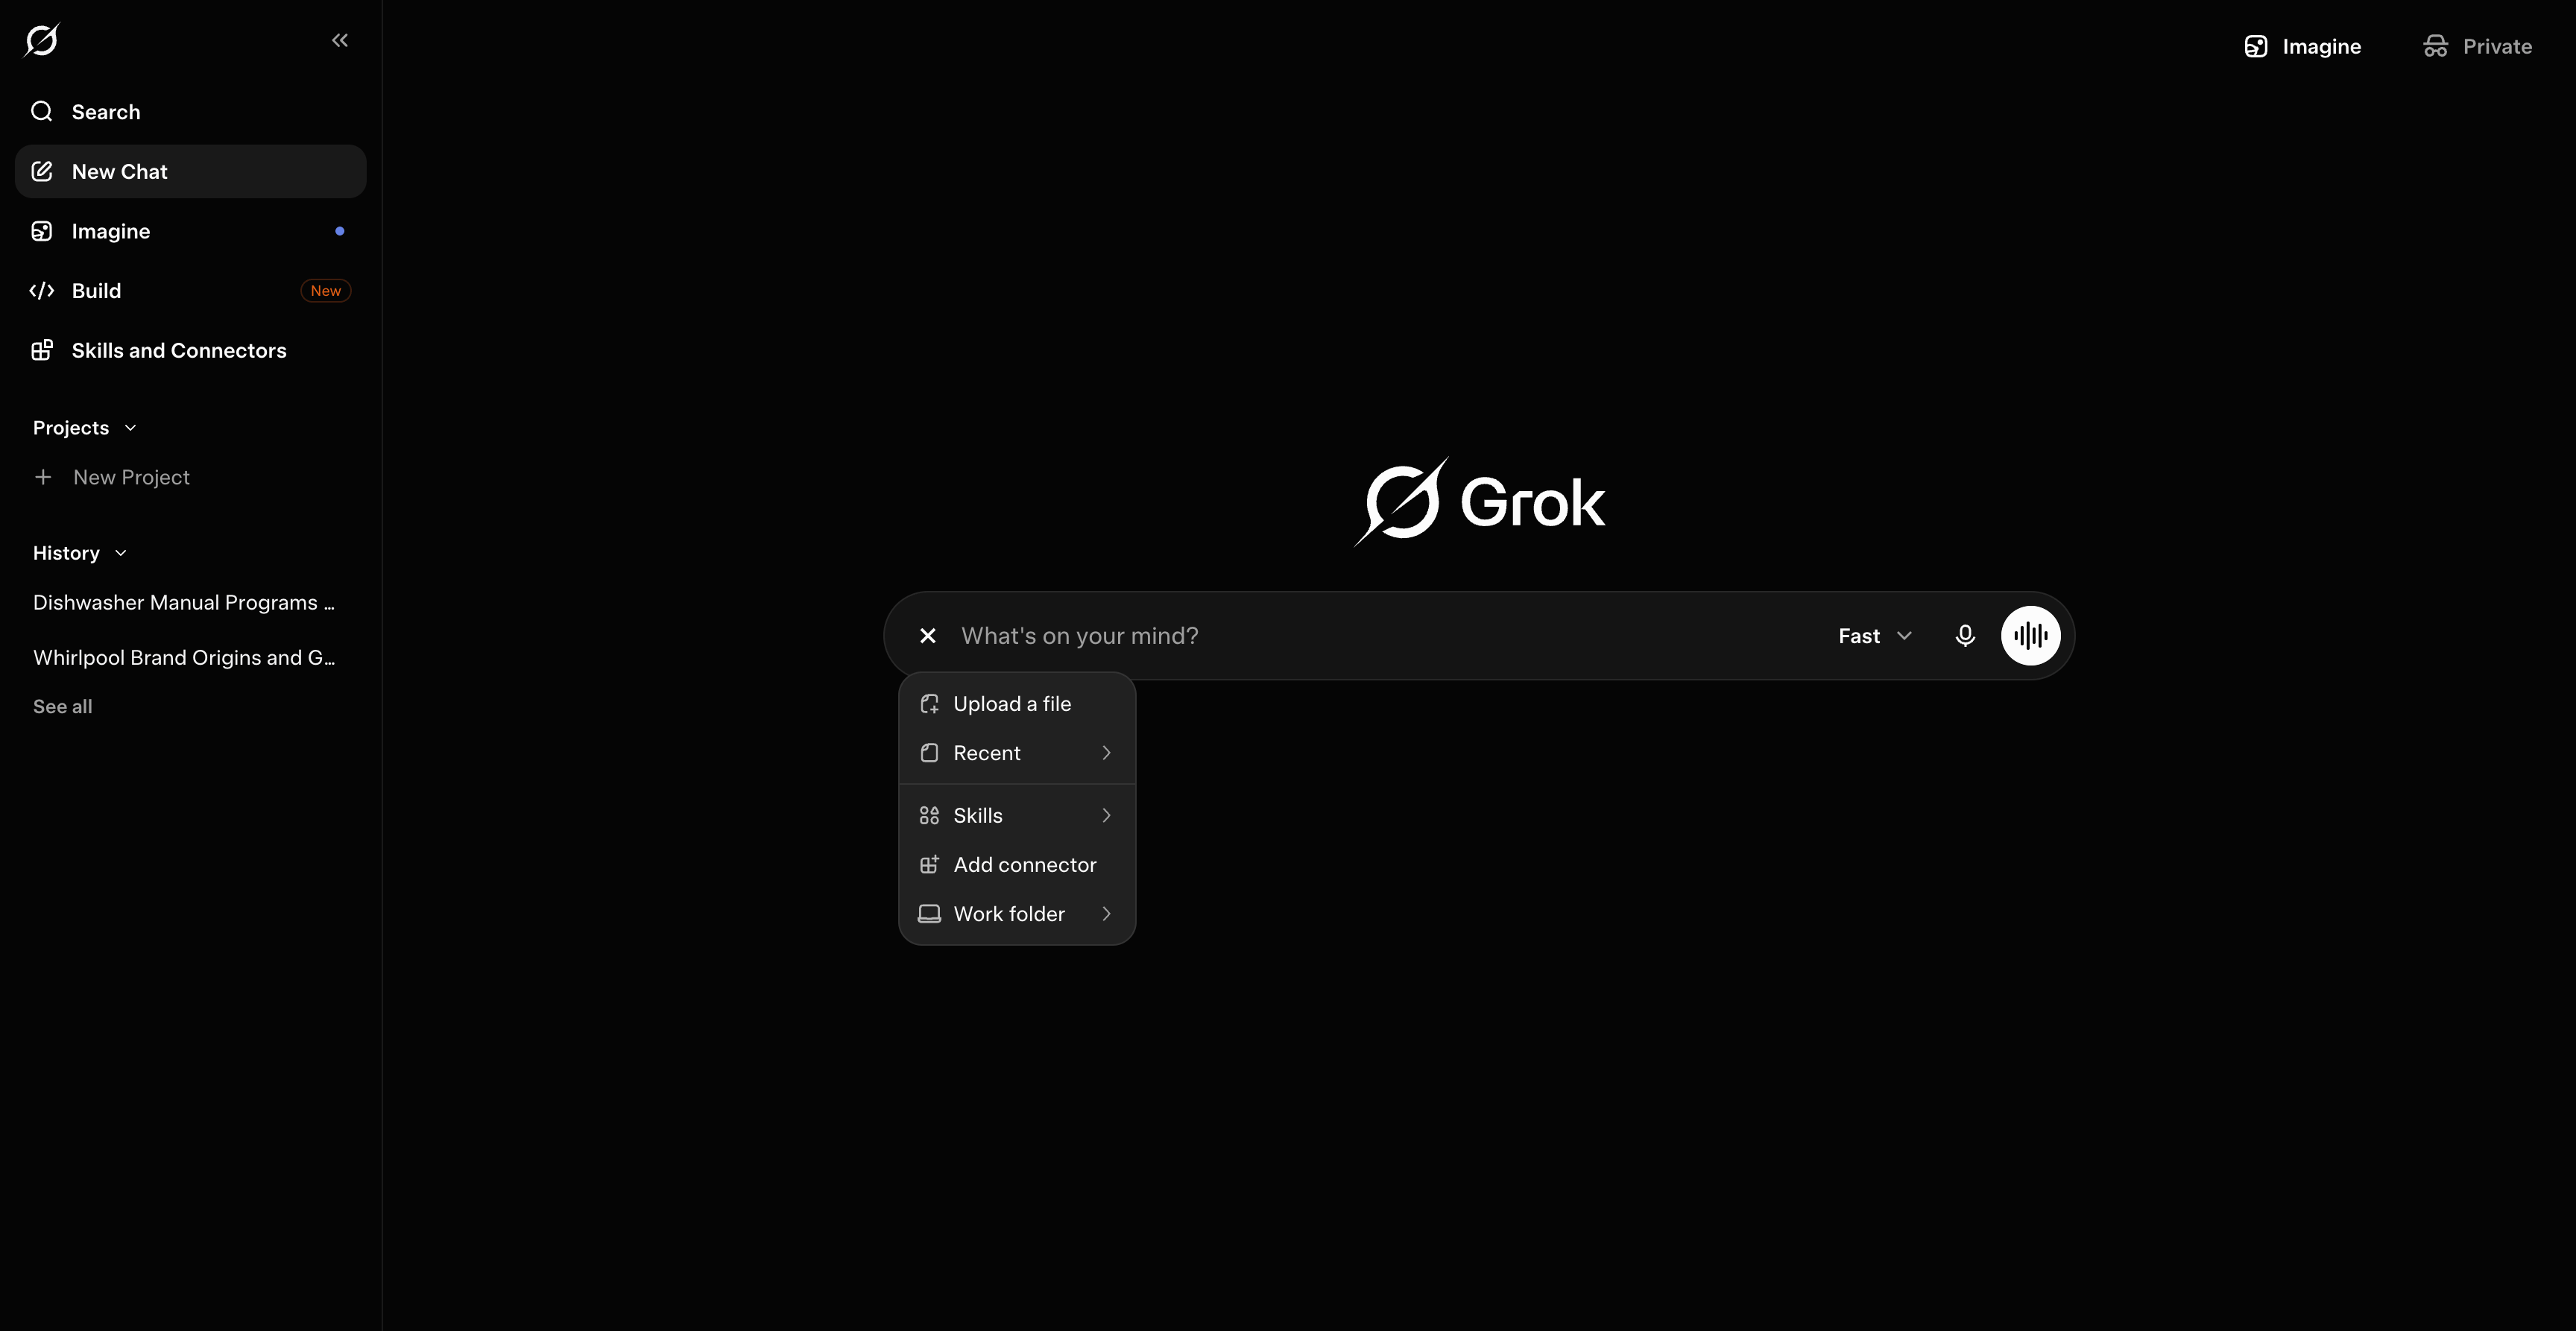
1. On grok.com, open the **+** menu in the message composer, then click **Add connector**.
### Connect Grok to Scribe
Requires a paid account.
1. On grok.com, open the **+** menu in the message composer, then click **Add connector**.
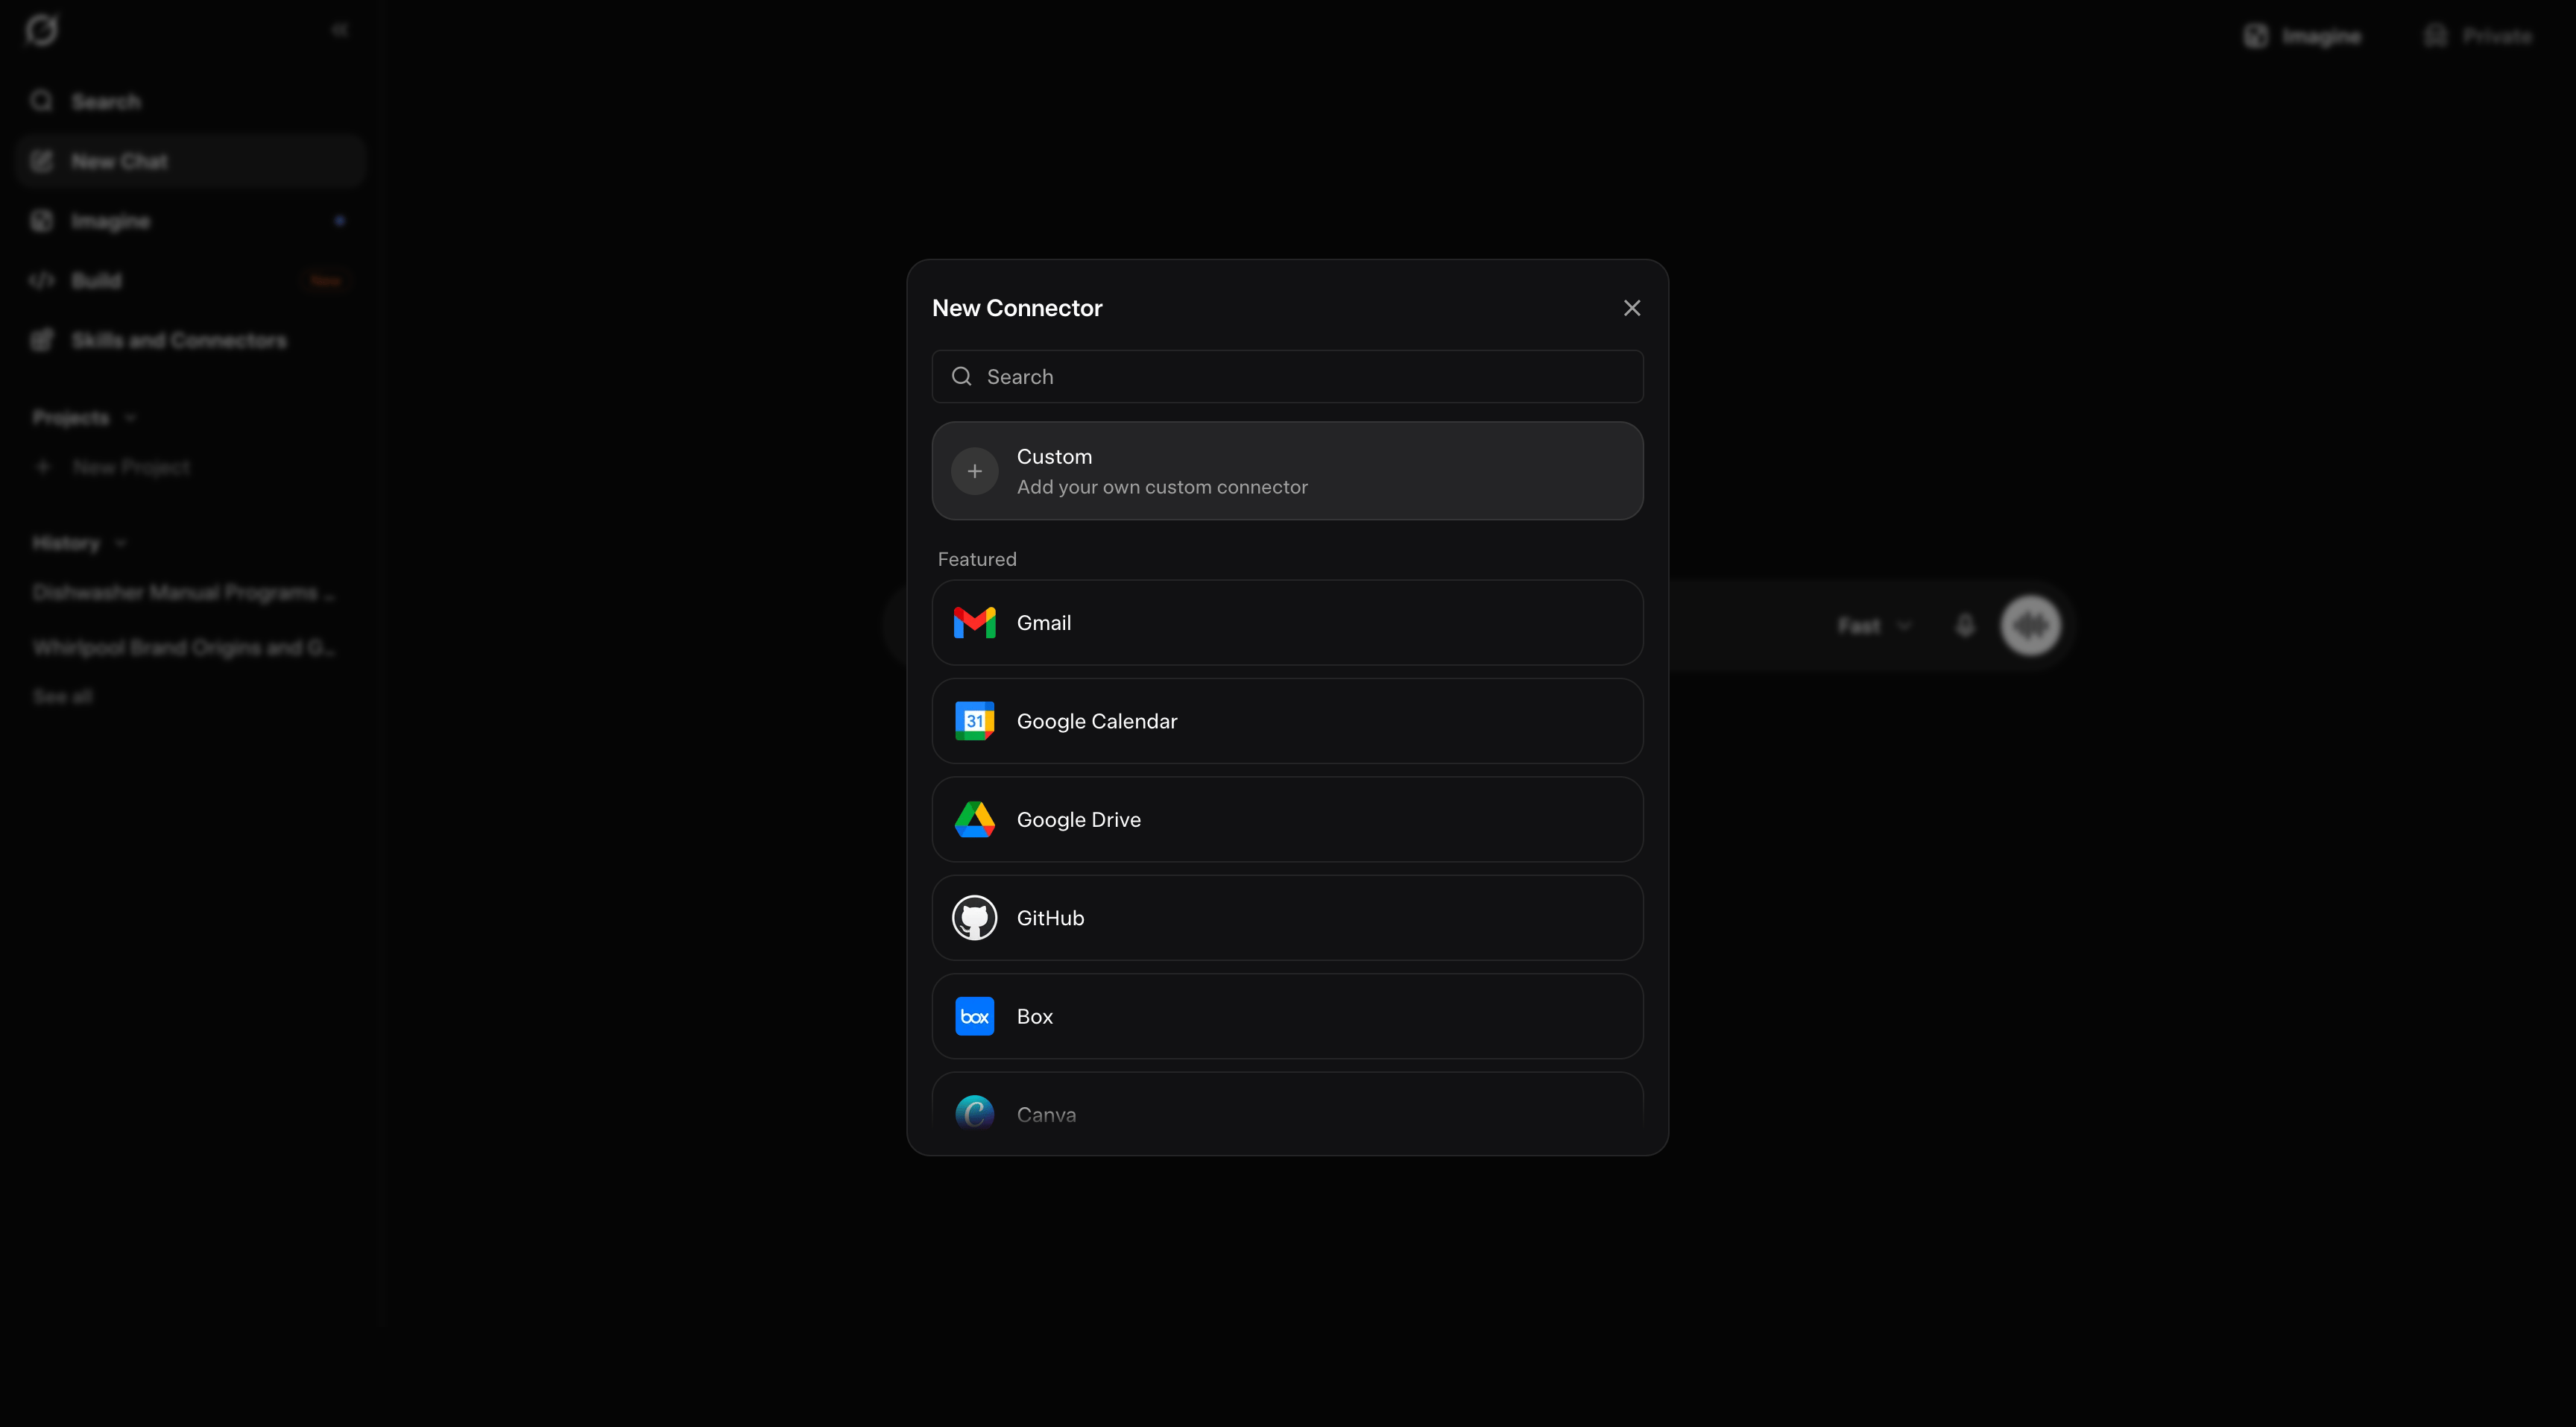
 2. In the **New Connector** dialog, choose **Custom** to add your own connector.
 3. Name it `Scribe`, paste the URL below into **Server URL**, then click **Add Connector**:
```text theme={null}
https://mcp.scribe-mail.com/mcp
```
3. Name it `Scribe`, paste the URL below into **Server URL**, then click **Add Connector**:
```text theme={null}
https://mcp.scribe-mail.com/mcp
```
 4. Sign in with your Scribe account if prompted, review the access, then click **Allow access**.
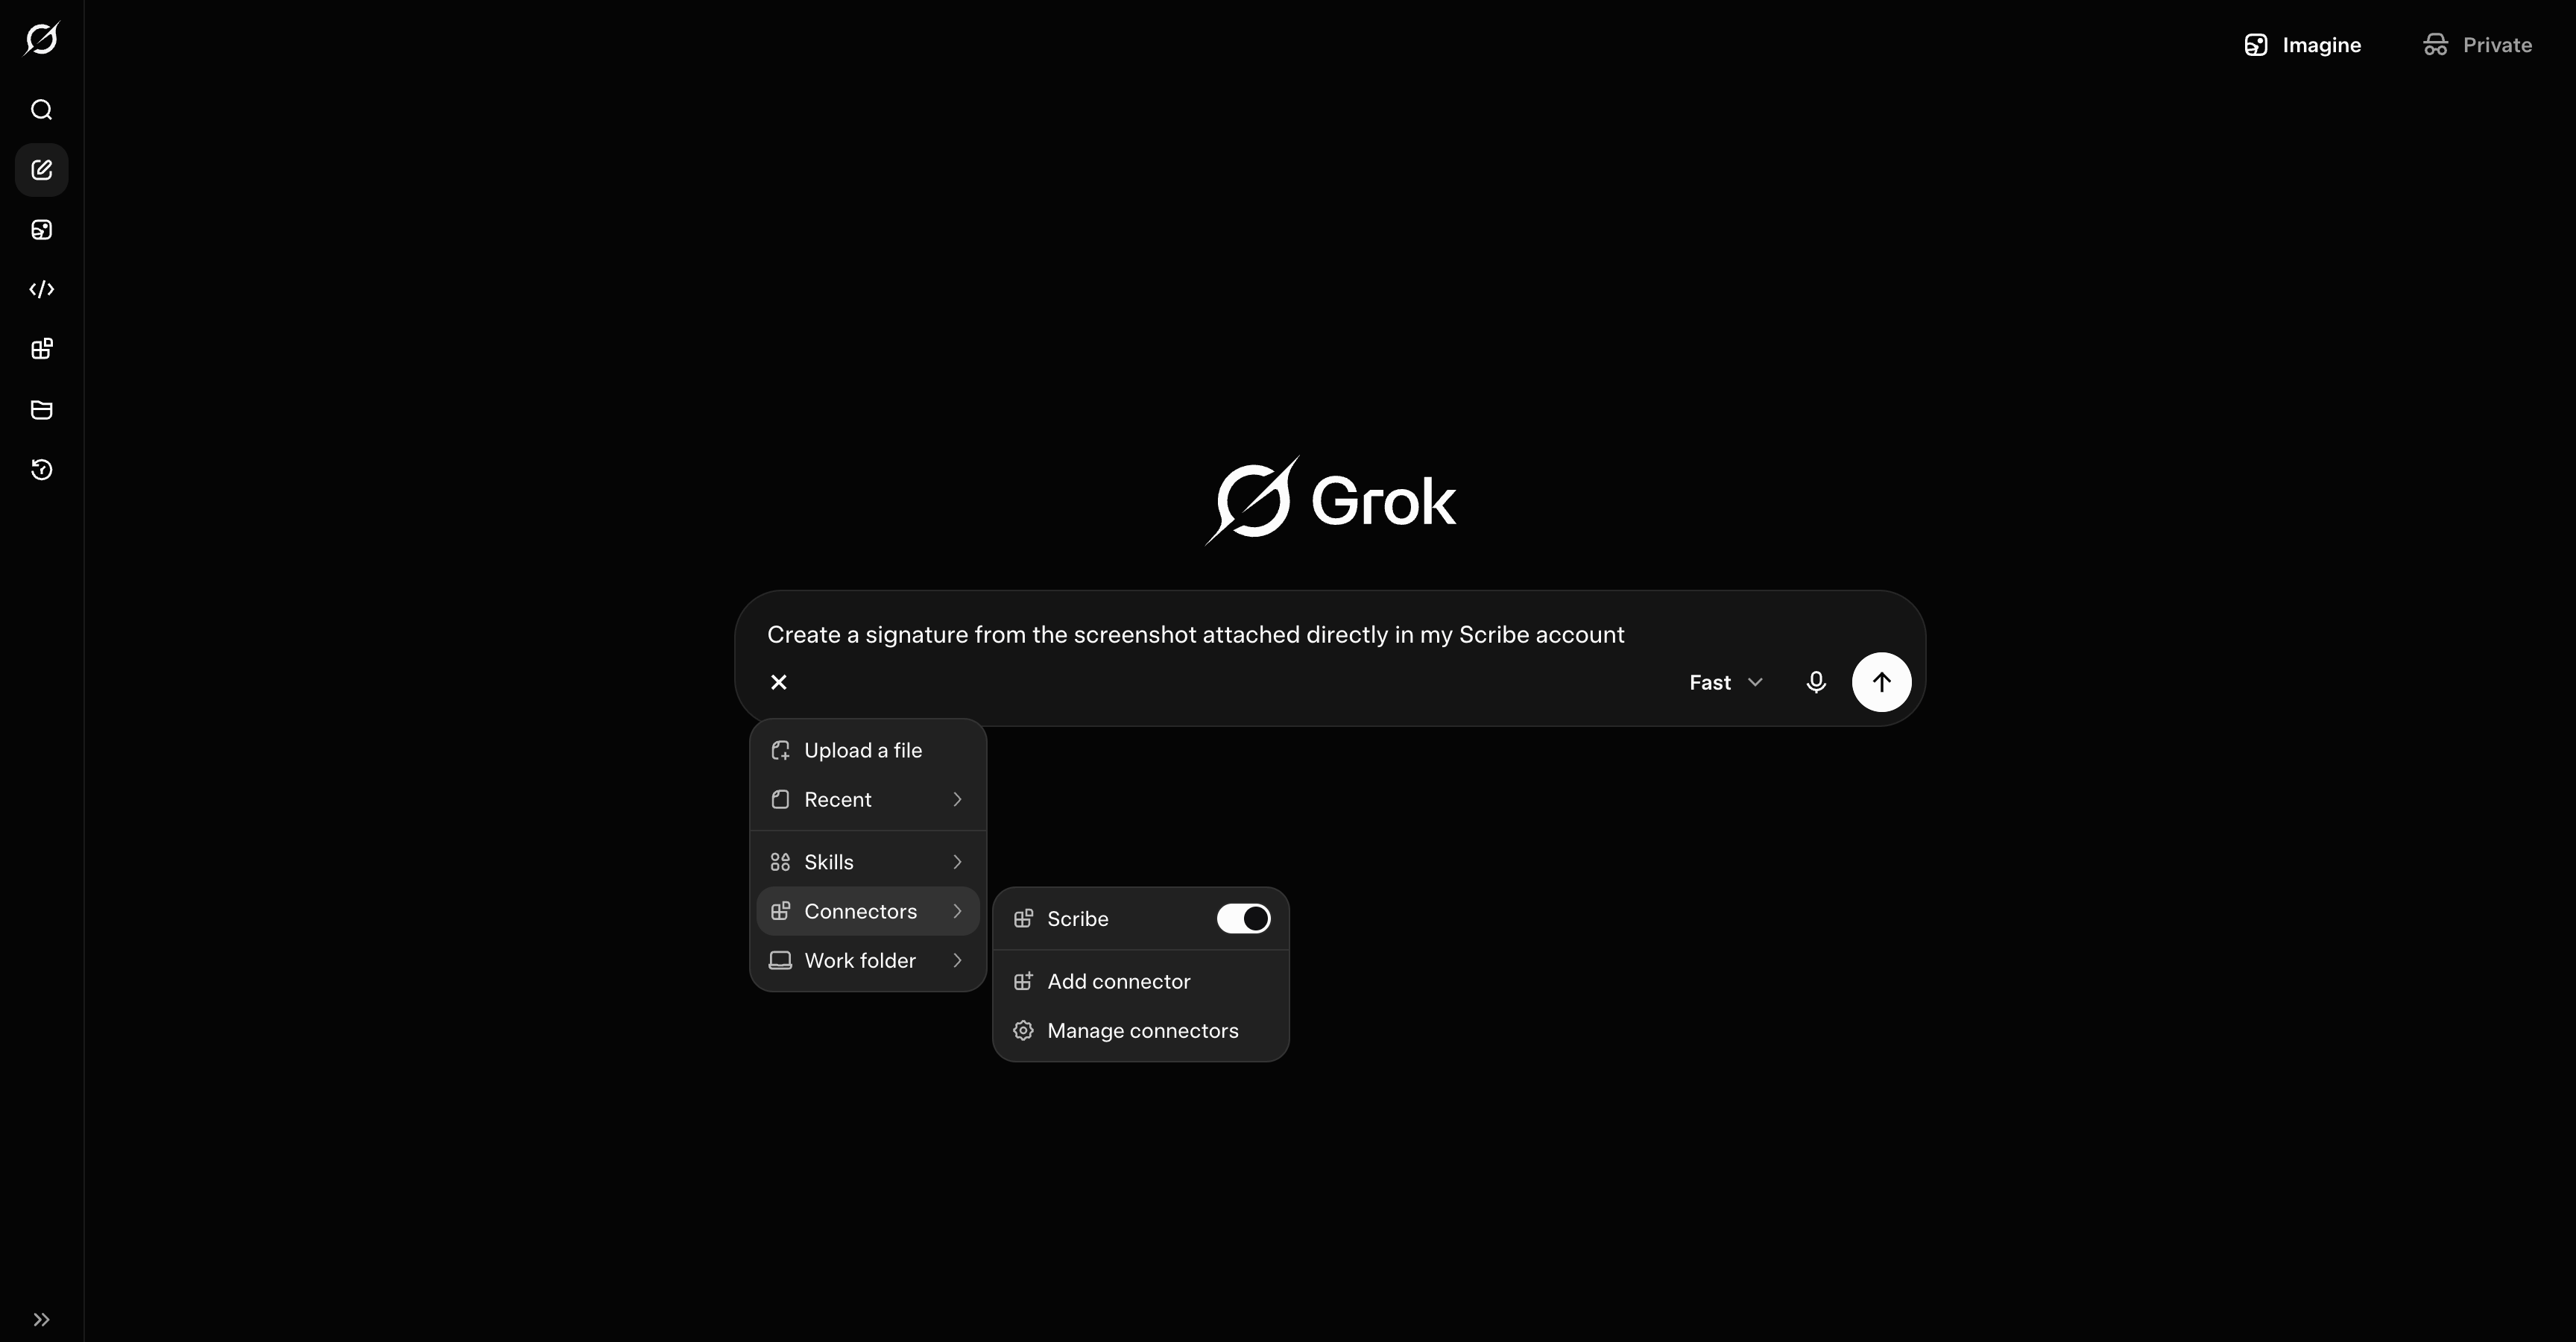
 Scribe is connected. Open the **+** menu, go to **Connectors**, enable **Scribe**, then ask Grok to manage your account, from creating a signature to pulling your analytics.
 ### Connect Gemini to Scribe
Set up by your Google Workspace admin in Gemini Enterprise, from the Google Cloud console.
1. The admin adds a custom MCP server data store and enters the URL:
```text theme={null}
https://mcp.scribe-mail.com/mcp
```
2. The admin registers an OAuth client (a client id and secret plus a redirect), then authorizes it.
3. The admin enables the Scribe tools for users.
### Connect Microsoft Copilot to Scribe
A two-role setup: an admin or maker builds a Scribe agent once in `Copilot Studio`, then the team chats with that published agent. Plain Copilot chat does not get the Scribe tools on its own.
**Prerequisites**
* A `Microsoft 365 Copilot` seat for each person who will use it
* `Copilot Studio` capacity for the person who sets it up
* Generative orchestration enabled on the agent
**Set up (admin or maker)**
These steps follow Microsoft's [Add an existing MCP server to an agent](https://learn.microsoft.com/en-us/microsoft-copilot-studio/mcp-add-existing-server-to-agent) guide, with the Scribe values filled in.
1. Open or create an agent in `Copilot Studio`, then go to **Tools**, **Add a tool**, **New tool**, **Model Context Protocol**.
2. In **Add a Model Context Protocol server**, set the **Server name** to `Scribe`, add a short **Server description**, then paste the URL into **Server URL** as a streamable endpoint:
```text theme={null}
https://mcp.scribe-mail.com/mcp
```
3. Set **Authentication** to **OAuth 2.0**, then choose **Dynamic discovery** so Copilot registers itself automatically, since Scribe supports OAuth dynamic client registration. Click **Create**, then enable the tool.
4. Enable generative orchestration if it is not already on.
5. Publish the agent.
6. Under **Channels**, make it available where the team works, in Microsoft Teams or the `Microsoft 365 Copilot` app.
**How your team uses it**
1. Open the published Scribe agent in Microsoft Teams or the `Microsoft 365 Copilot` app.
2. Manage Scribe by chatting with it.
Writes ask for confirmation before anything changes.
A tenant-wide federated connector surfaces Scribe for retrieval and grounding in Copilot chat. The published-agent route above is what enables actions like creating signatures and installing to the team.
### Connect DeepSeek to Scribe
The DeepSeek app has no built-in connector. Use Scribe through any MCP-capable client, such as Claude or Cursor, with DeepSeek selected as the model.
### Connect Qwen to Scribe
Use Qwen Code, the command-line tool. The Qwen chat app has no connector.
Add Scribe to its `settings.json` under `mcpServers`, then complete the sign-in on first connect:
```json theme={null}
{
"mcpServers": {
"scribe": {
"type": "http",
"url": "https://mcp.scribe-mail.com/mcp"
}
}
}
```
## Coding assistants
### Connect Claude Code to Scribe
Add the server, then verify it:
```bash theme={null}
claude mcp add --transport http scribe https://mcp.scribe-mail.com/mcp
claude mcp list
```
Sign in to Scribe on first use.
### Connect Cursor to Scribe
Add Scribe to `~/.cursor/mcp.json` for all projects, or `.cursor/mcp.json` for one project. Reload the window, then sign in on connect:
```json theme={null}
{
"mcpServers": {
"scribe": {
"type": "http",
"url": "https://mcp.scribe-mail.com/mcp"
}
}
}
```
Or add it in one click:
### Connect Codex to Scribe
Add the server, which writes `~/.codex/config.toml`, then sign in with OAuth:
```bash theme={null}
codex mcp add scribe --url https://mcp.scribe-mail.com/mcp
```
### Connect Hermes to Scribe
Add the server with OAuth. A browser opens for sign-in on first connect:
```bash theme={null}
hermes mcp add scribe --url https://mcp.scribe-mail.com/mcp
```
### Connect OpenClaw to Scribe
Add a `mcpServers` entry to `~/.openclaw/openclaw.json`, or use `mcporter`:
```json theme={null}
{
"mcpServers": {
"scribe": {
"type": "http",
"url": "https://mcp.scribe-mail.com/mcp"
}
}
}
```
## Next steps
Give your assistant the full Scribe workflow
Every Scribe MCP tool, grouped by area
Fix connection and tool issues
Access, data safety, supported assistants
### Connect Gemini to Scribe
Set up by your Google Workspace admin in Gemini Enterprise, from the Google Cloud console.
1. The admin adds a custom MCP server data store and enters the URL:
```text theme={null}
https://mcp.scribe-mail.com/mcp
```
2. The admin registers an OAuth client (a client id and secret plus a redirect), then authorizes it.
3. The admin enables the Scribe tools for users.
### Connect Microsoft Copilot to Scribe
A two-role setup: an admin or maker builds a Scribe agent once in `Copilot Studio`, then the team chats with that published agent. Plain Copilot chat does not get the Scribe tools on its own.
**Prerequisites**
* A `Microsoft 365 Copilot` seat for each person who will use it
* `Copilot Studio` capacity for the person who sets it up
* Generative orchestration enabled on the agent
**Set up (admin or maker)**
These steps follow Microsoft's [Add an existing MCP server to an agent](https://learn.microsoft.com/en-us/microsoft-copilot-studio/mcp-add-existing-server-to-agent) guide, with the Scribe values filled in.
1. Open or create an agent in `Copilot Studio`, then go to **Tools**, **Add a tool**, **New tool**, **Model Context Protocol**.
2. In **Add a Model Context Protocol server**, set the **Server name** to `Scribe`, add a short **Server description**, then paste the URL into **Server URL** as a streamable endpoint:
```text theme={null}
https://mcp.scribe-mail.com/mcp
```
3. Set **Authentication** to **OAuth 2.0**, then choose **Dynamic discovery** so Copilot registers itself automatically, since Scribe supports OAuth dynamic client registration. Click **Create**, then enable the tool.
4. Enable generative orchestration if it is not already on.
5. Publish the agent.
6. Under **Channels**, make it available where the team works, in Microsoft Teams or the `Microsoft 365 Copilot` app.
**How your team uses it**
1. Open the published Scribe agent in Microsoft Teams or the `Microsoft 365 Copilot` app.
2. Manage Scribe by chatting with it.
Writes ask for confirmation before anything changes.
A tenant-wide federated connector surfaces Scribe for retrieval and grounding in Copilot chat. The published-agent route above is what enables actions like creating signatures and installing to the team.
### Connect DeepSeek to Scribe
The DeepSeek app has no built-in connector. Use Scribe through any MCP-capable client, such as Claude or Cursor, with DeepSeek selected as the model.
### Connect Qwen to Scribe
Use Qwen Code, the command-line tool. The Qwen chat app has no connector.
Add Scribe to its `settings.json` under `mcpServers`, then complete the sign-in on first connect:
```json theme={null}
{
"mcpServers": {
"scribe": {
"type": "http",
"url": "https://mcp.scribe-mail.com/mcp"
}
}
}
```
## Coding assistants
### Connect Claude Code to Scribe
Add the server, then verify it:
```bash theme={null}
claude mcp add --transport http scribe https://mcp.scribe-mail.com/mcp
claude mcp list
```
Sign in to Scribe on first use.
### Connect Cursor to Scribe
Add Scribe to `~/.cursor/mcp.json` for all projects, or `.cursor/mcp.json` for one project. Reload the window, then sign in on connect:
```json theme={null}
{
"mcpServers": {
"scribe": {
"type": "http",
"url": "https://mcp.scribe-mail.com/mcp"
}
}
}
```
Or add it in one click:
### Connect Codex to Scribe
Add the server, which writes `~/.codex/config.toml`, then sign in with OAuth:
```bash theme={null}
codex mcp add scribe --url https://mcp.scribe-mail.com/mcp
```
### Connect Hermes to Scribe
Add the server with OAuth. A browser opens for sign-in on first connect:
```bash theme={null}
hermes mcp add scribe --url https://mcp.scribe-mail.com/mcp
```
### Connect OpenClaw to Scribe
Add a `mcpServers` entry to `~/.openclaw/openclaw.json`, or use `mcporter`:
```json theme={null}
{
"mcpServers": {
"scribe": {
"type": "http",
"url": "https://mcp.scribe-mail.com/mcp"
}
}
}
```
## Next steps
Give your assistant the full Scribe workflow
Every Scribe MCP tool, grouped by area
Fix connection and tool issues
Access, data safety, supported assistants